
Fence Installation Steps
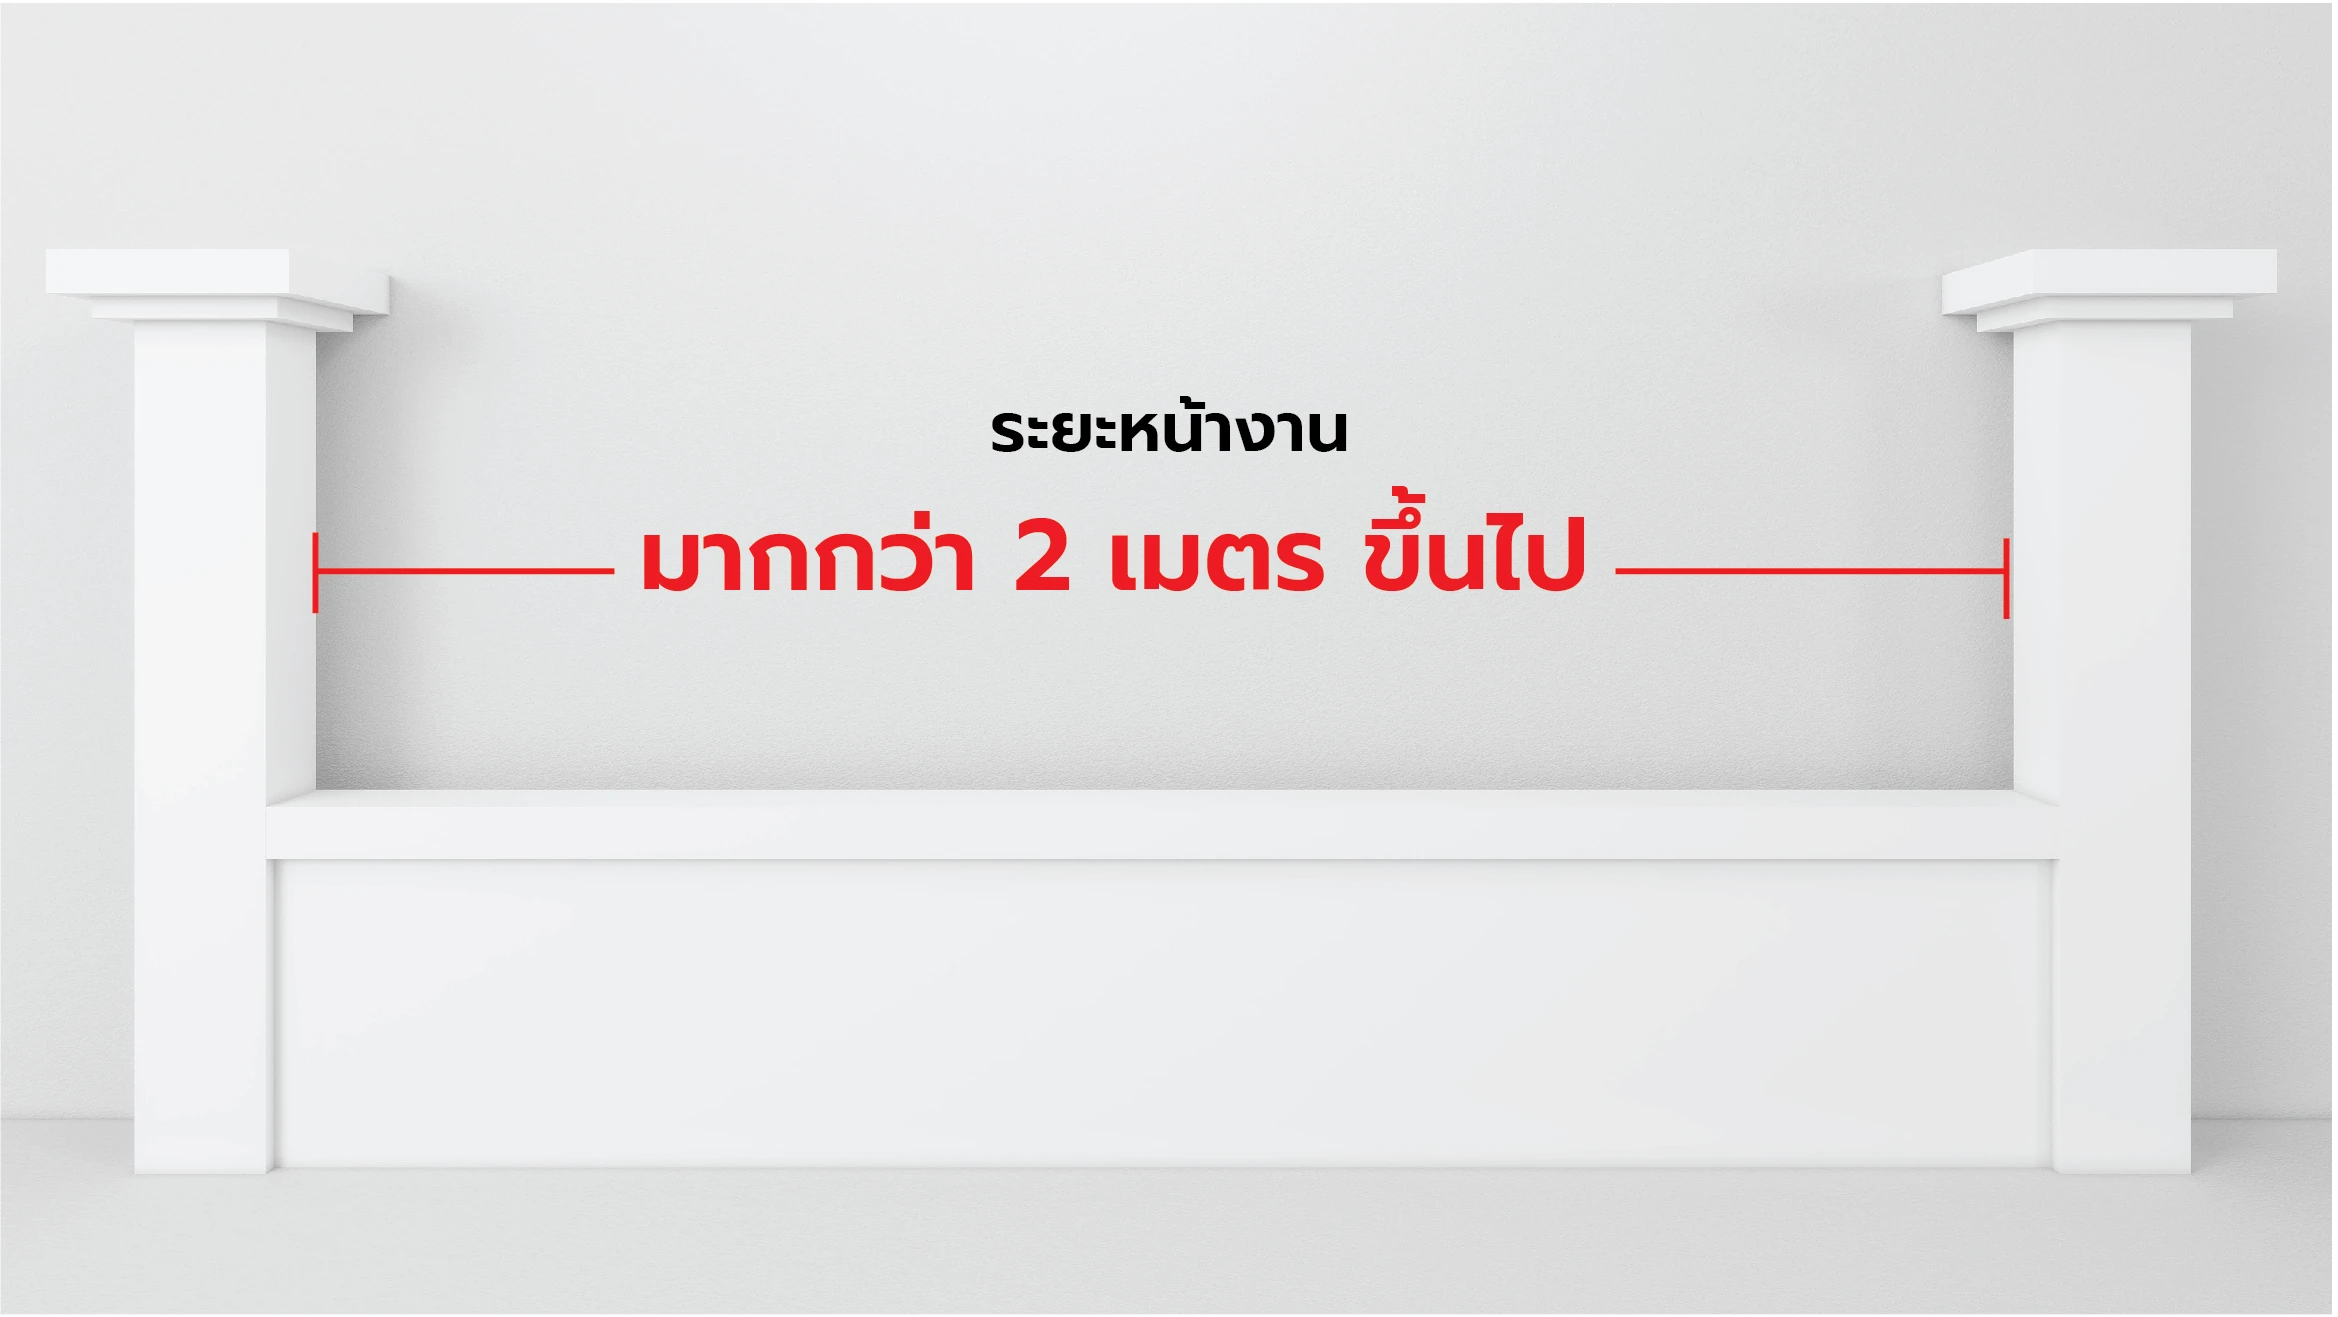
Site length up to 2 meters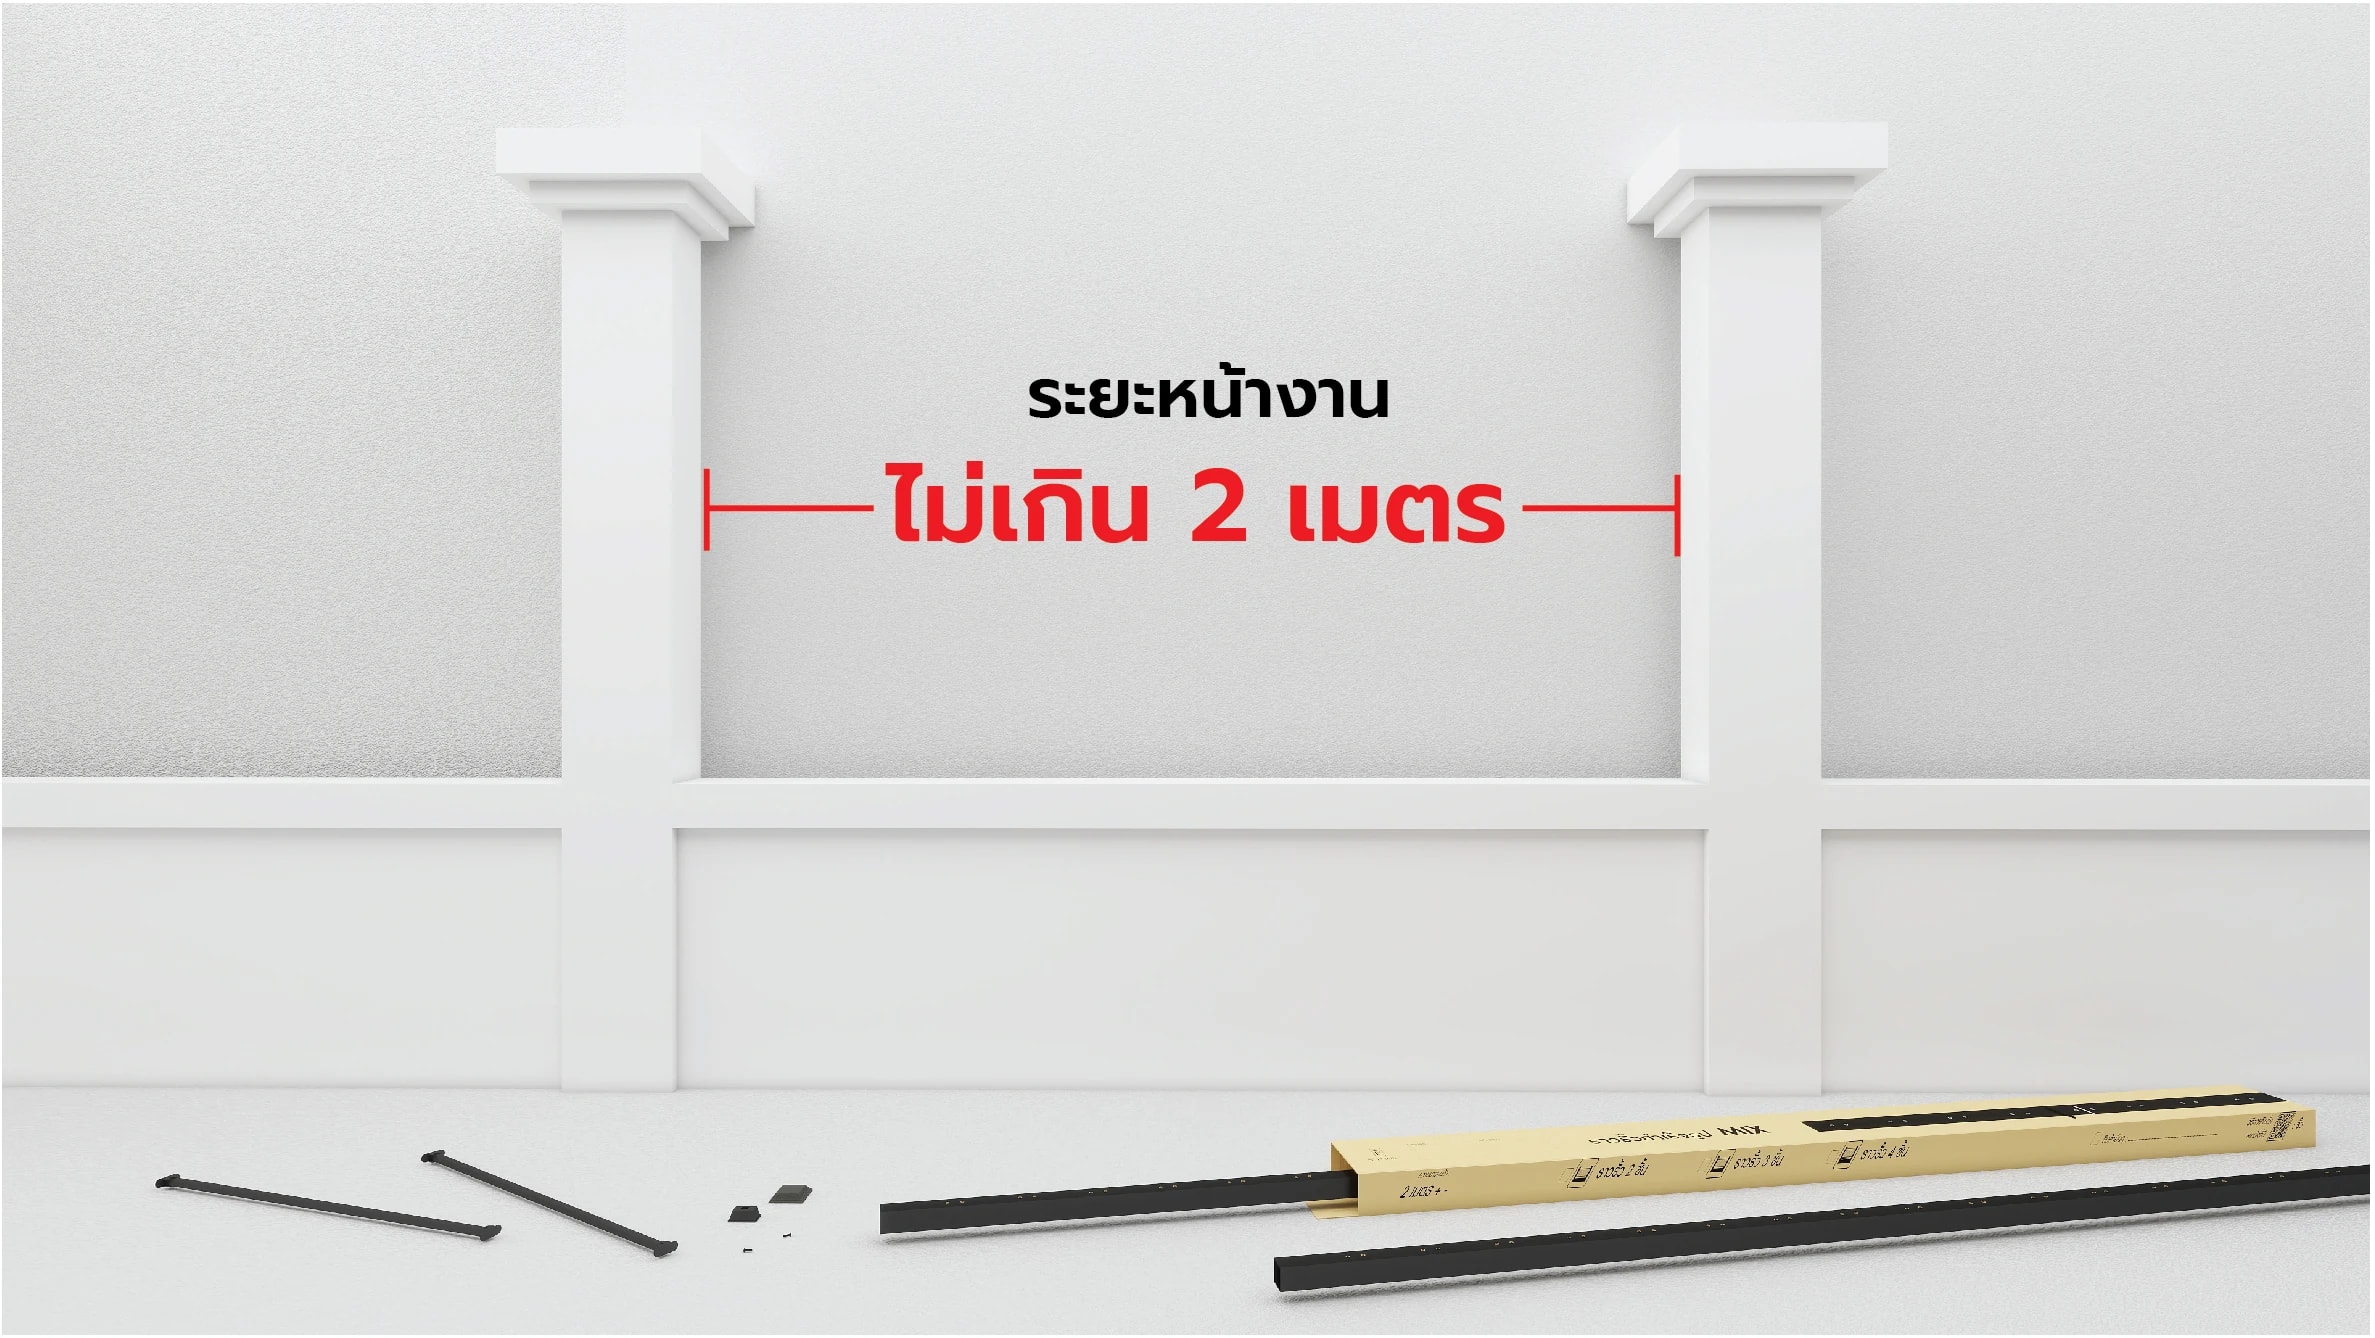
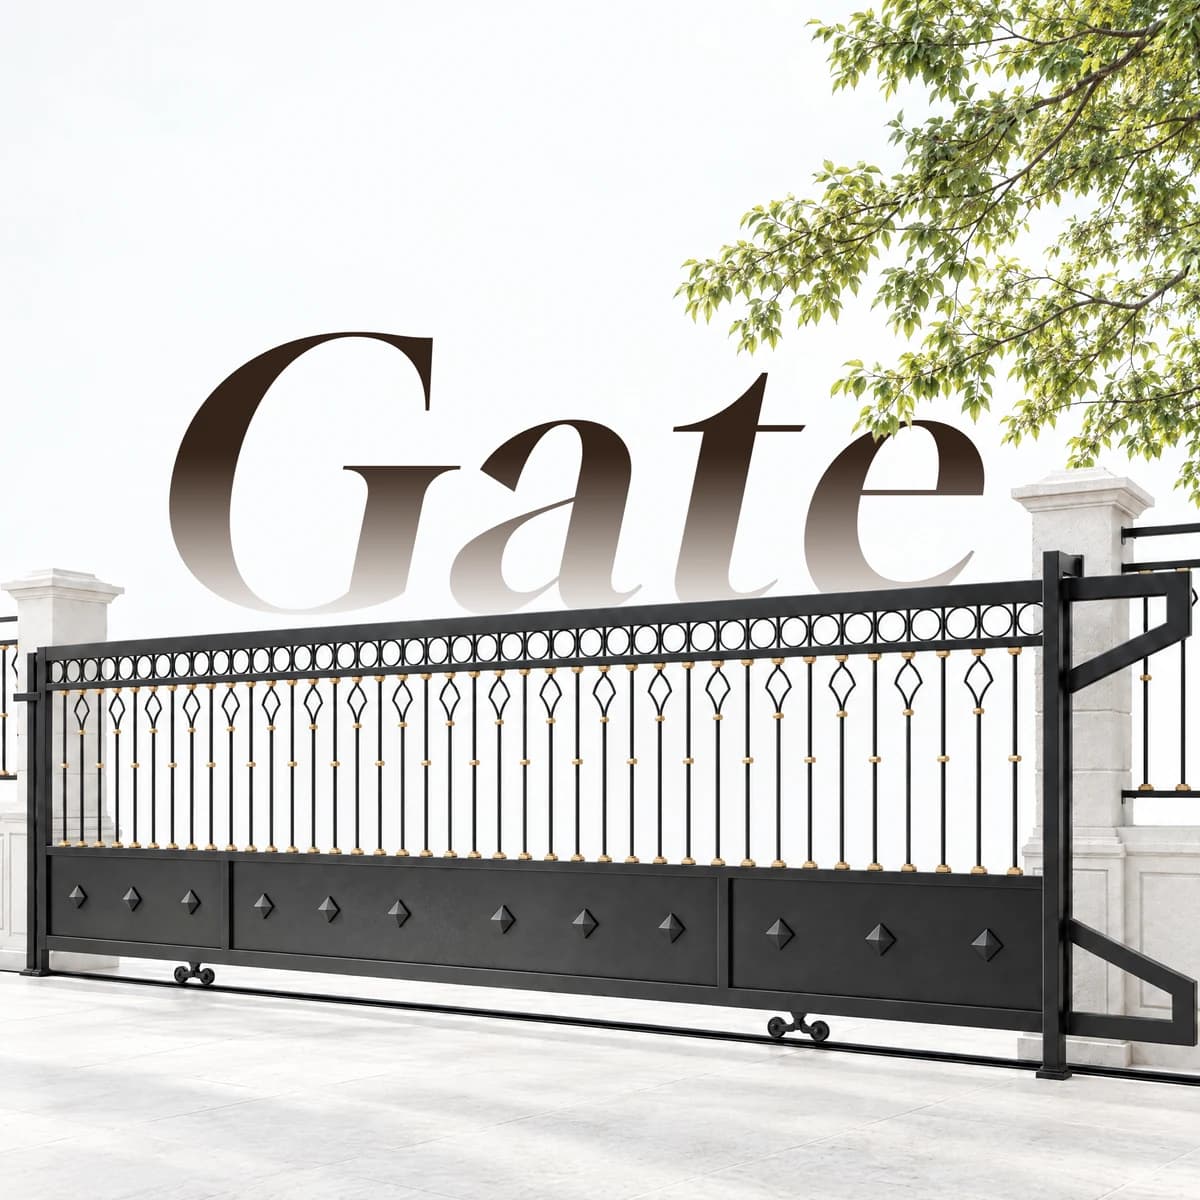
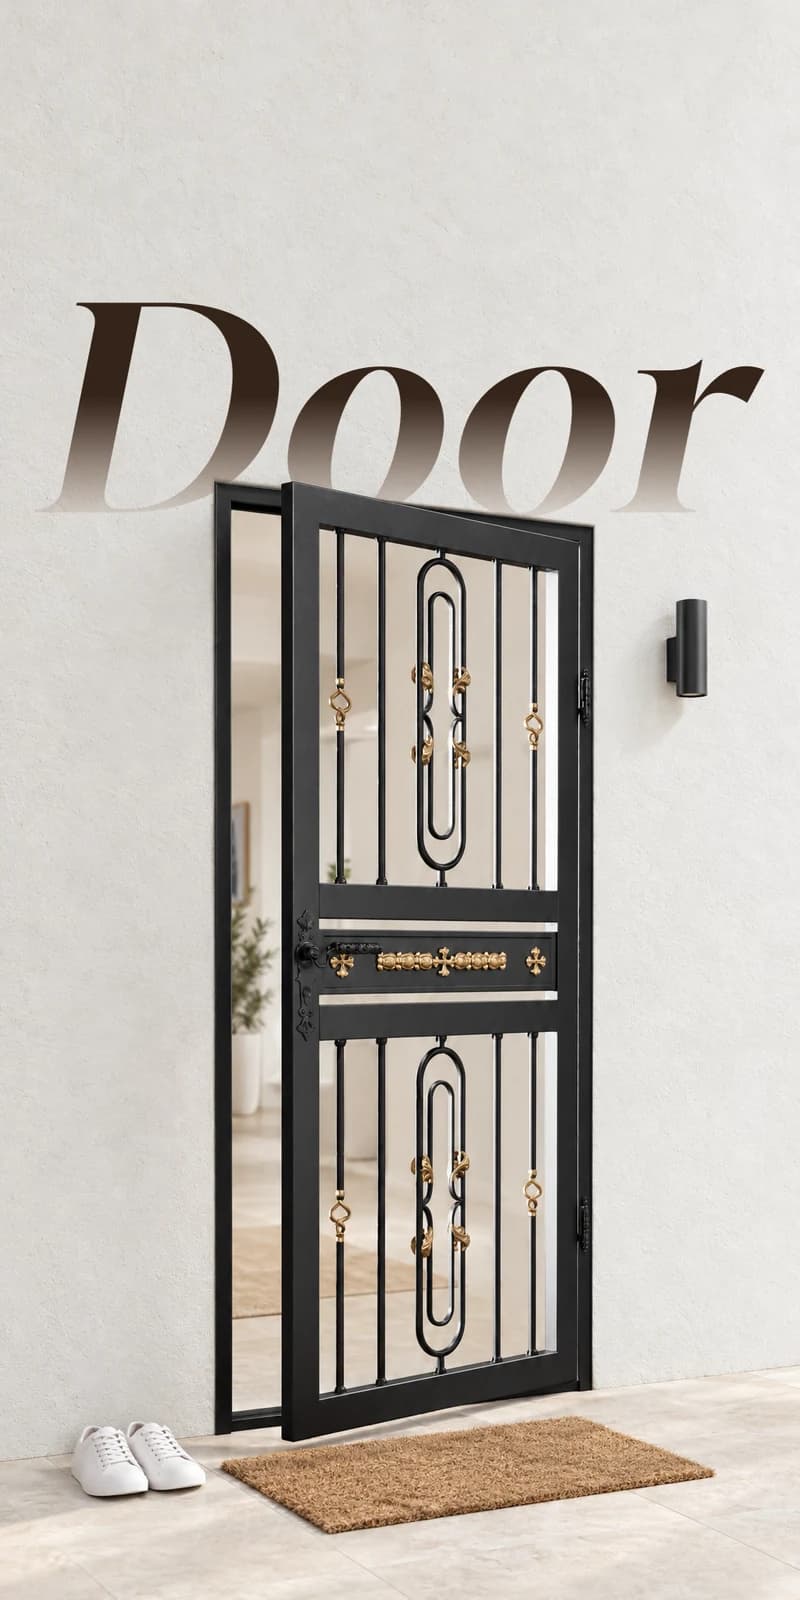
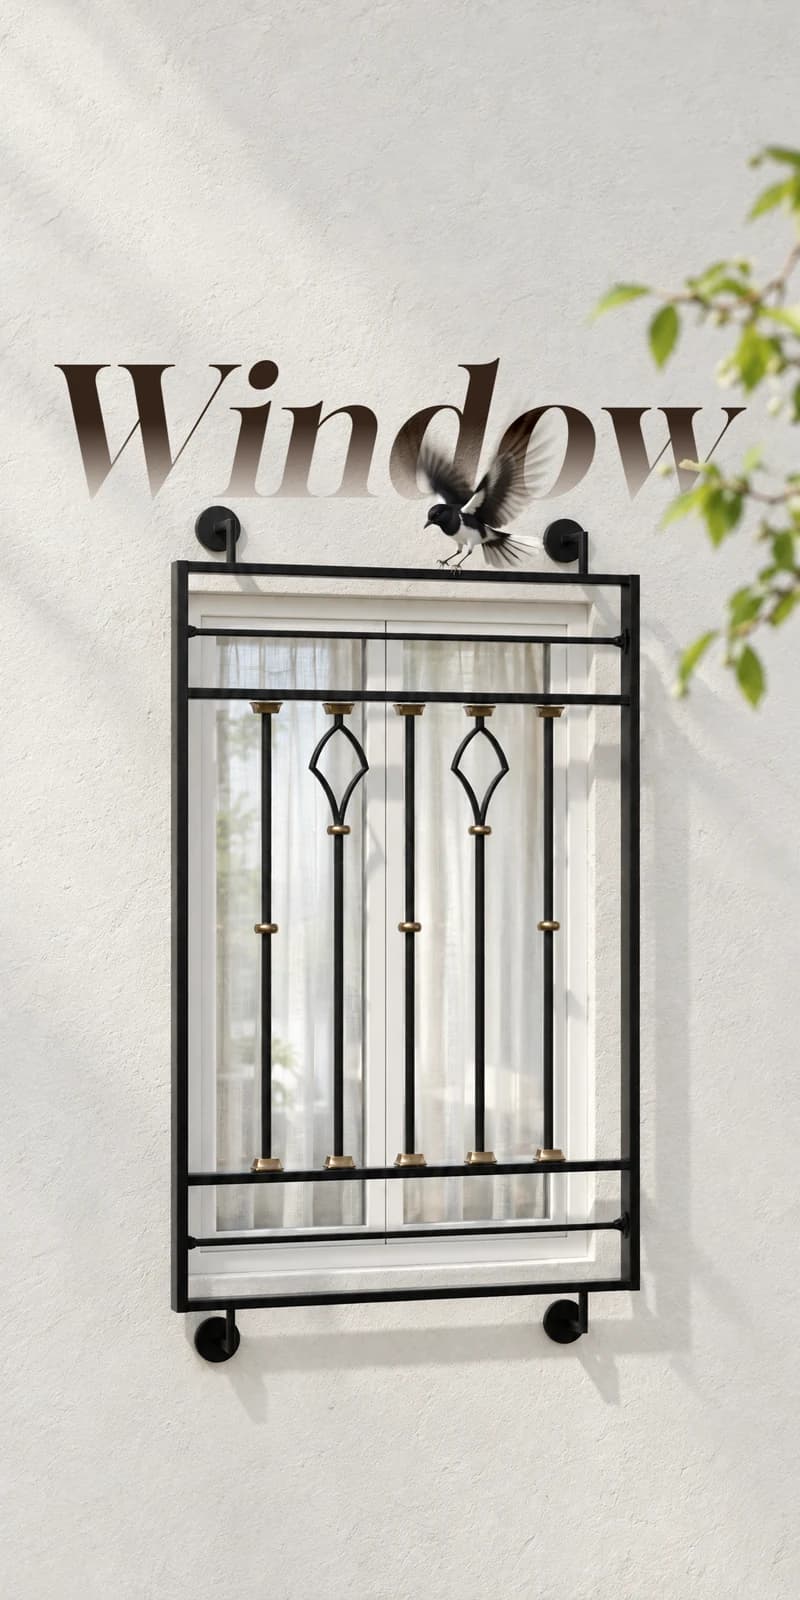
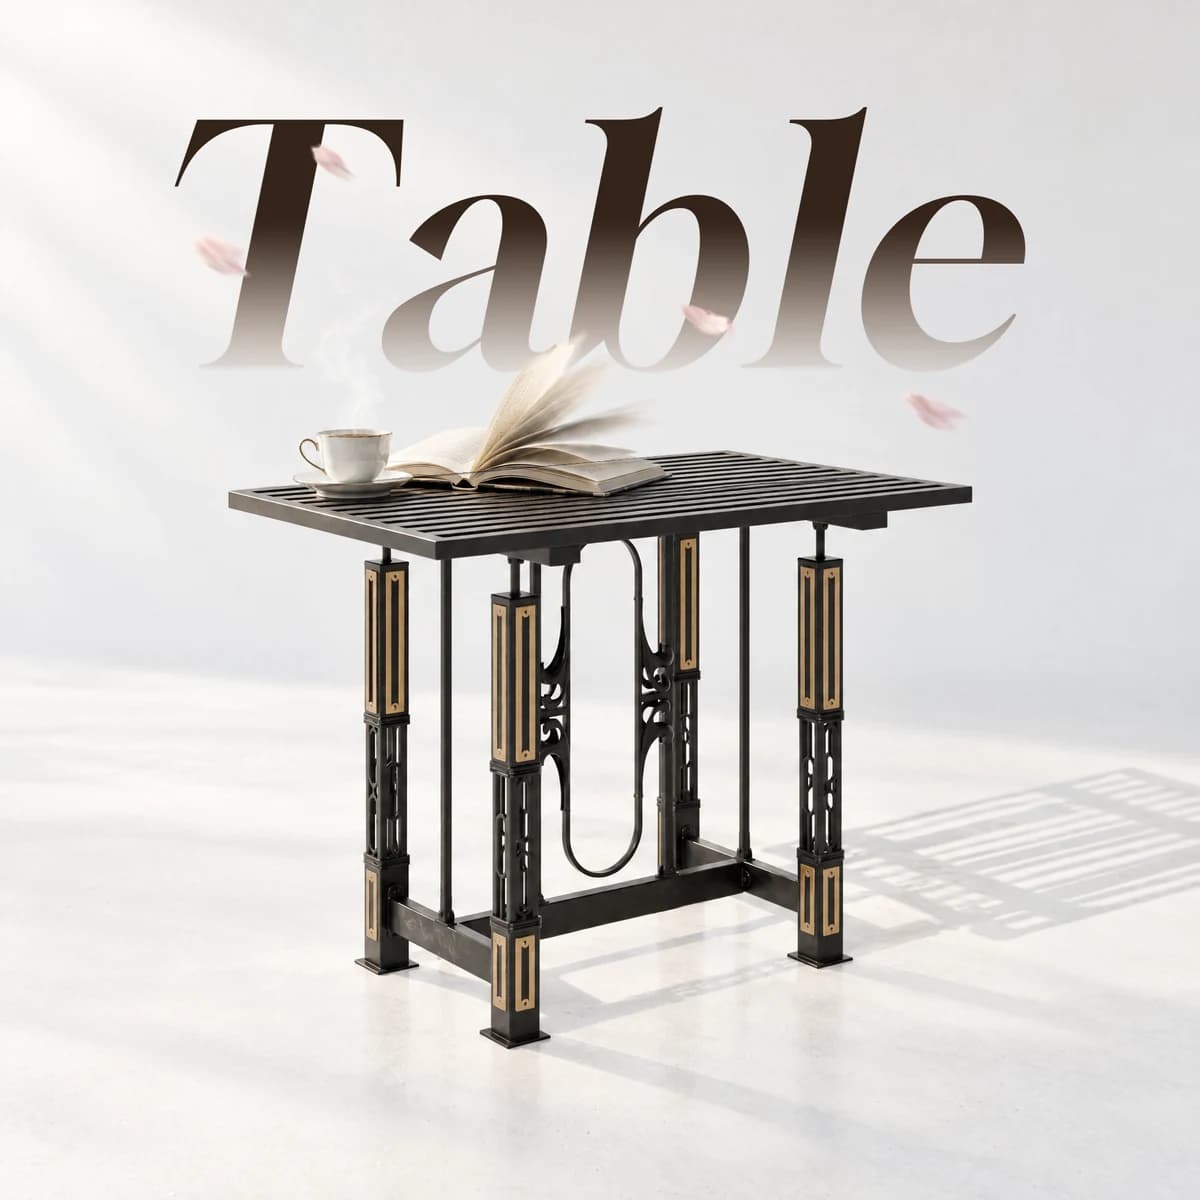
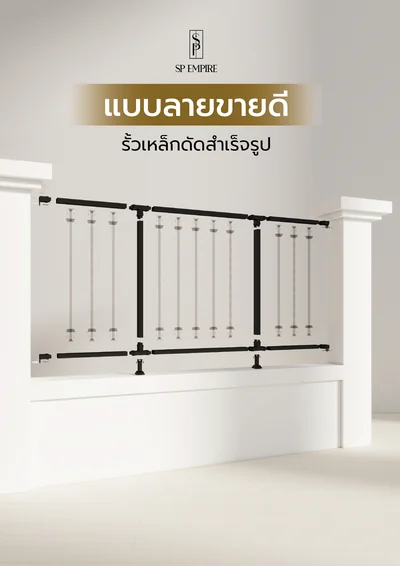
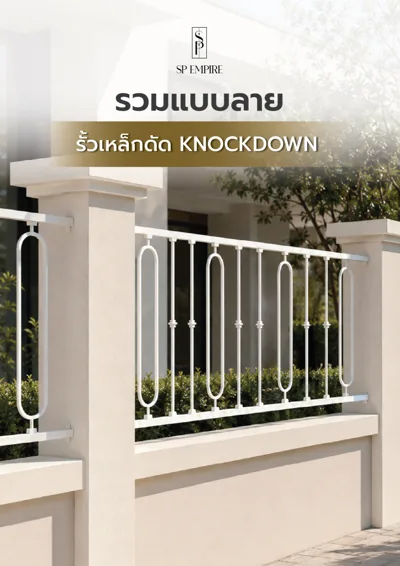
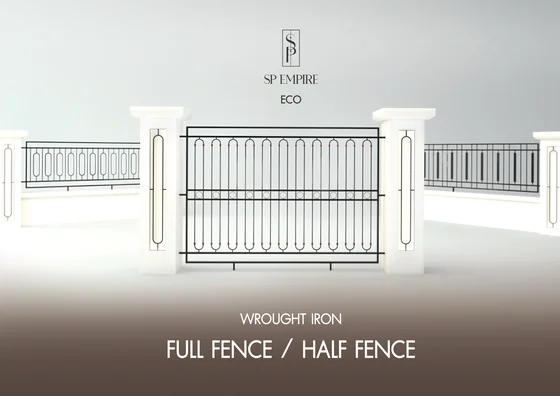
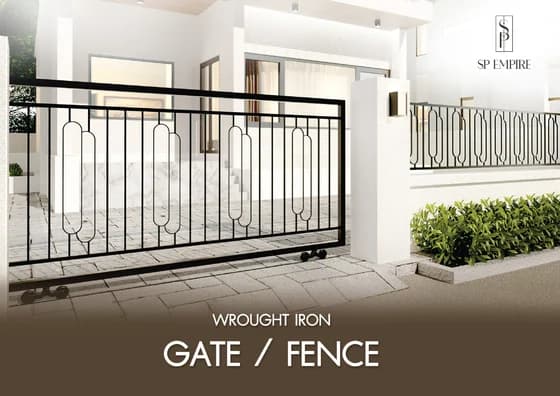
Ready-made wrought iron fence, boxed and ready to use, designed for easy installation in just a few steps: measure, cut, insert and bolt, with no welding
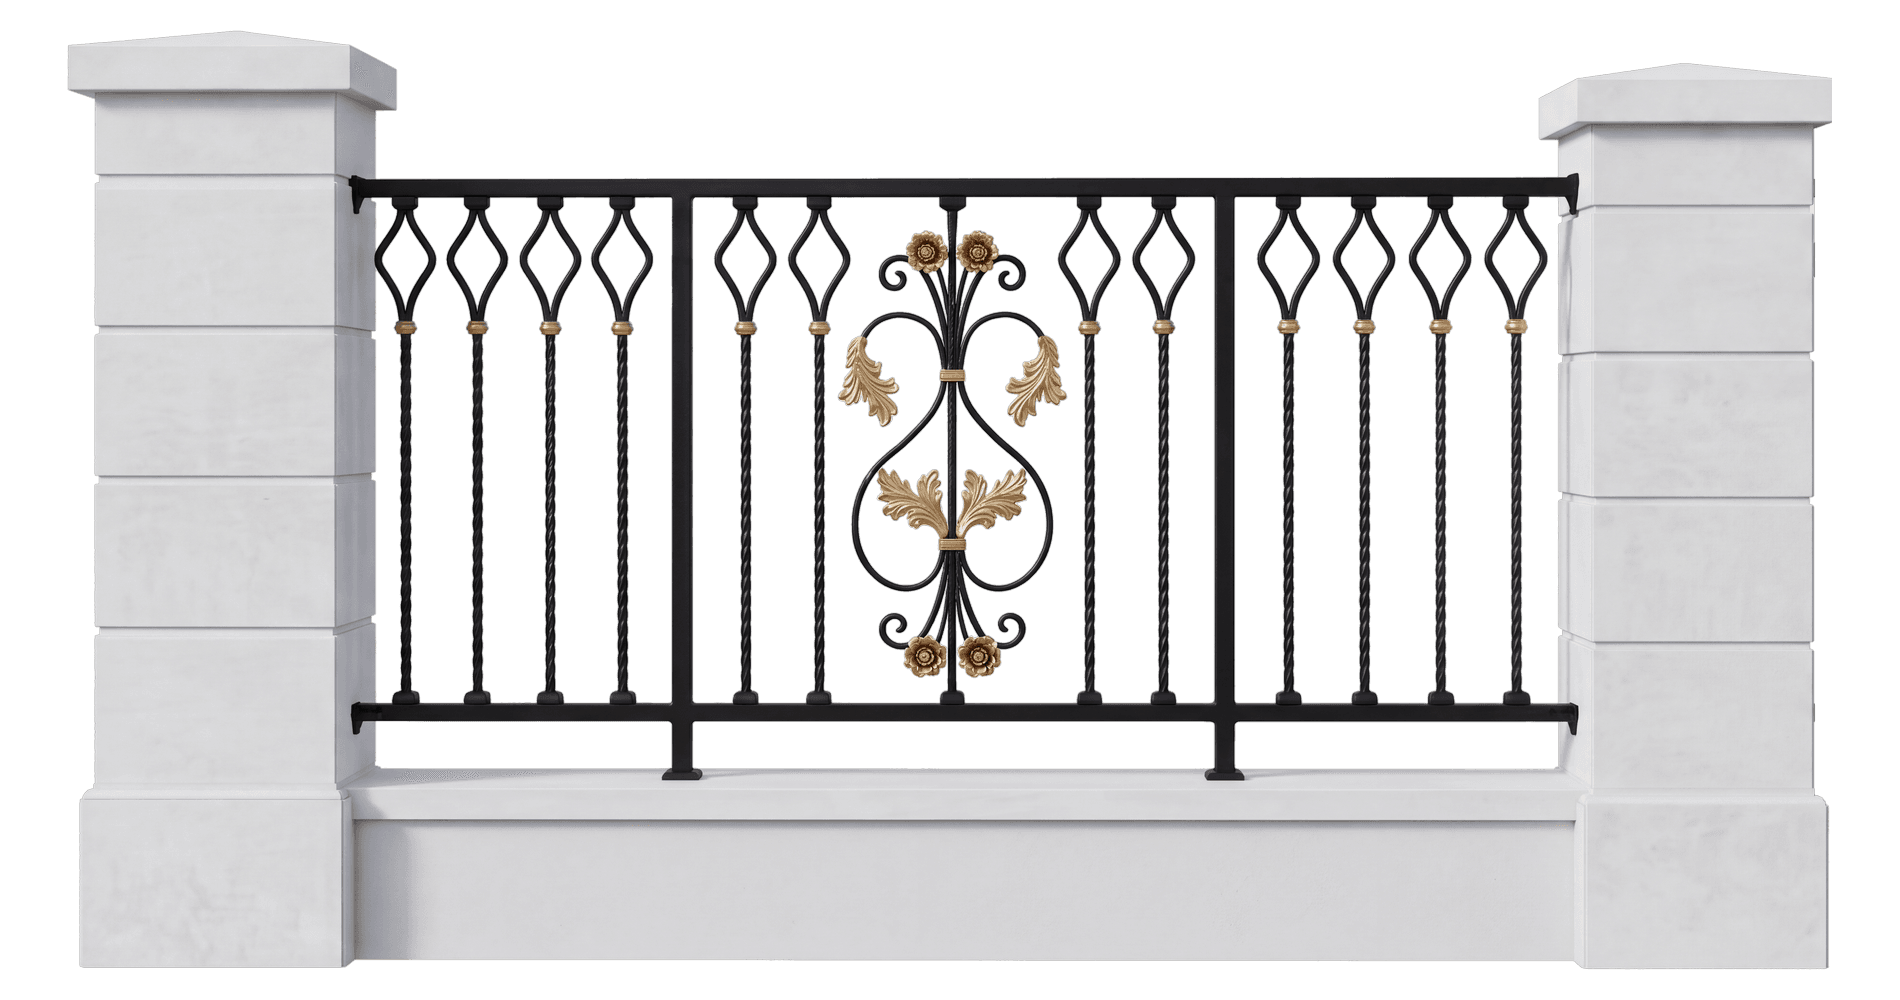
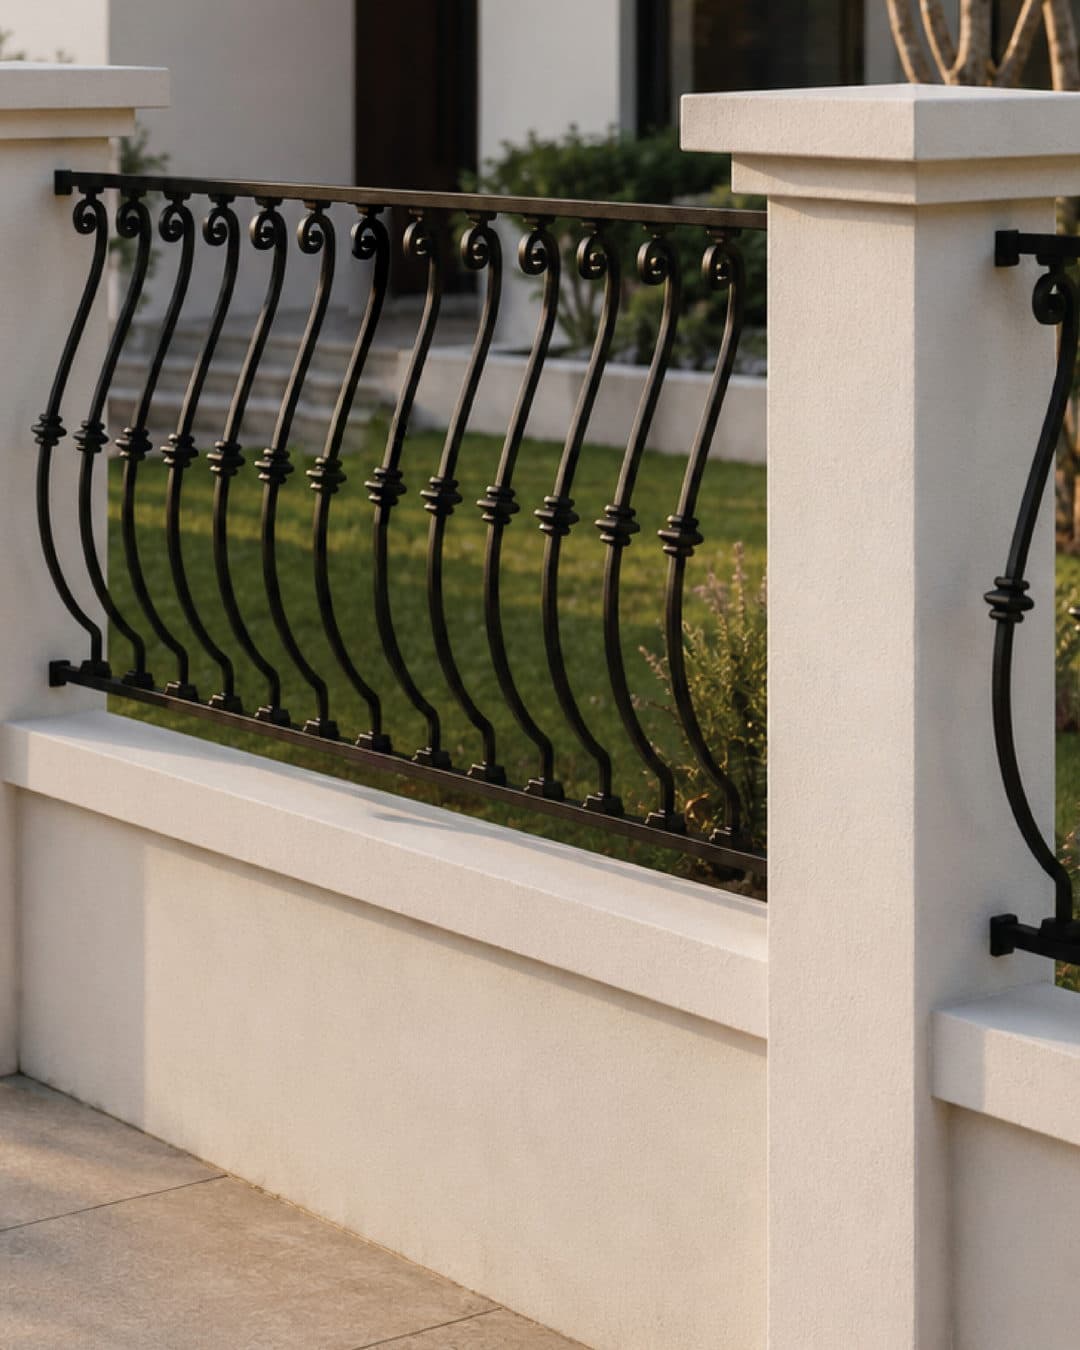
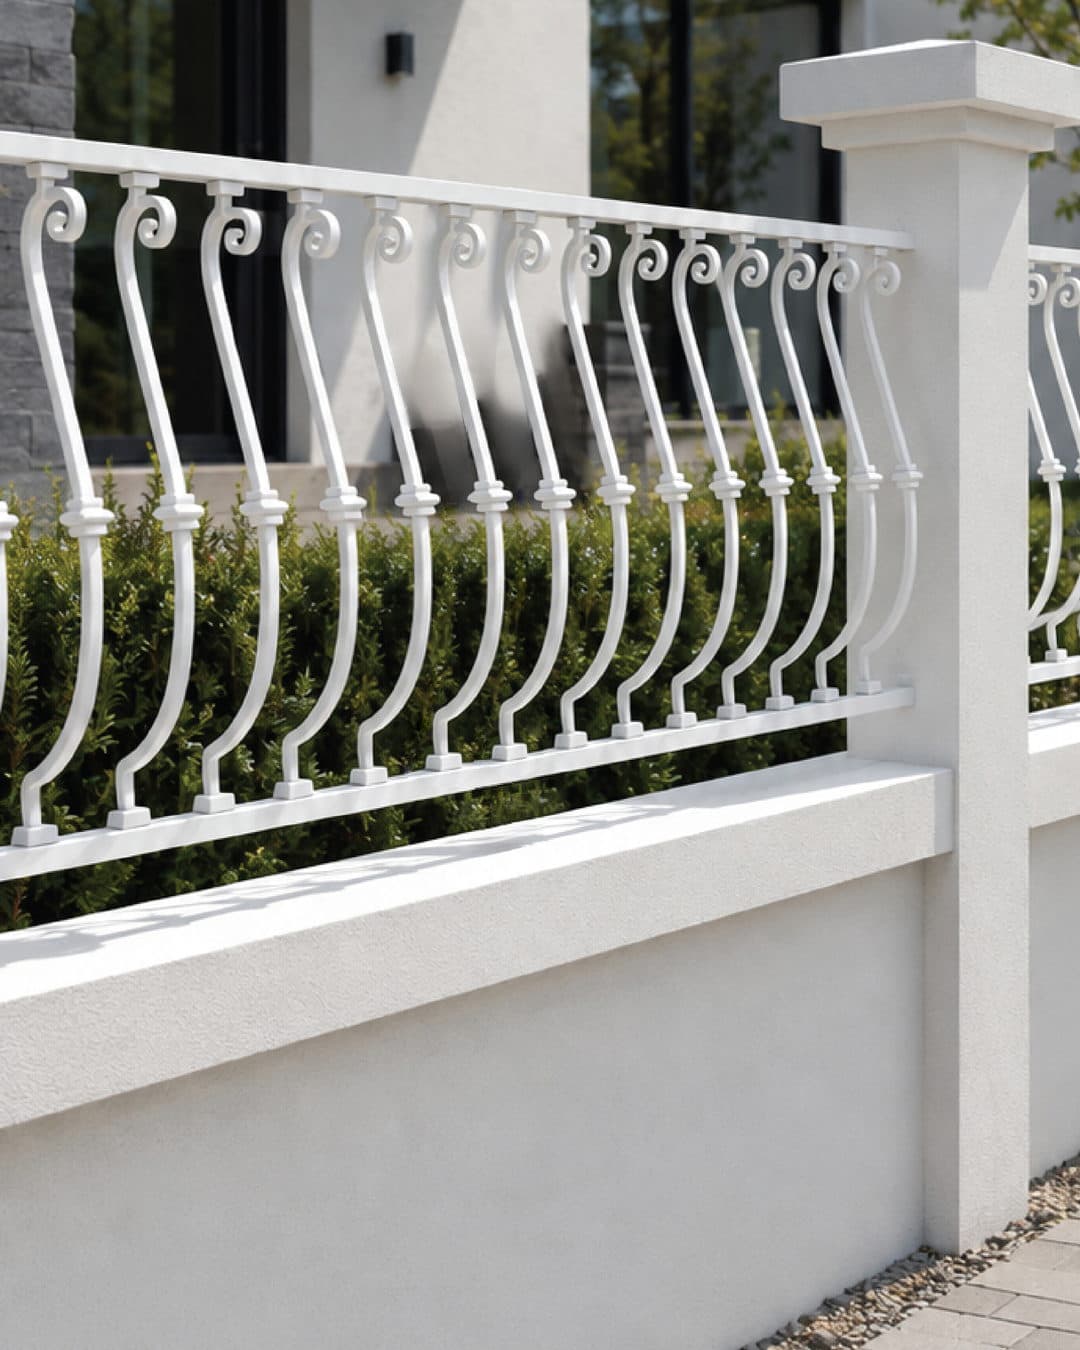
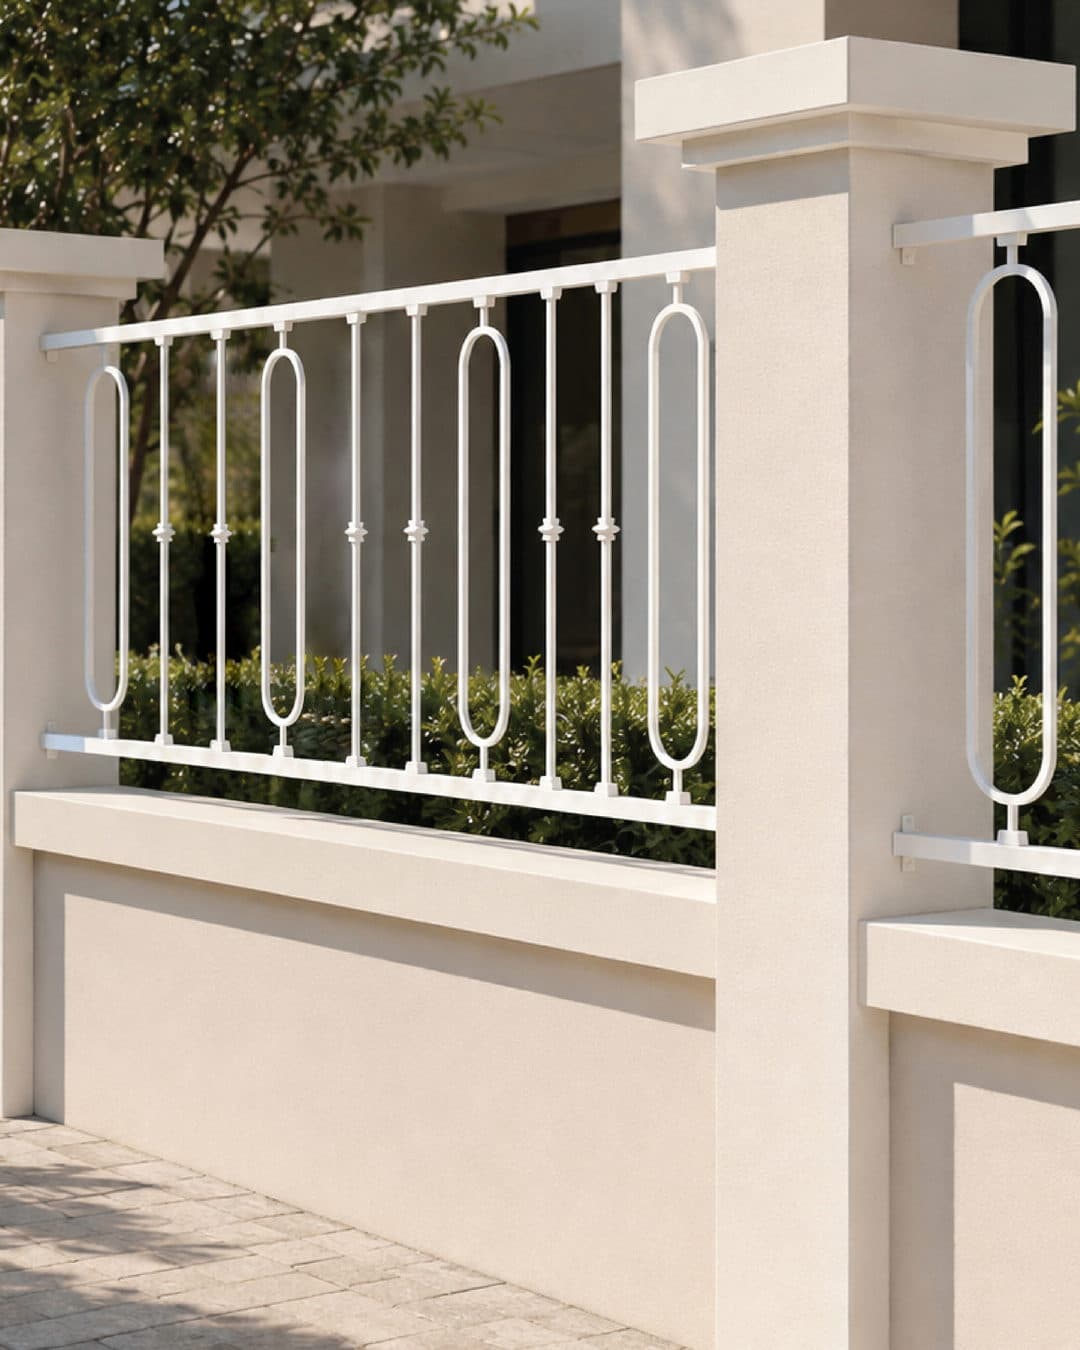

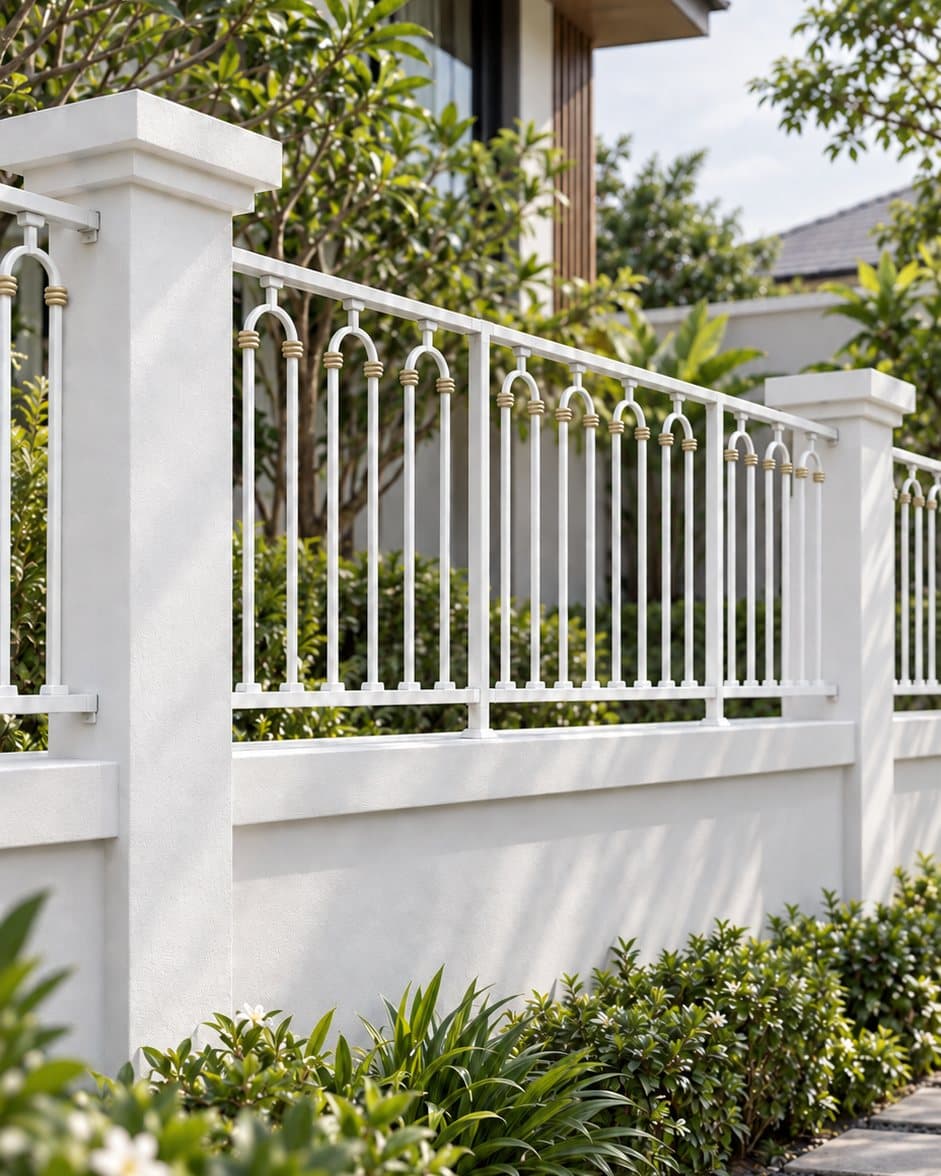
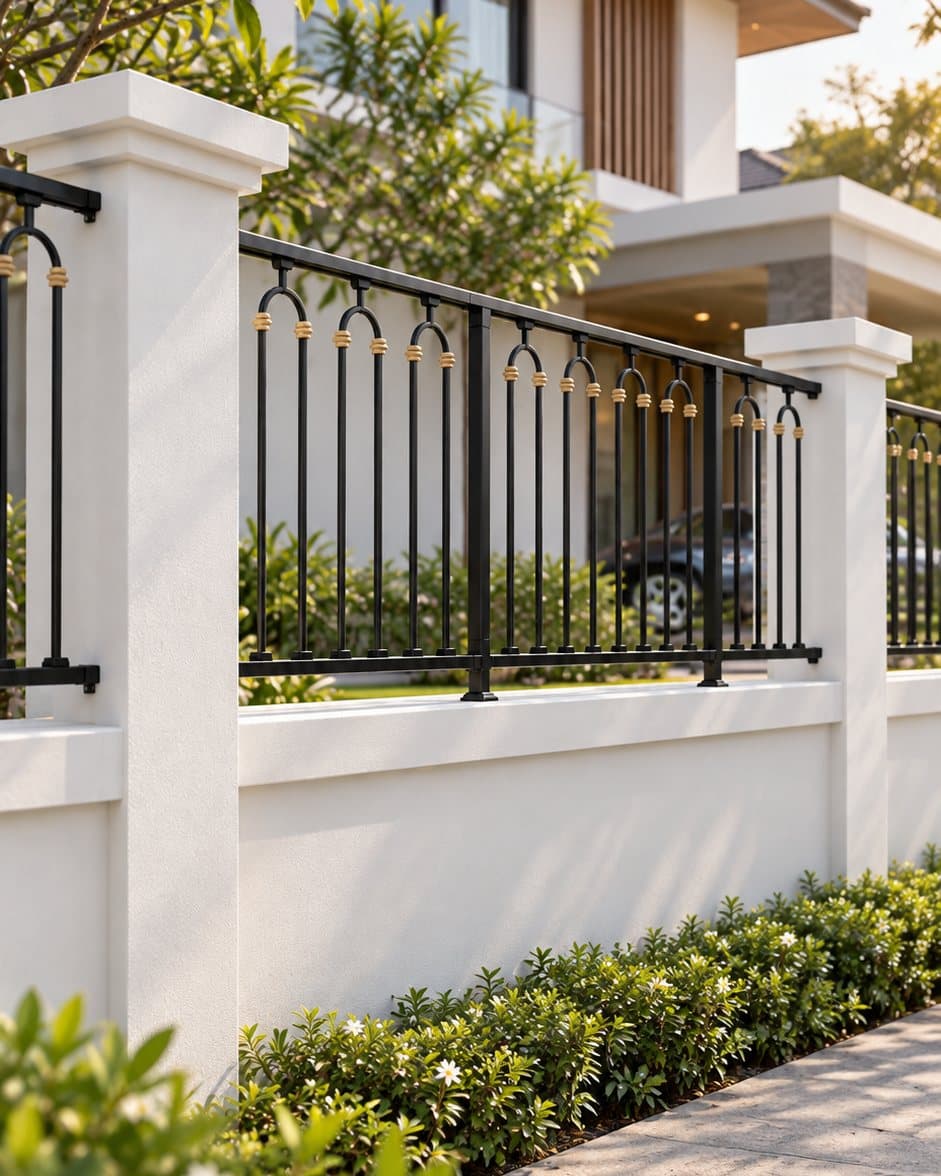
2-Layer Coating SystemProtects against rust and scratches
Ready to install right awayNo need to wait for a technician
No sparks, no hazardsNo on-site welding
Strong and durableSun and rain resistant, built for any weather
CatalogsCatalog
Tap a book to download the PDF
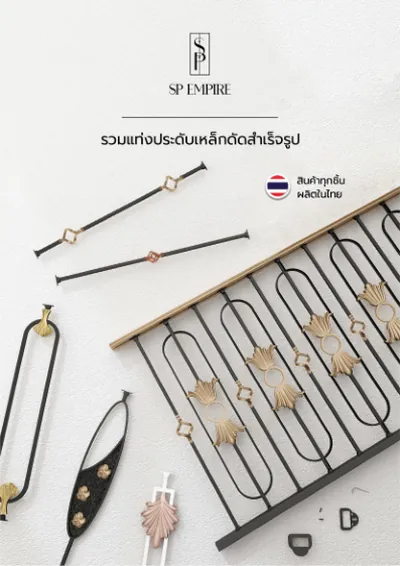
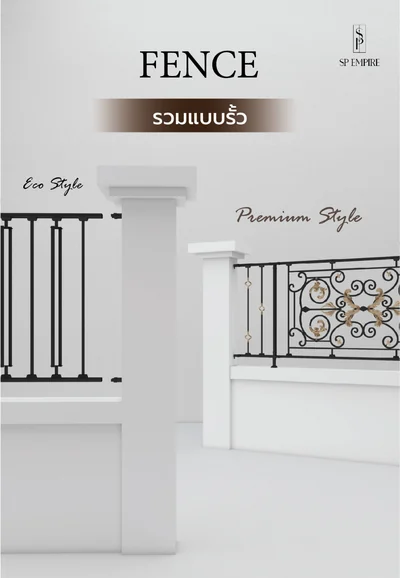
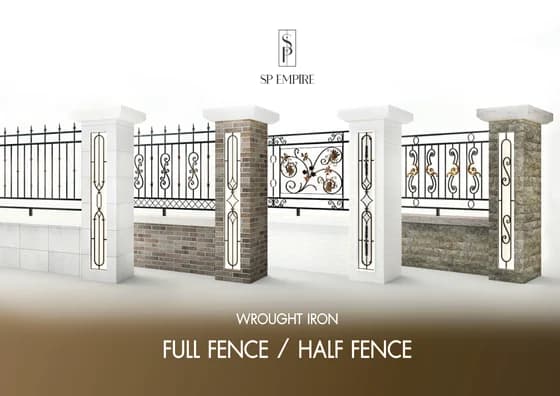
Fence · Ready-made Wrought Iron
8 things worth knowing · tap a card to see the details
Structure Simulator3D Preview
Choose the number of tiers, steel spec and site length, and see the assembled piece instantly
Set by concrete pillar height · 2 tiers 90–104 cm · 3 tiers 105–119 cm · 4 tiers 120 cm and up
3D view for presentation · the concrete pillars and wall are illustrative · see the manual for the actual parts list and dimensions
Structure Set Manual
Installation GuideInstallation
No Welding Just 4 steps
Designed to install easily in just a few steps. Even non-professionals can do it
Fence Installation Steps
Site length up to 2 metersFence Installation Steps
Site length up to 2 meters01/ 06Measure
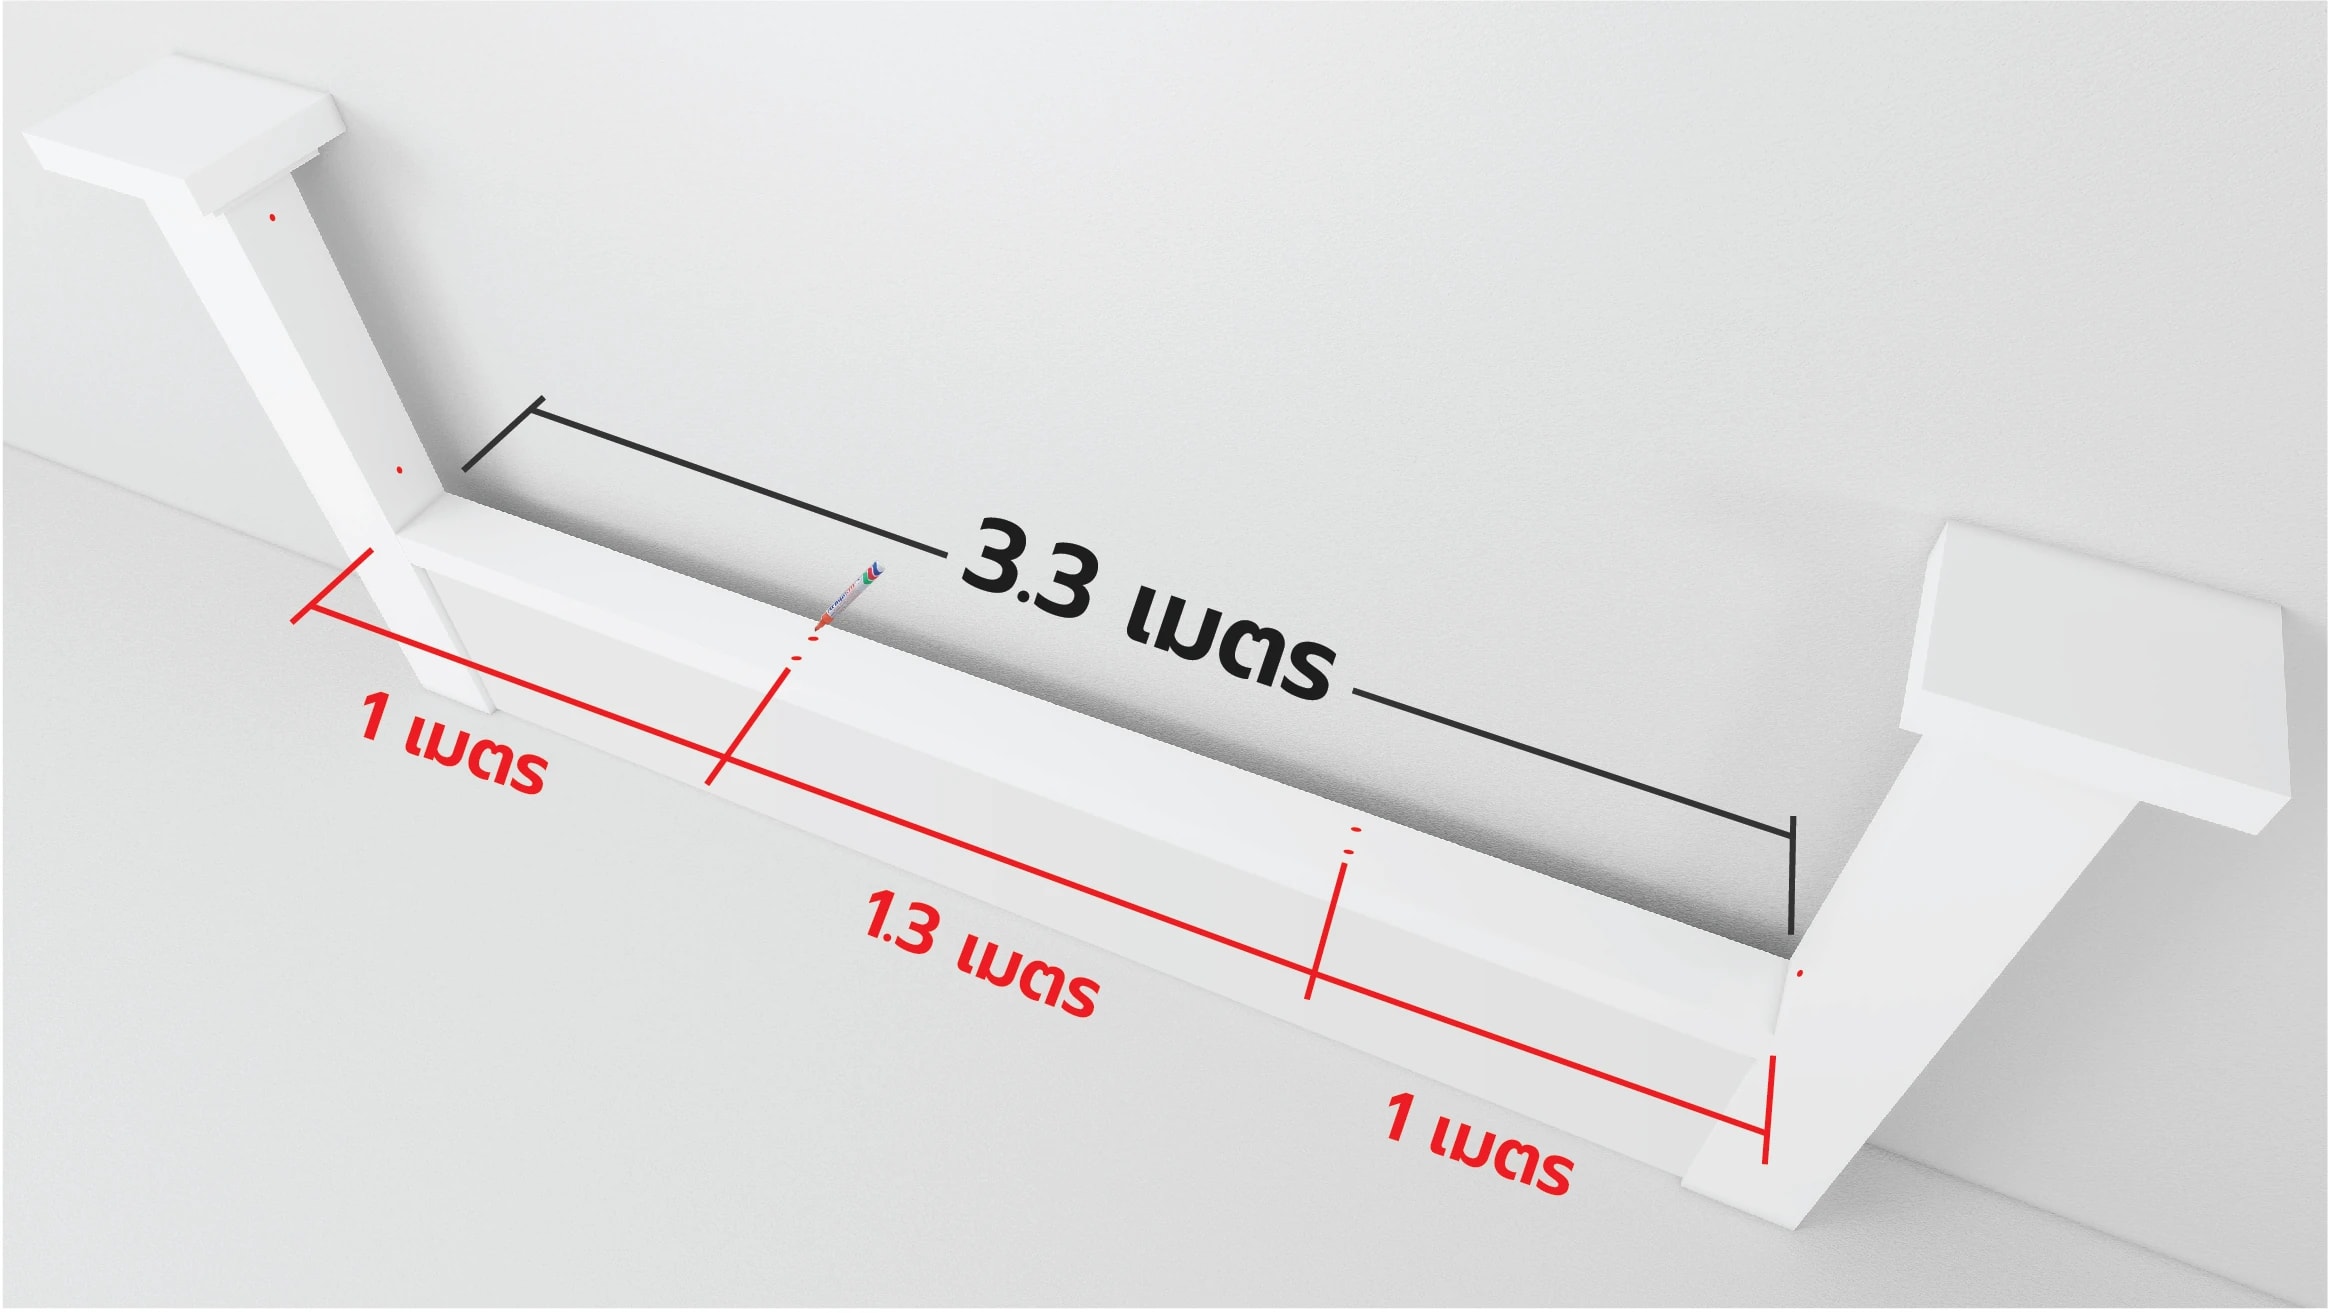
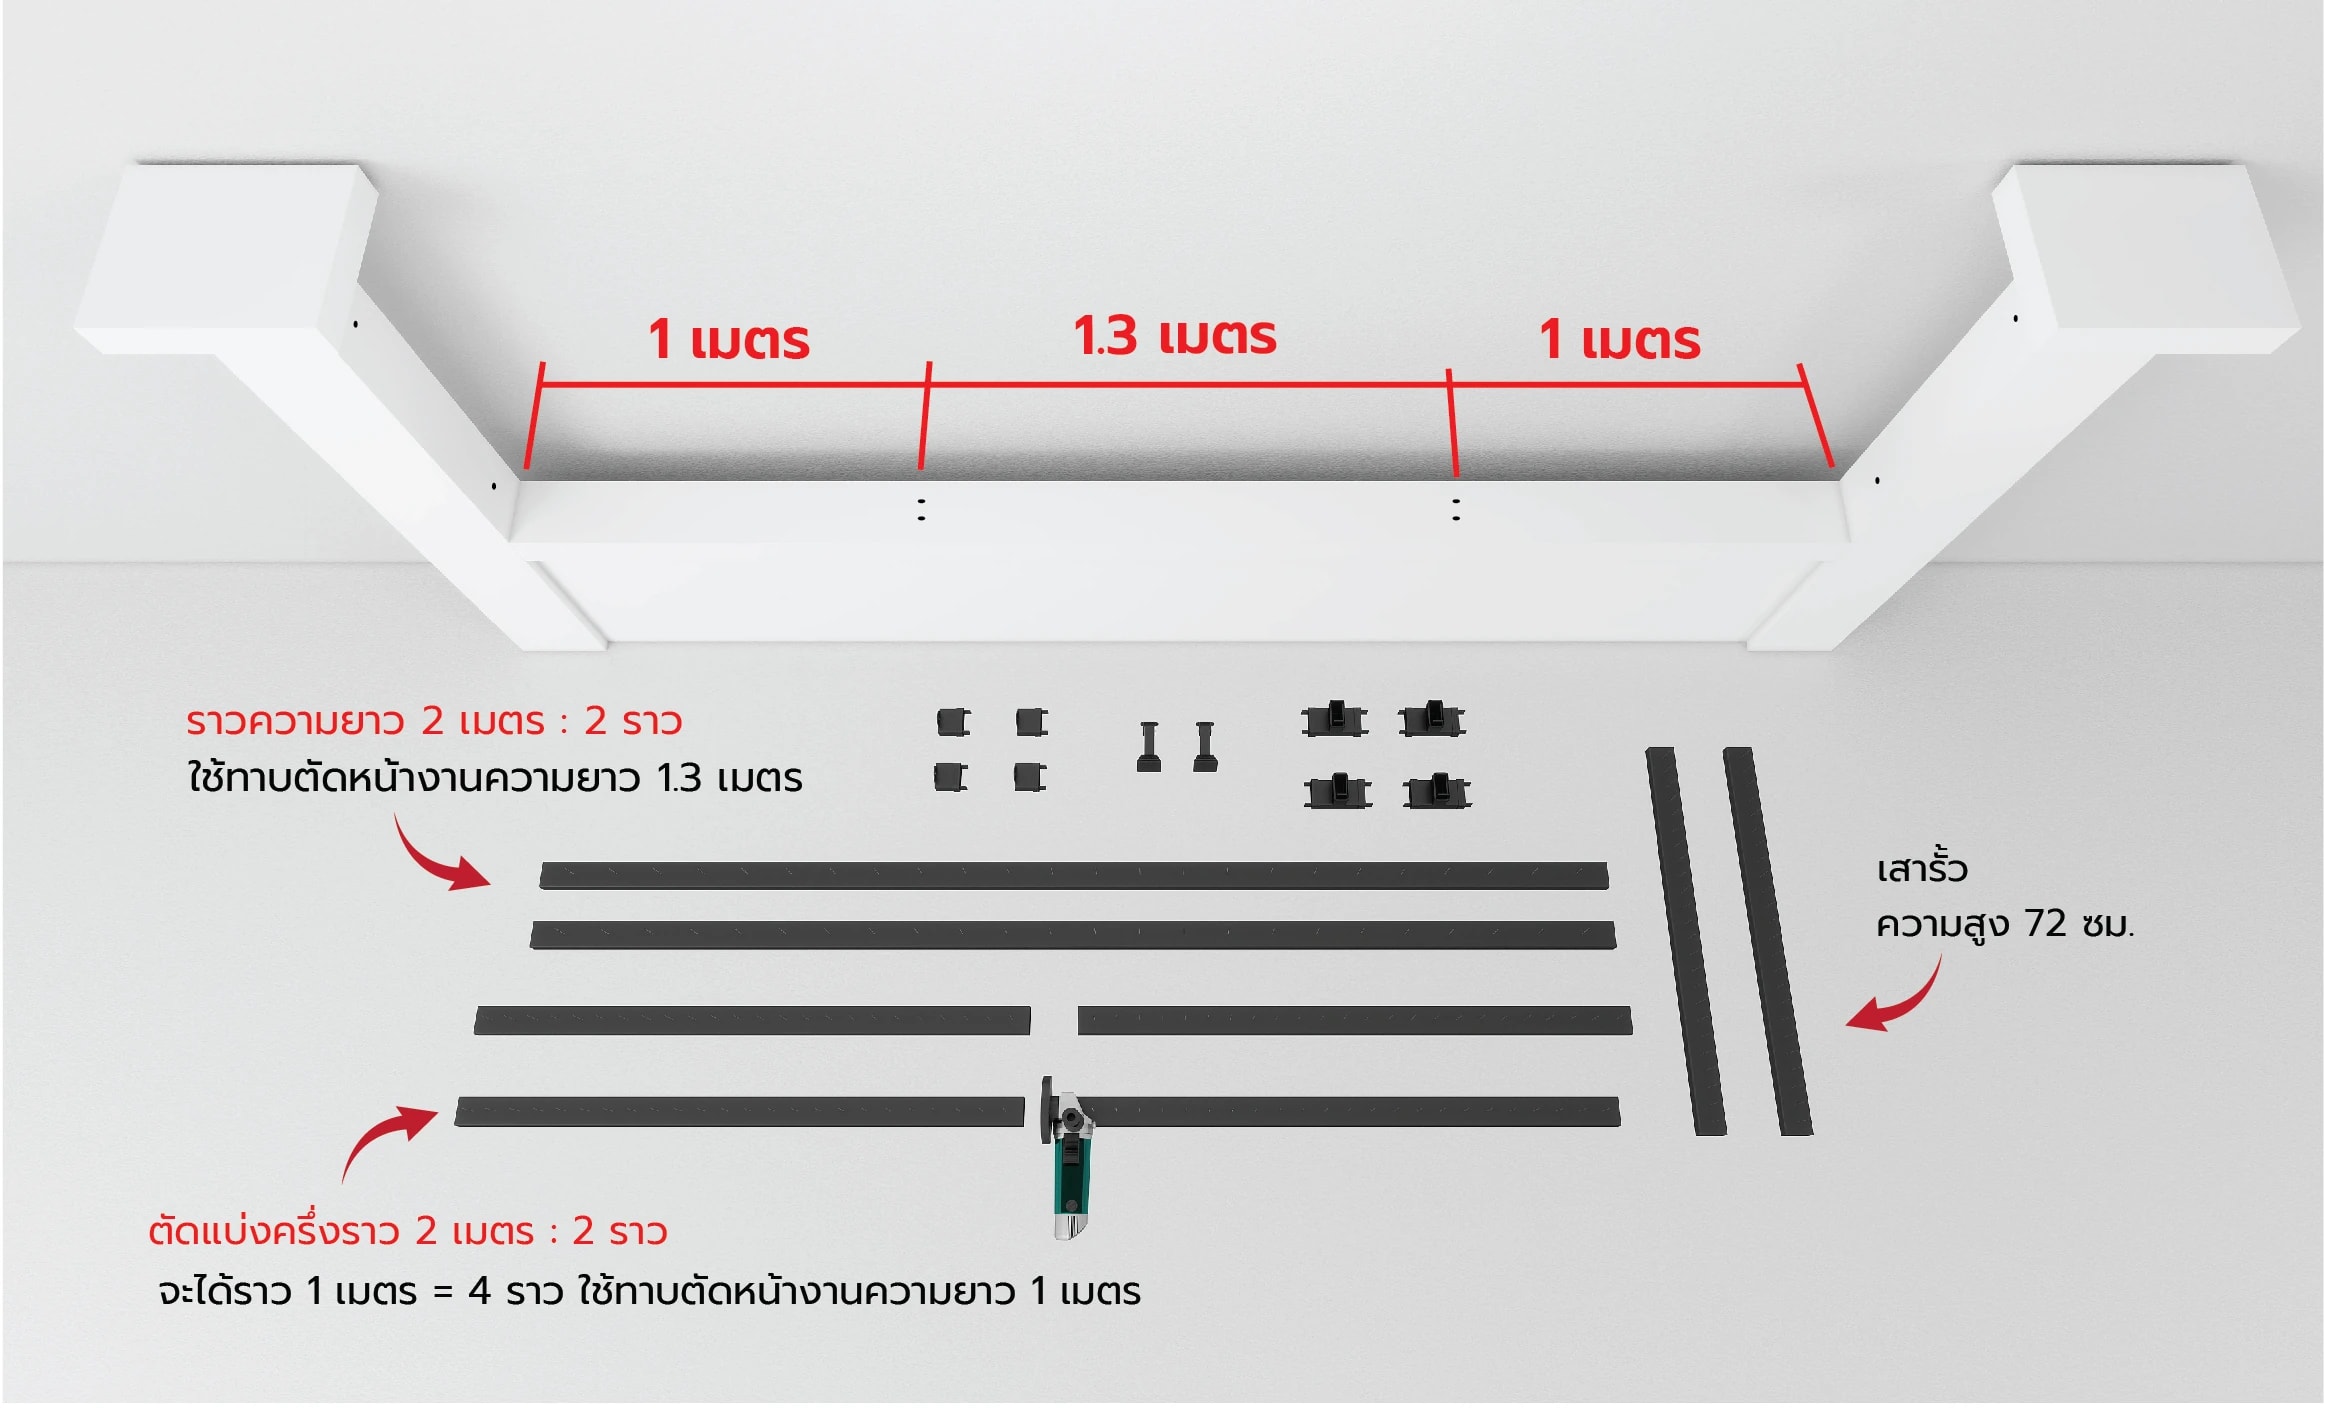
Hold a 2-meter rail against the span and mark the excess to cut, equally on the left and rightready to mark the drilling points on the wall pillars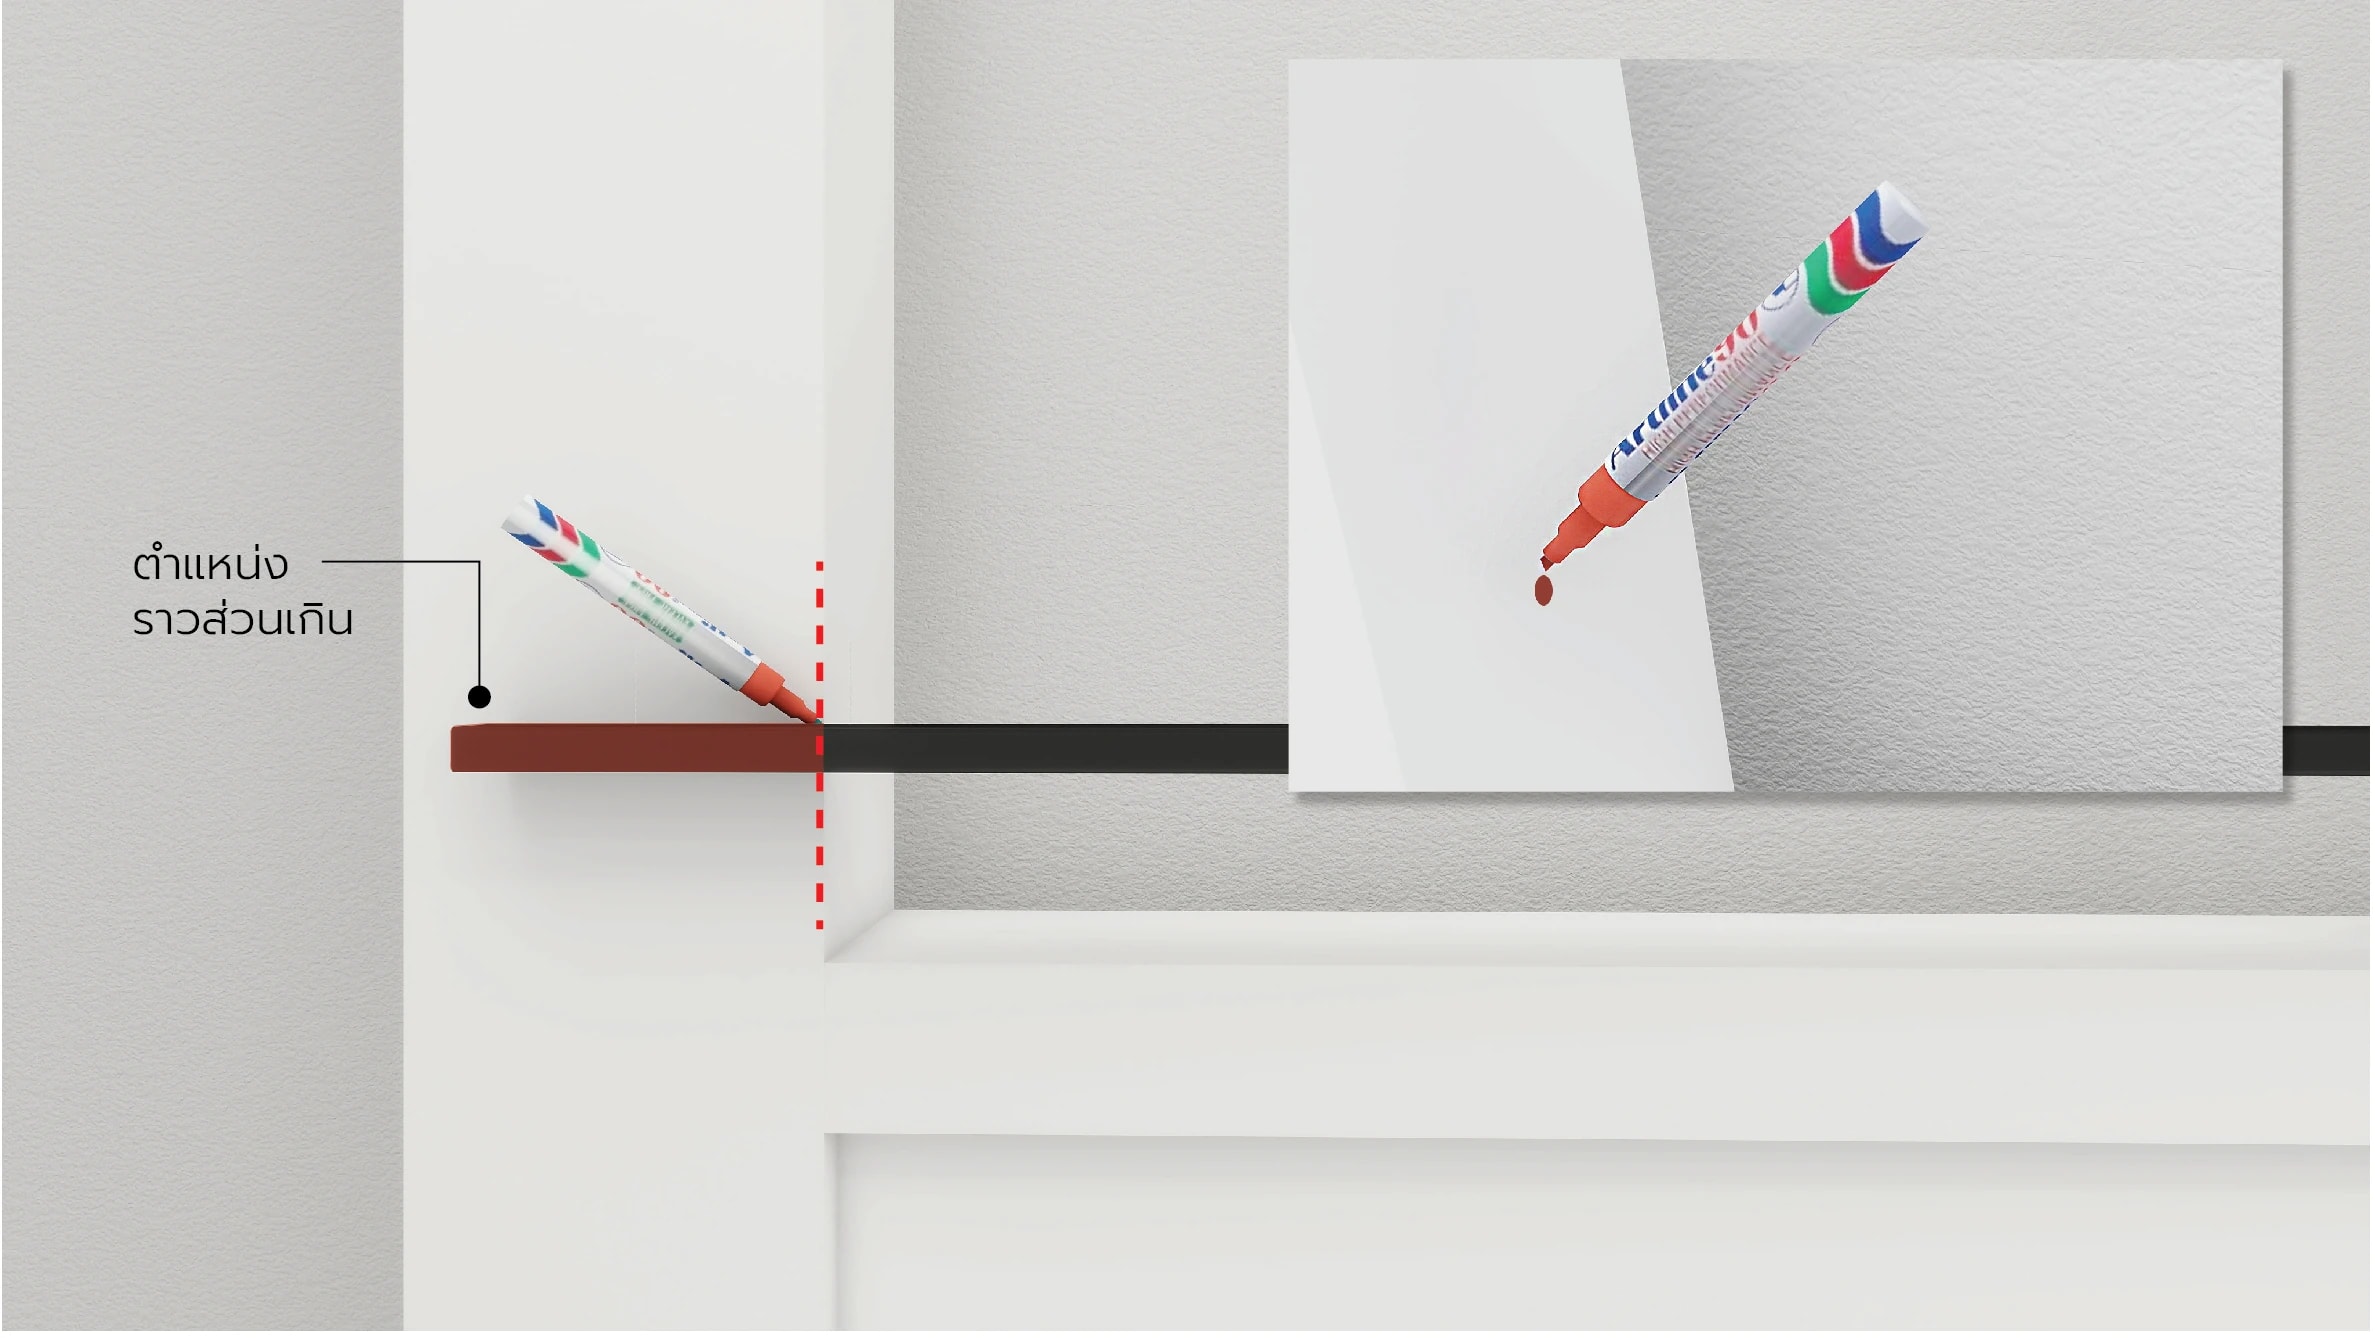
02/ 06Cut
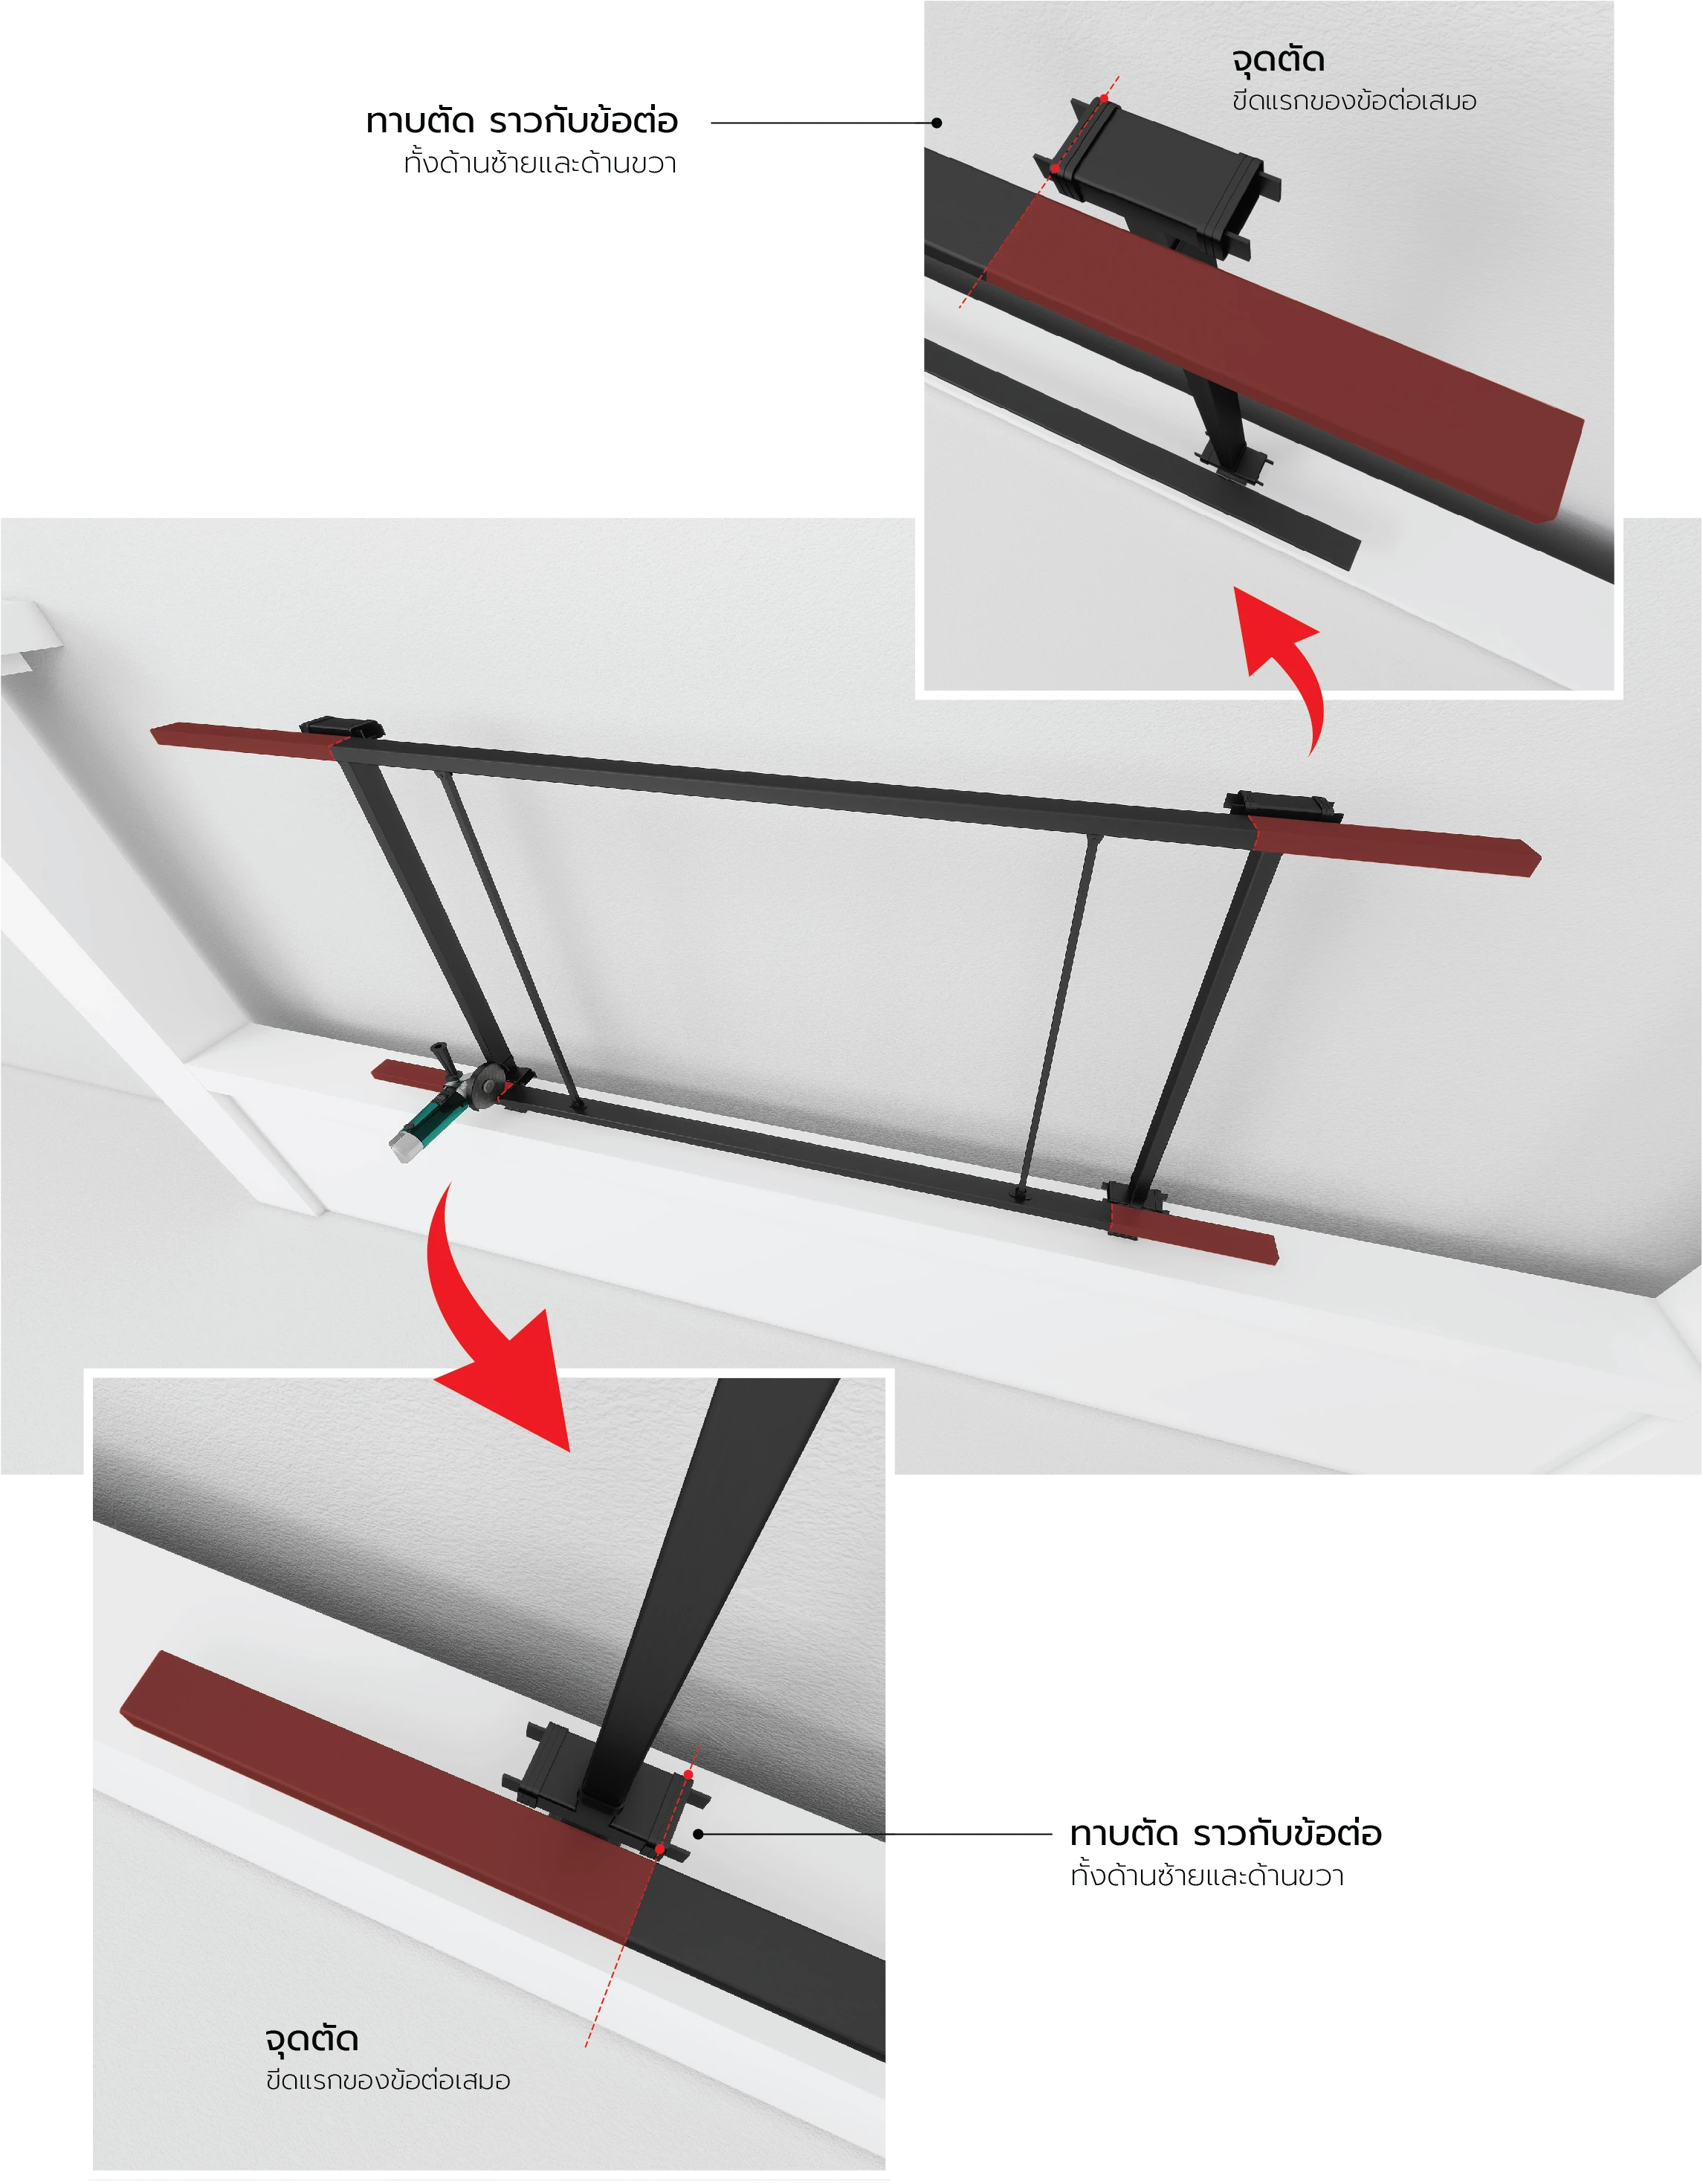
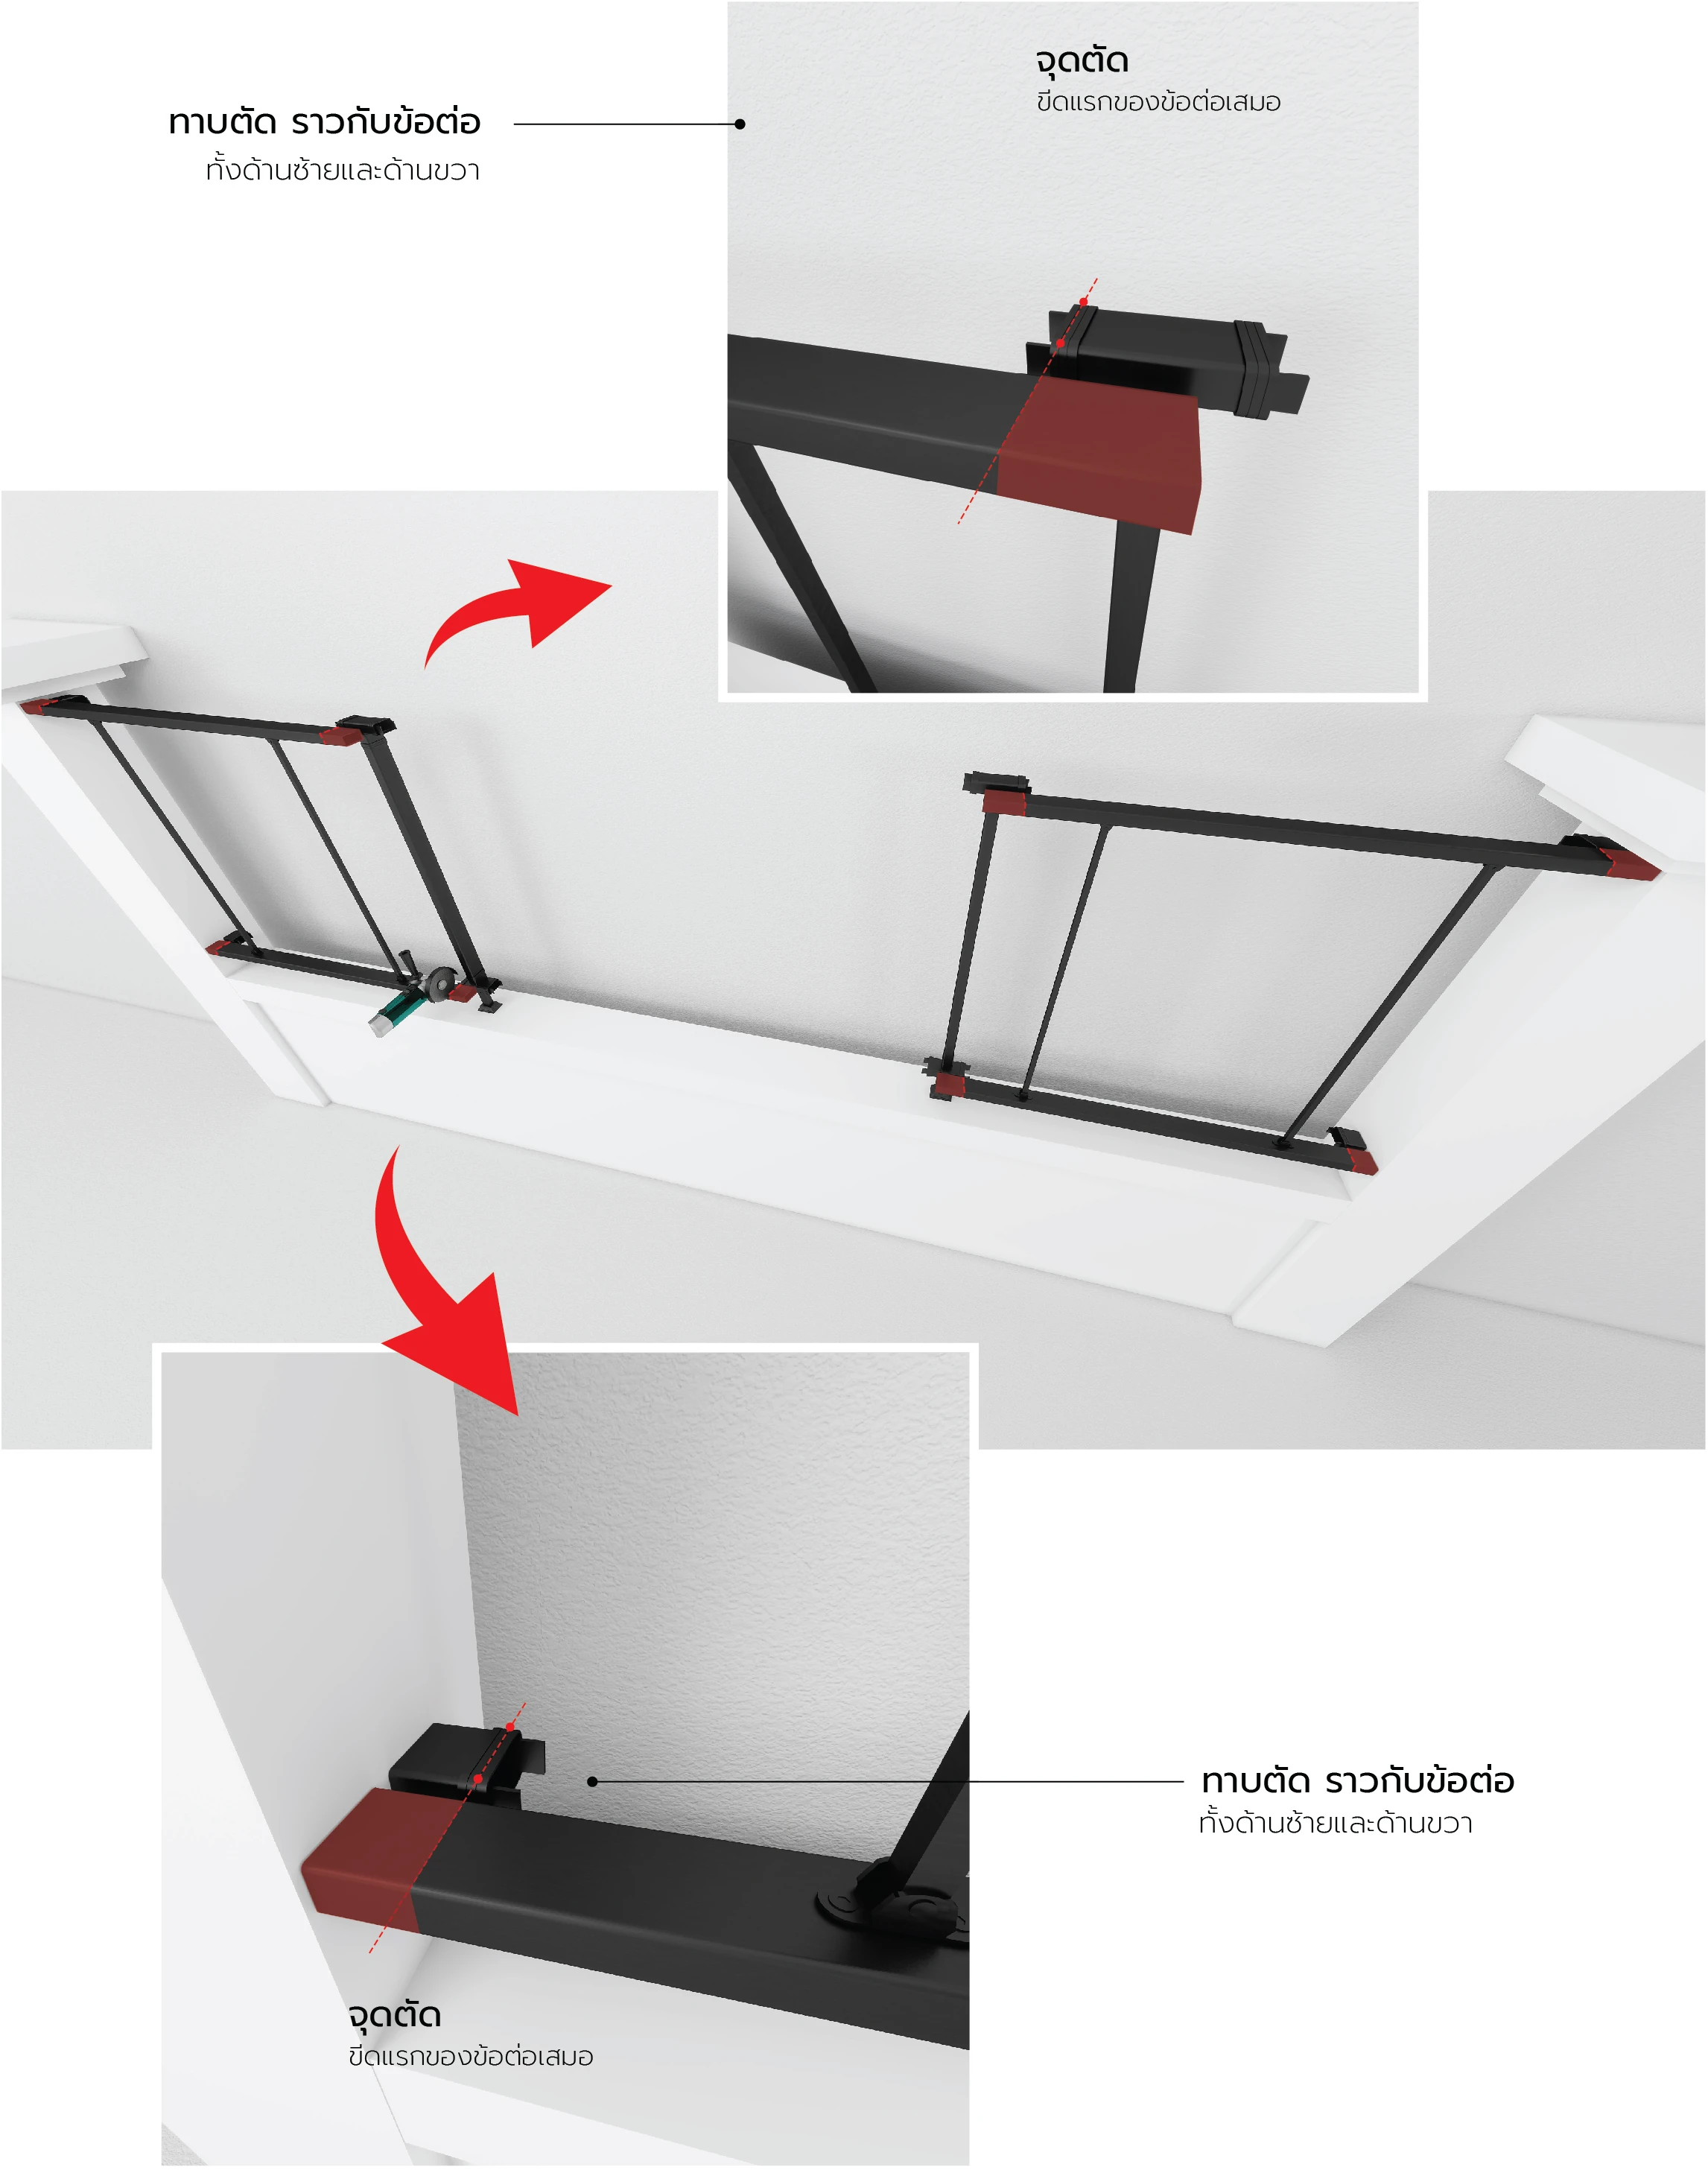
Hold the rail against the connector to find the excess cut point along the marked line, on both the left and right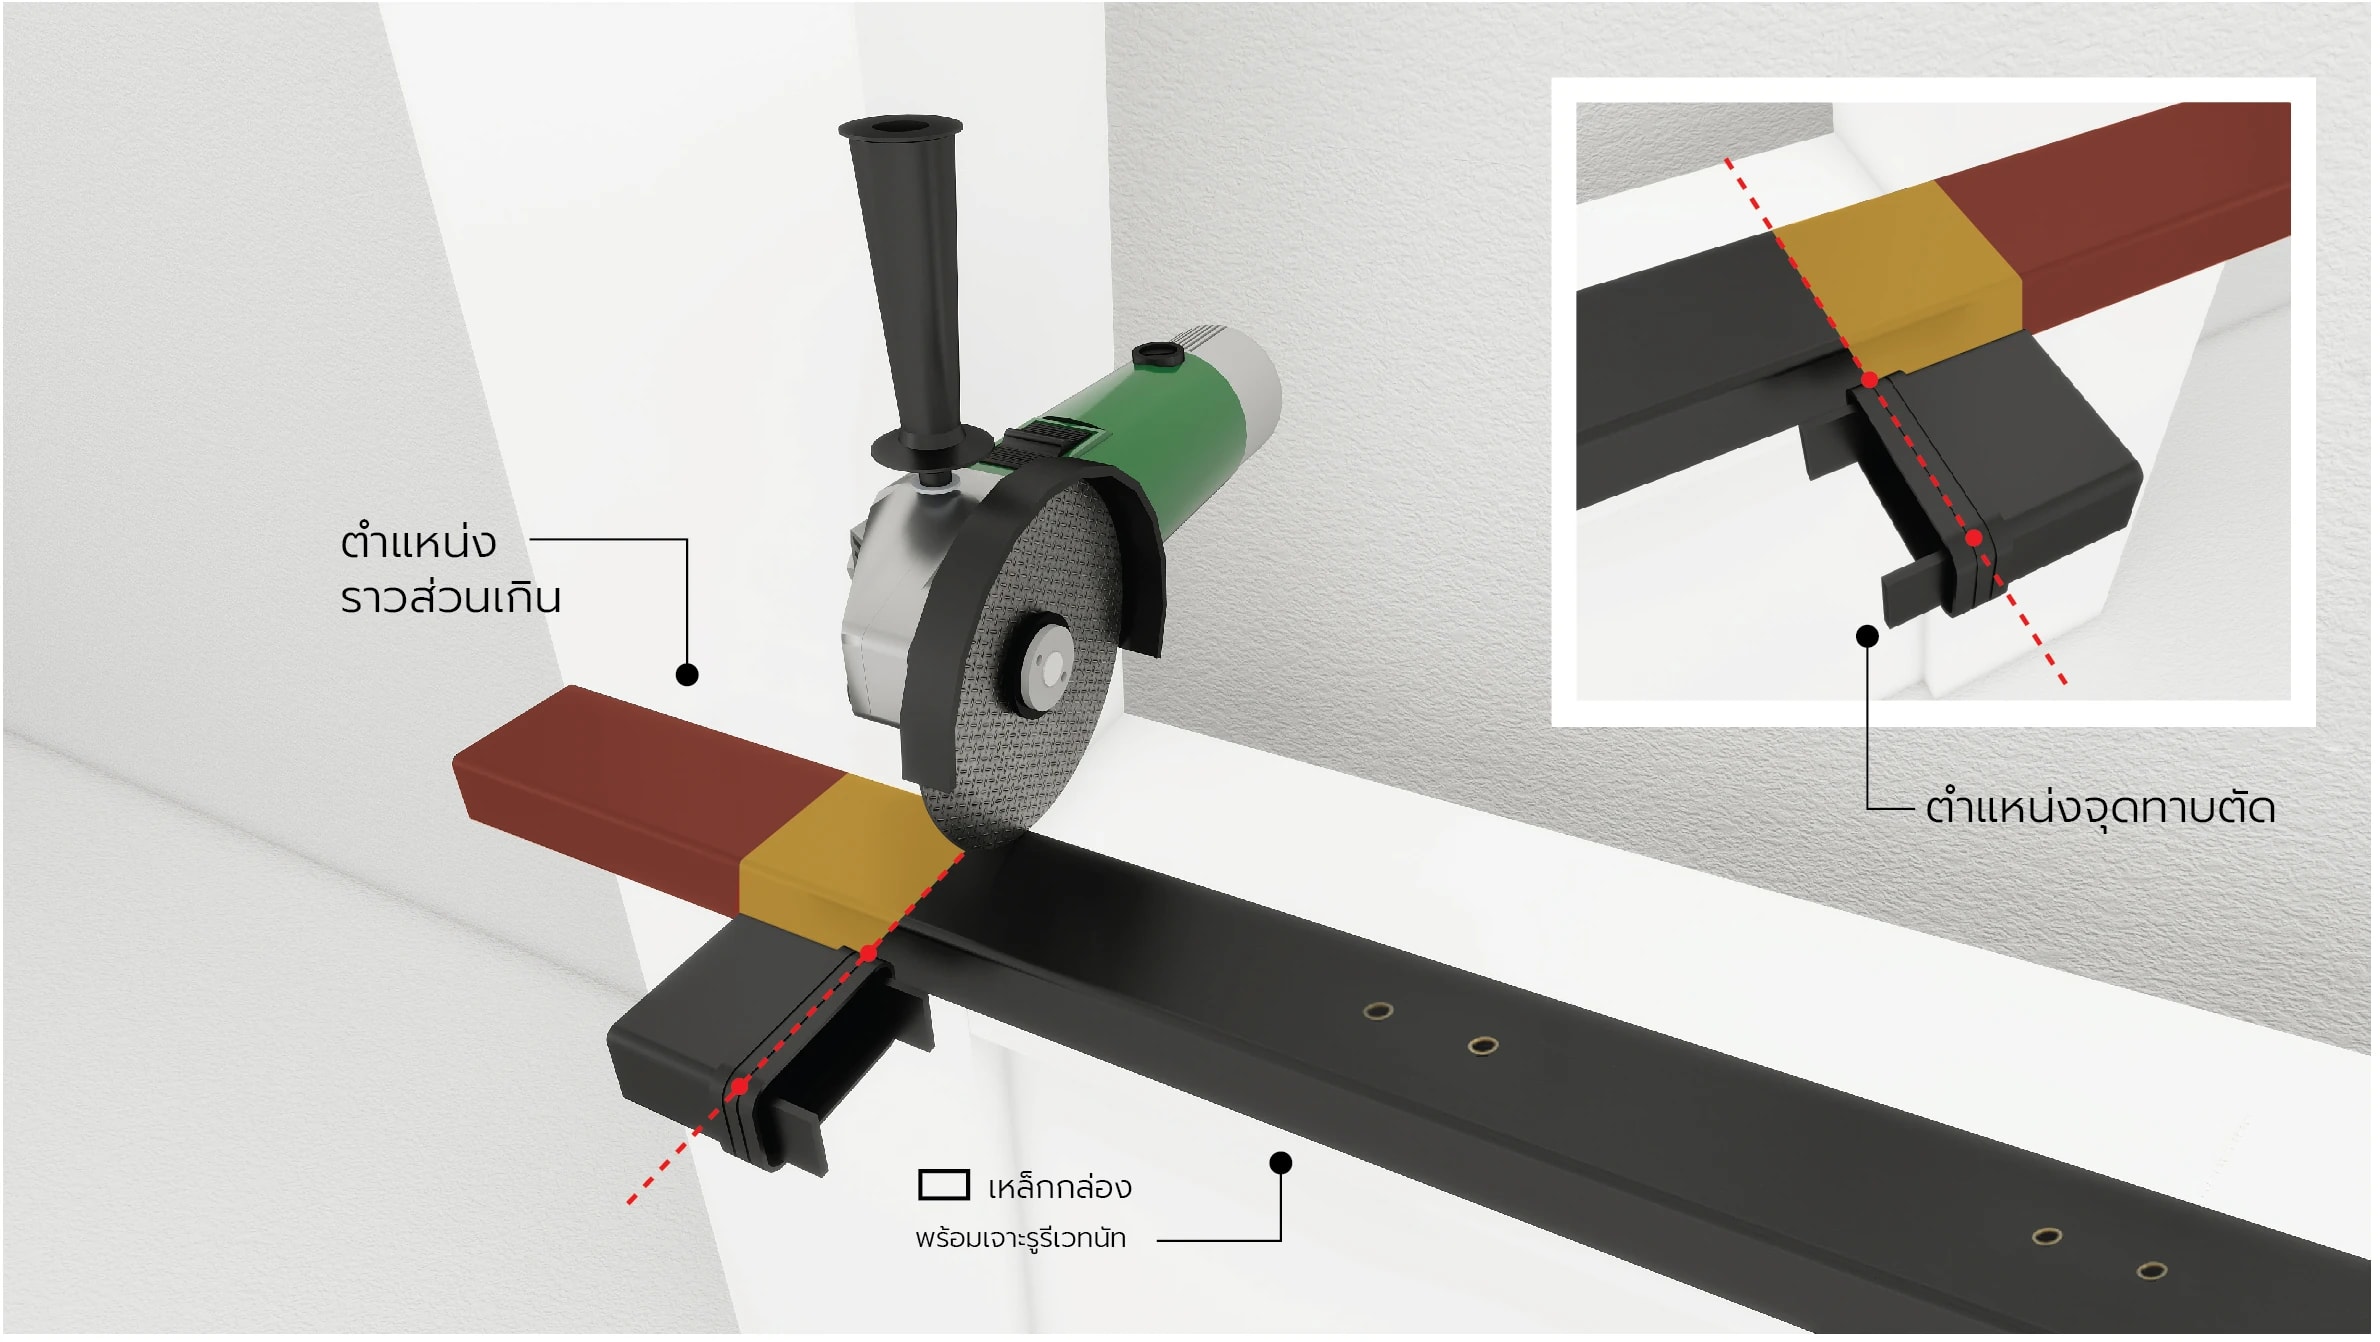
03/ 06Cut
Drill holes in the wall pillars at the marked points with a drill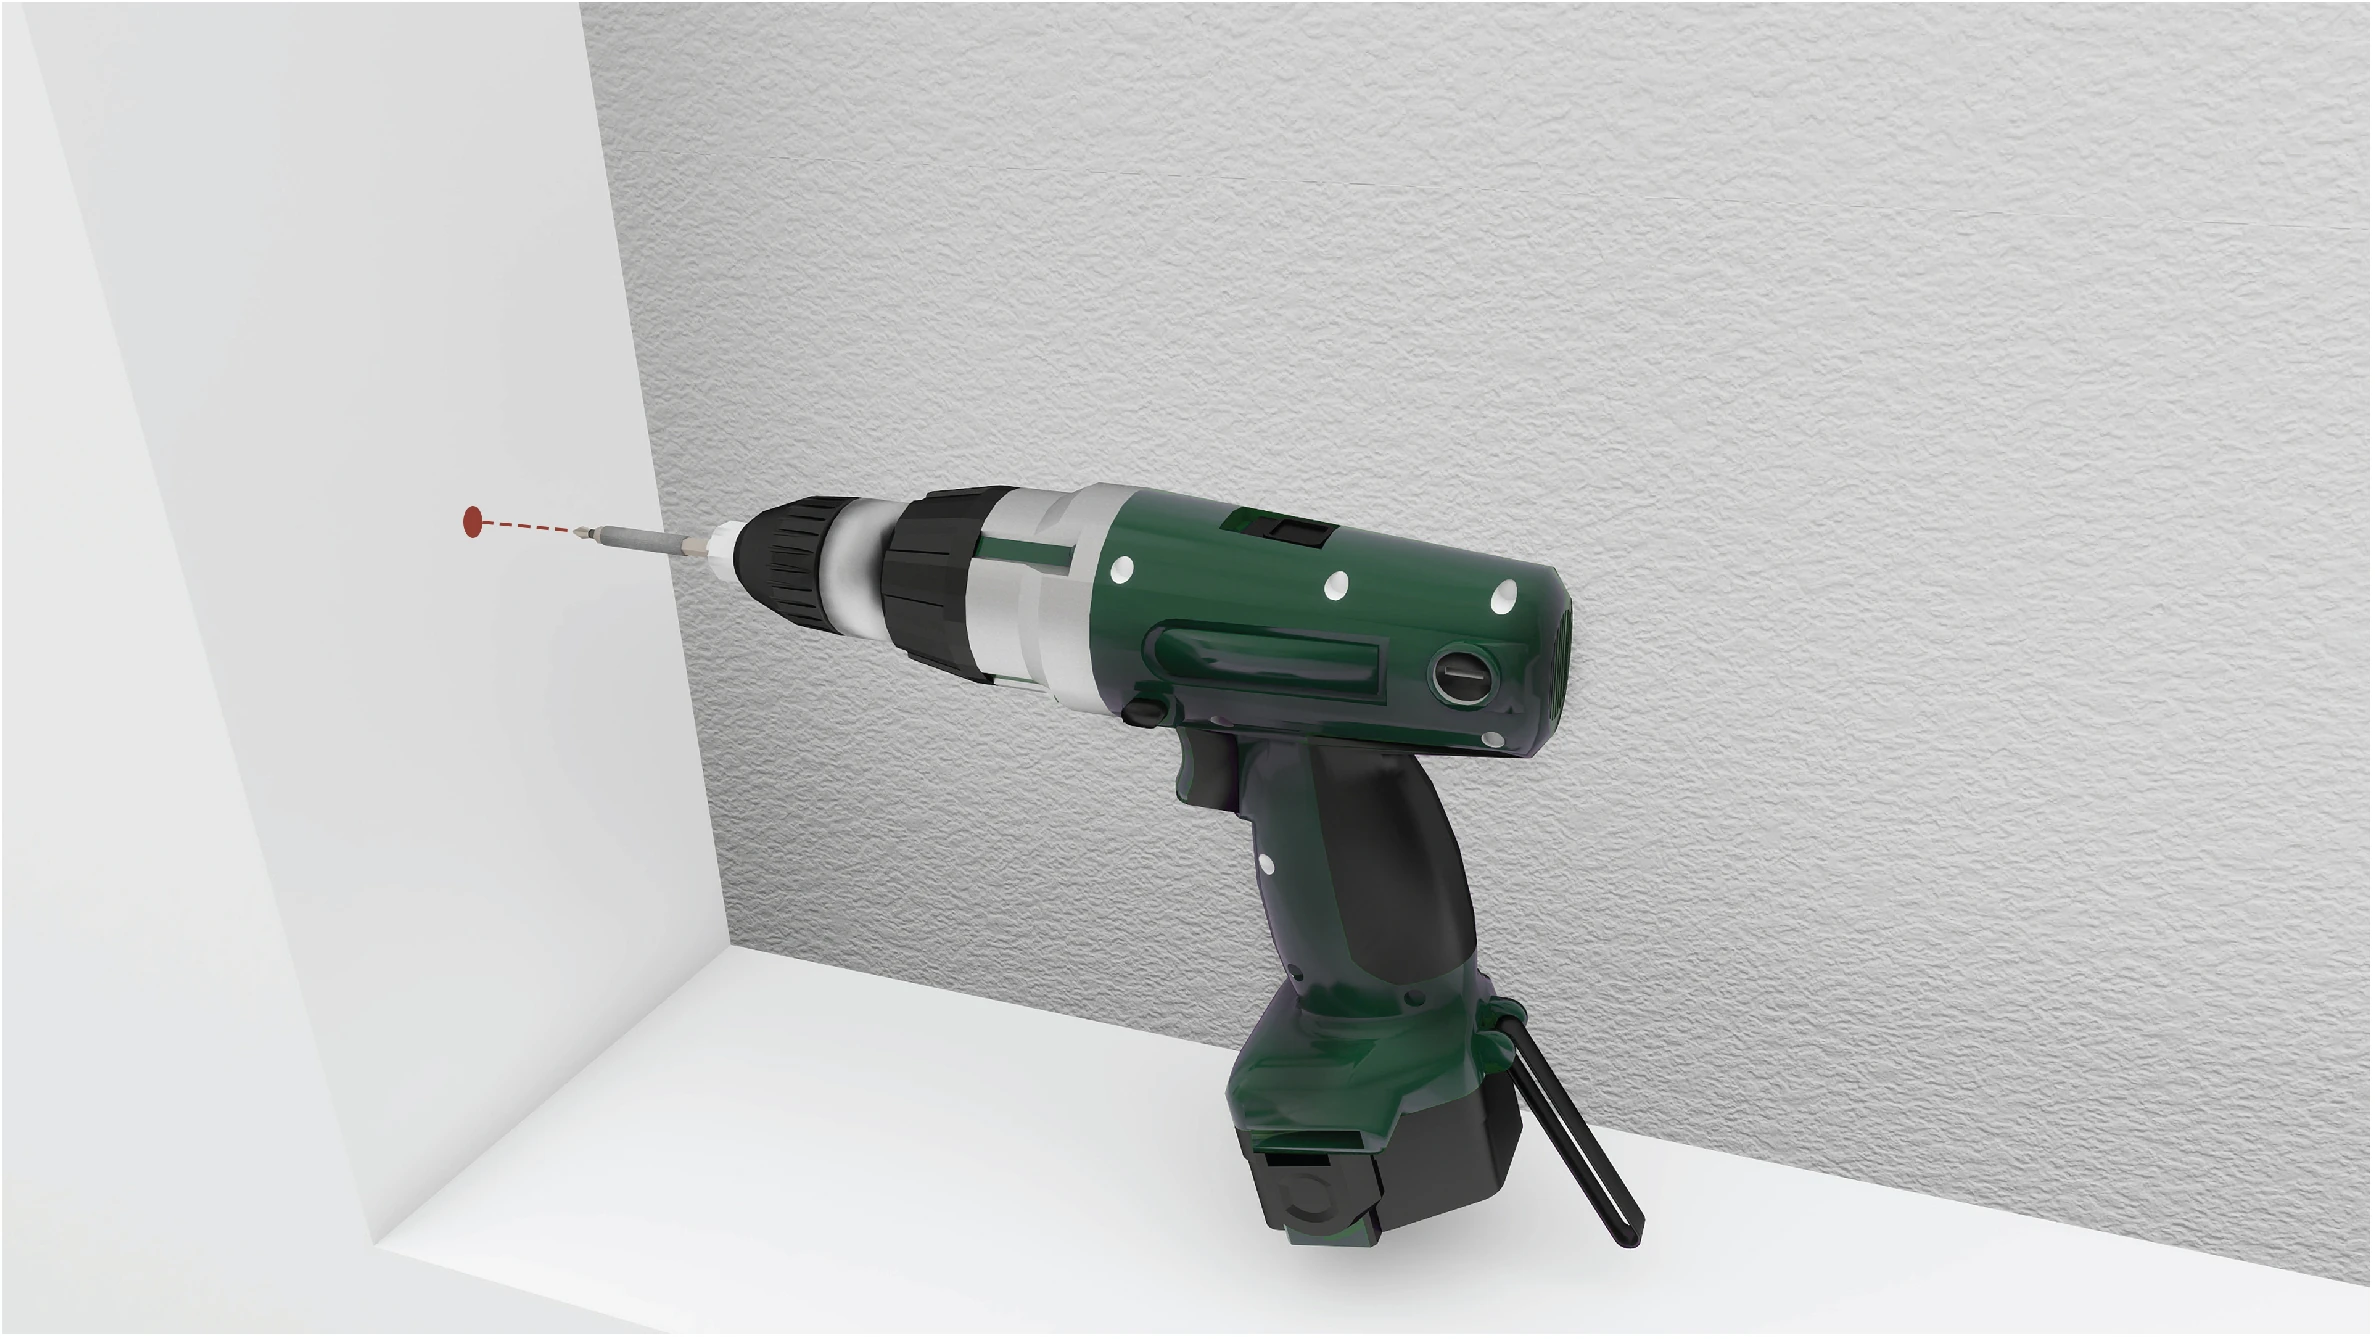
04/ 06Insert
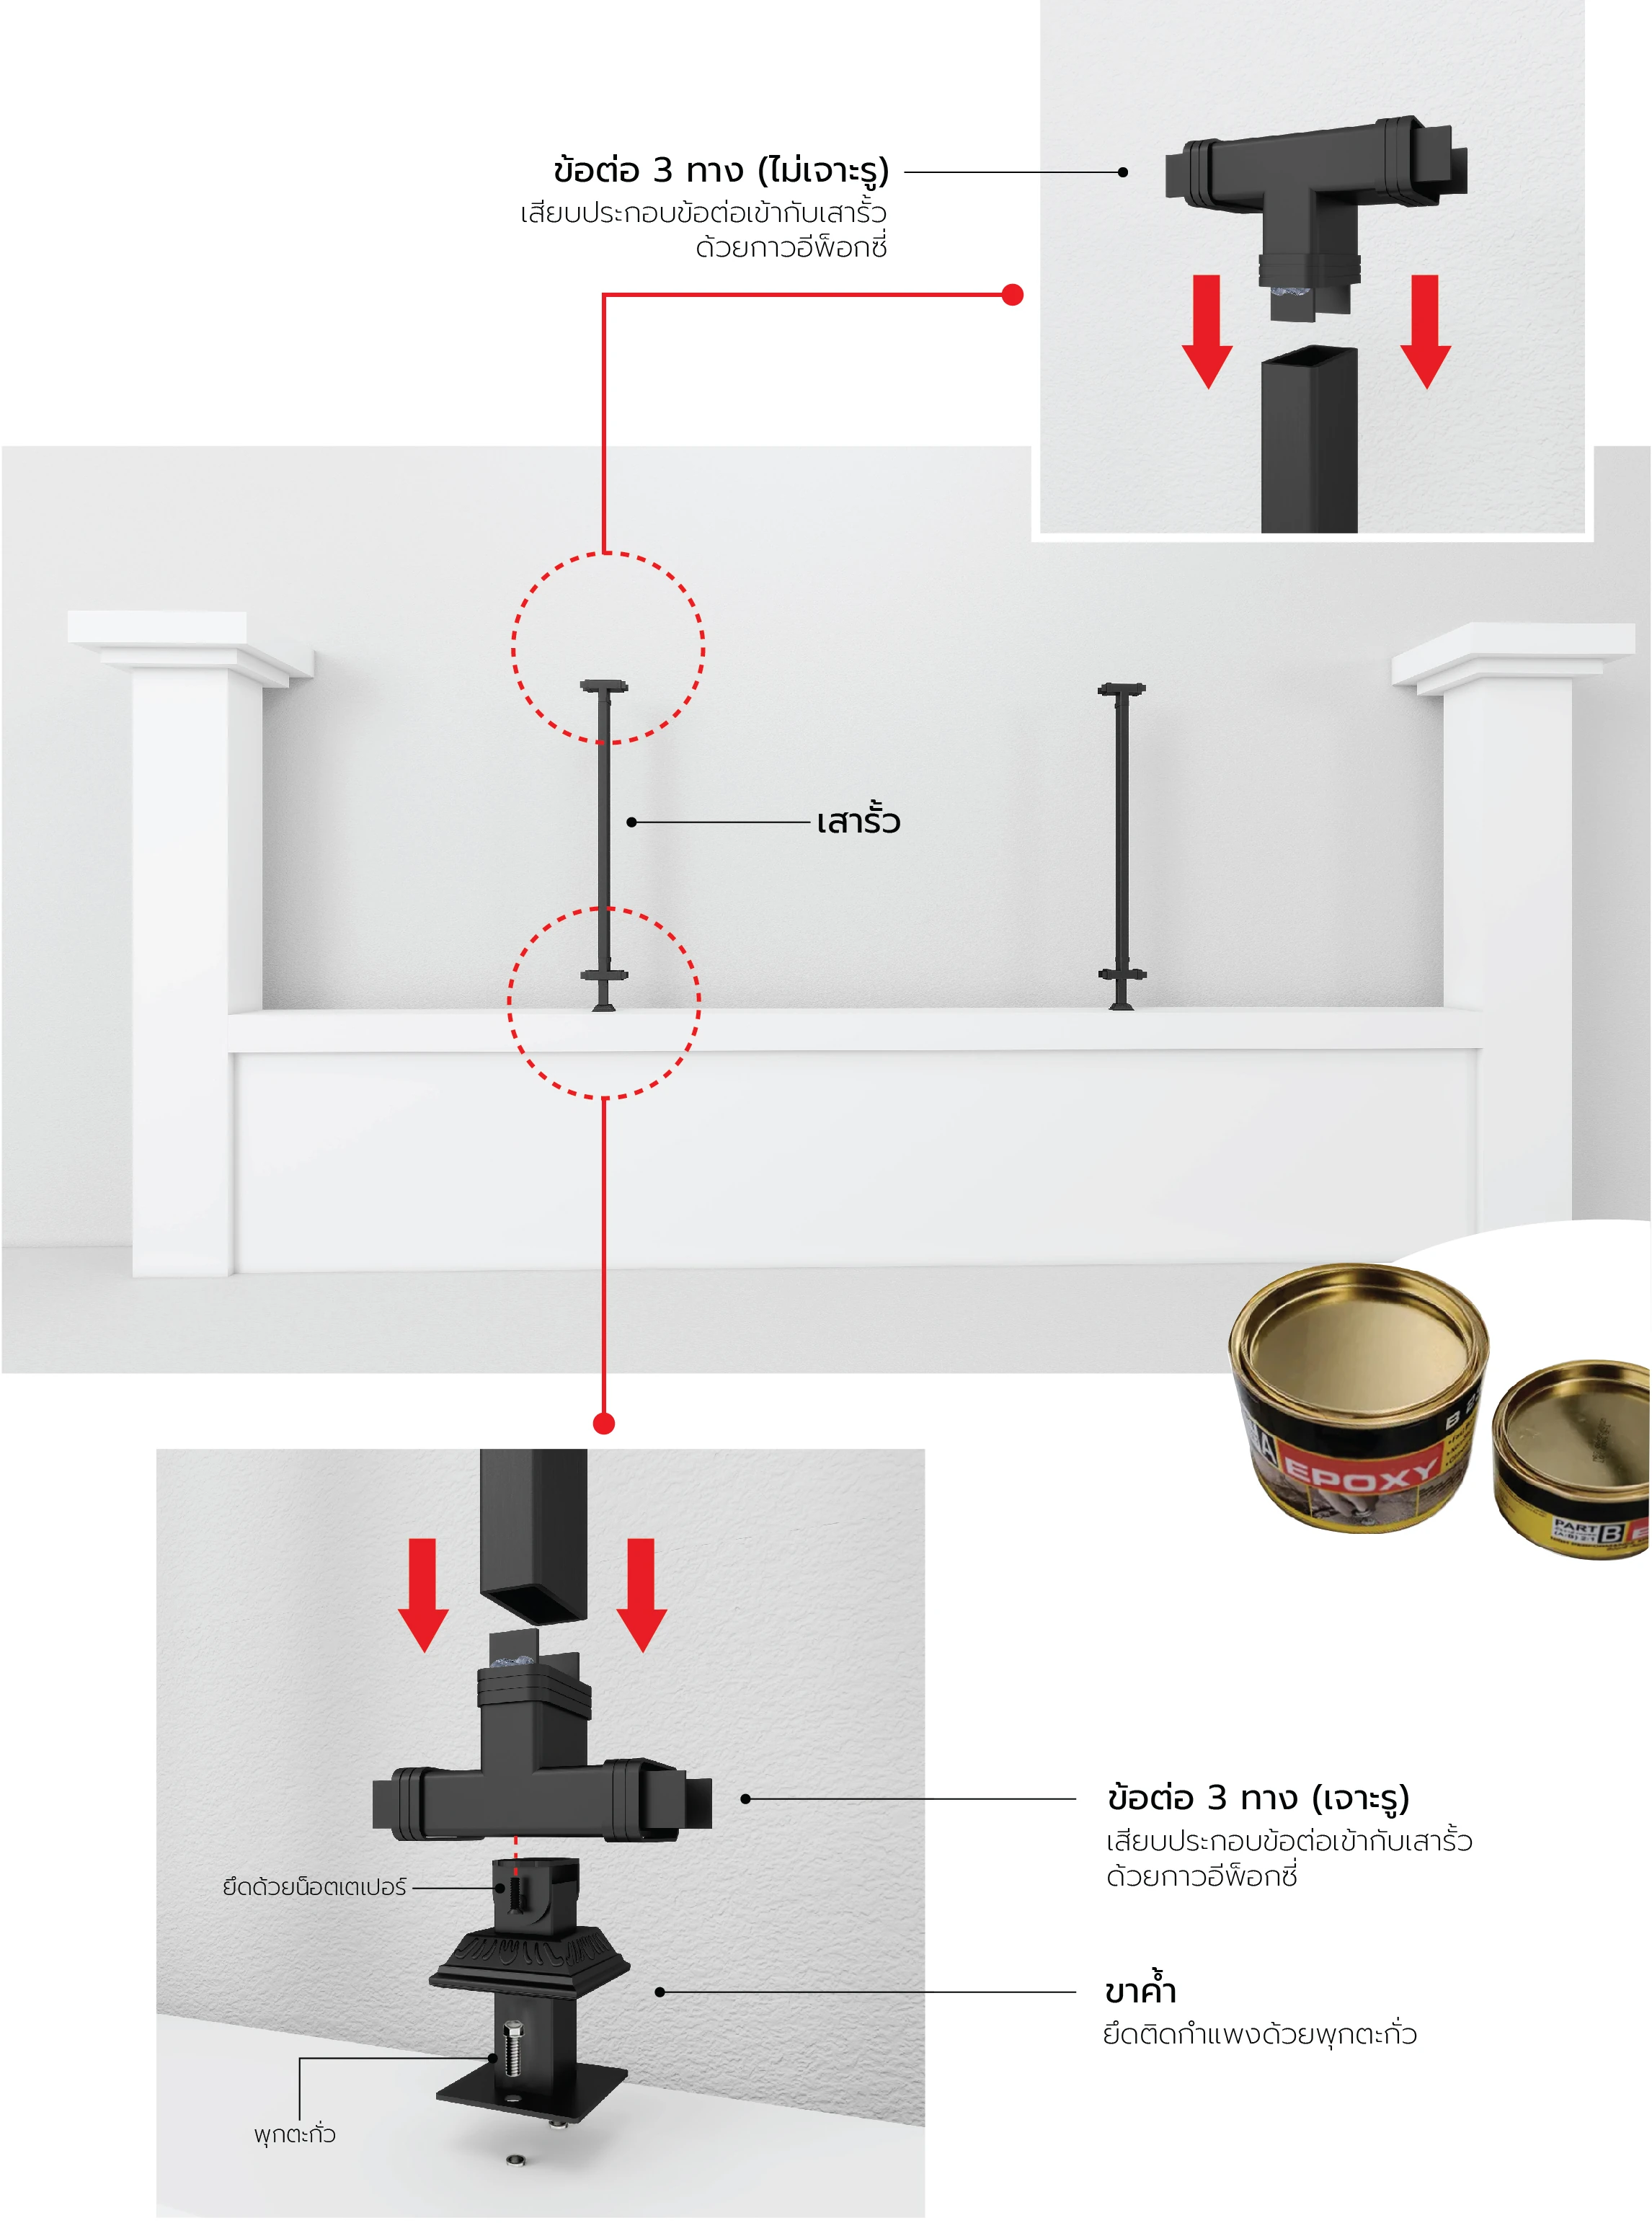
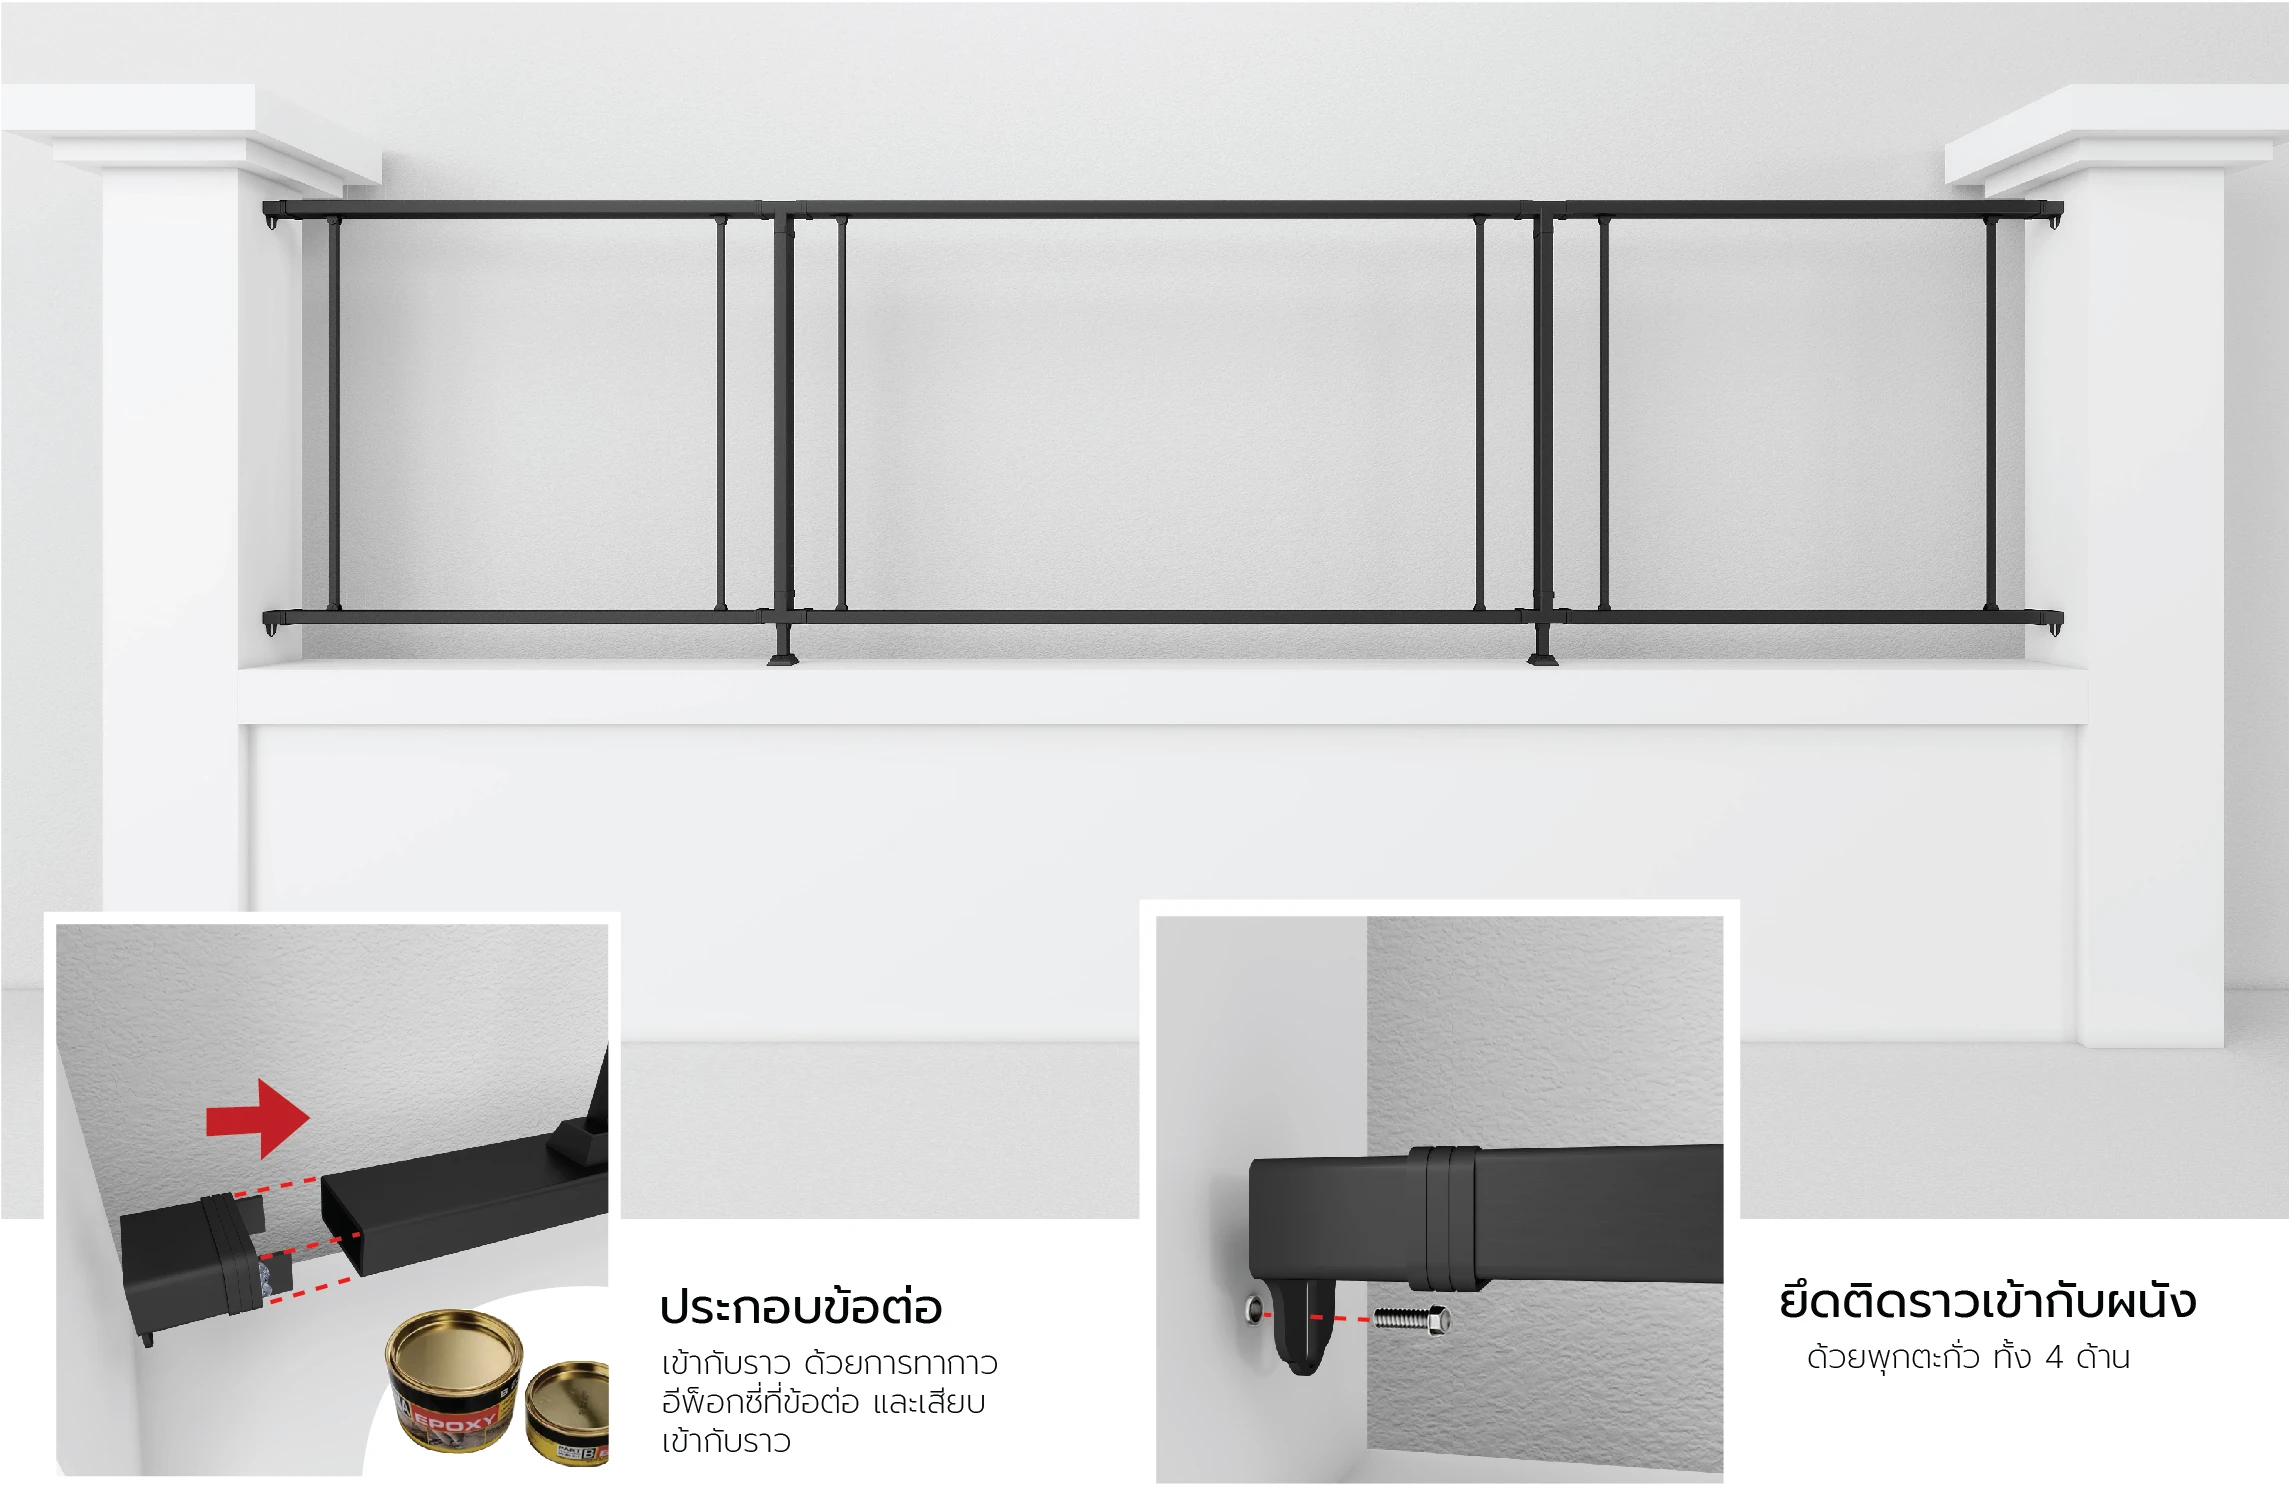
Set lead anchors into the wall pillars on all 4 sides and attach the fence connectors to the rails with steel epoxy adhesive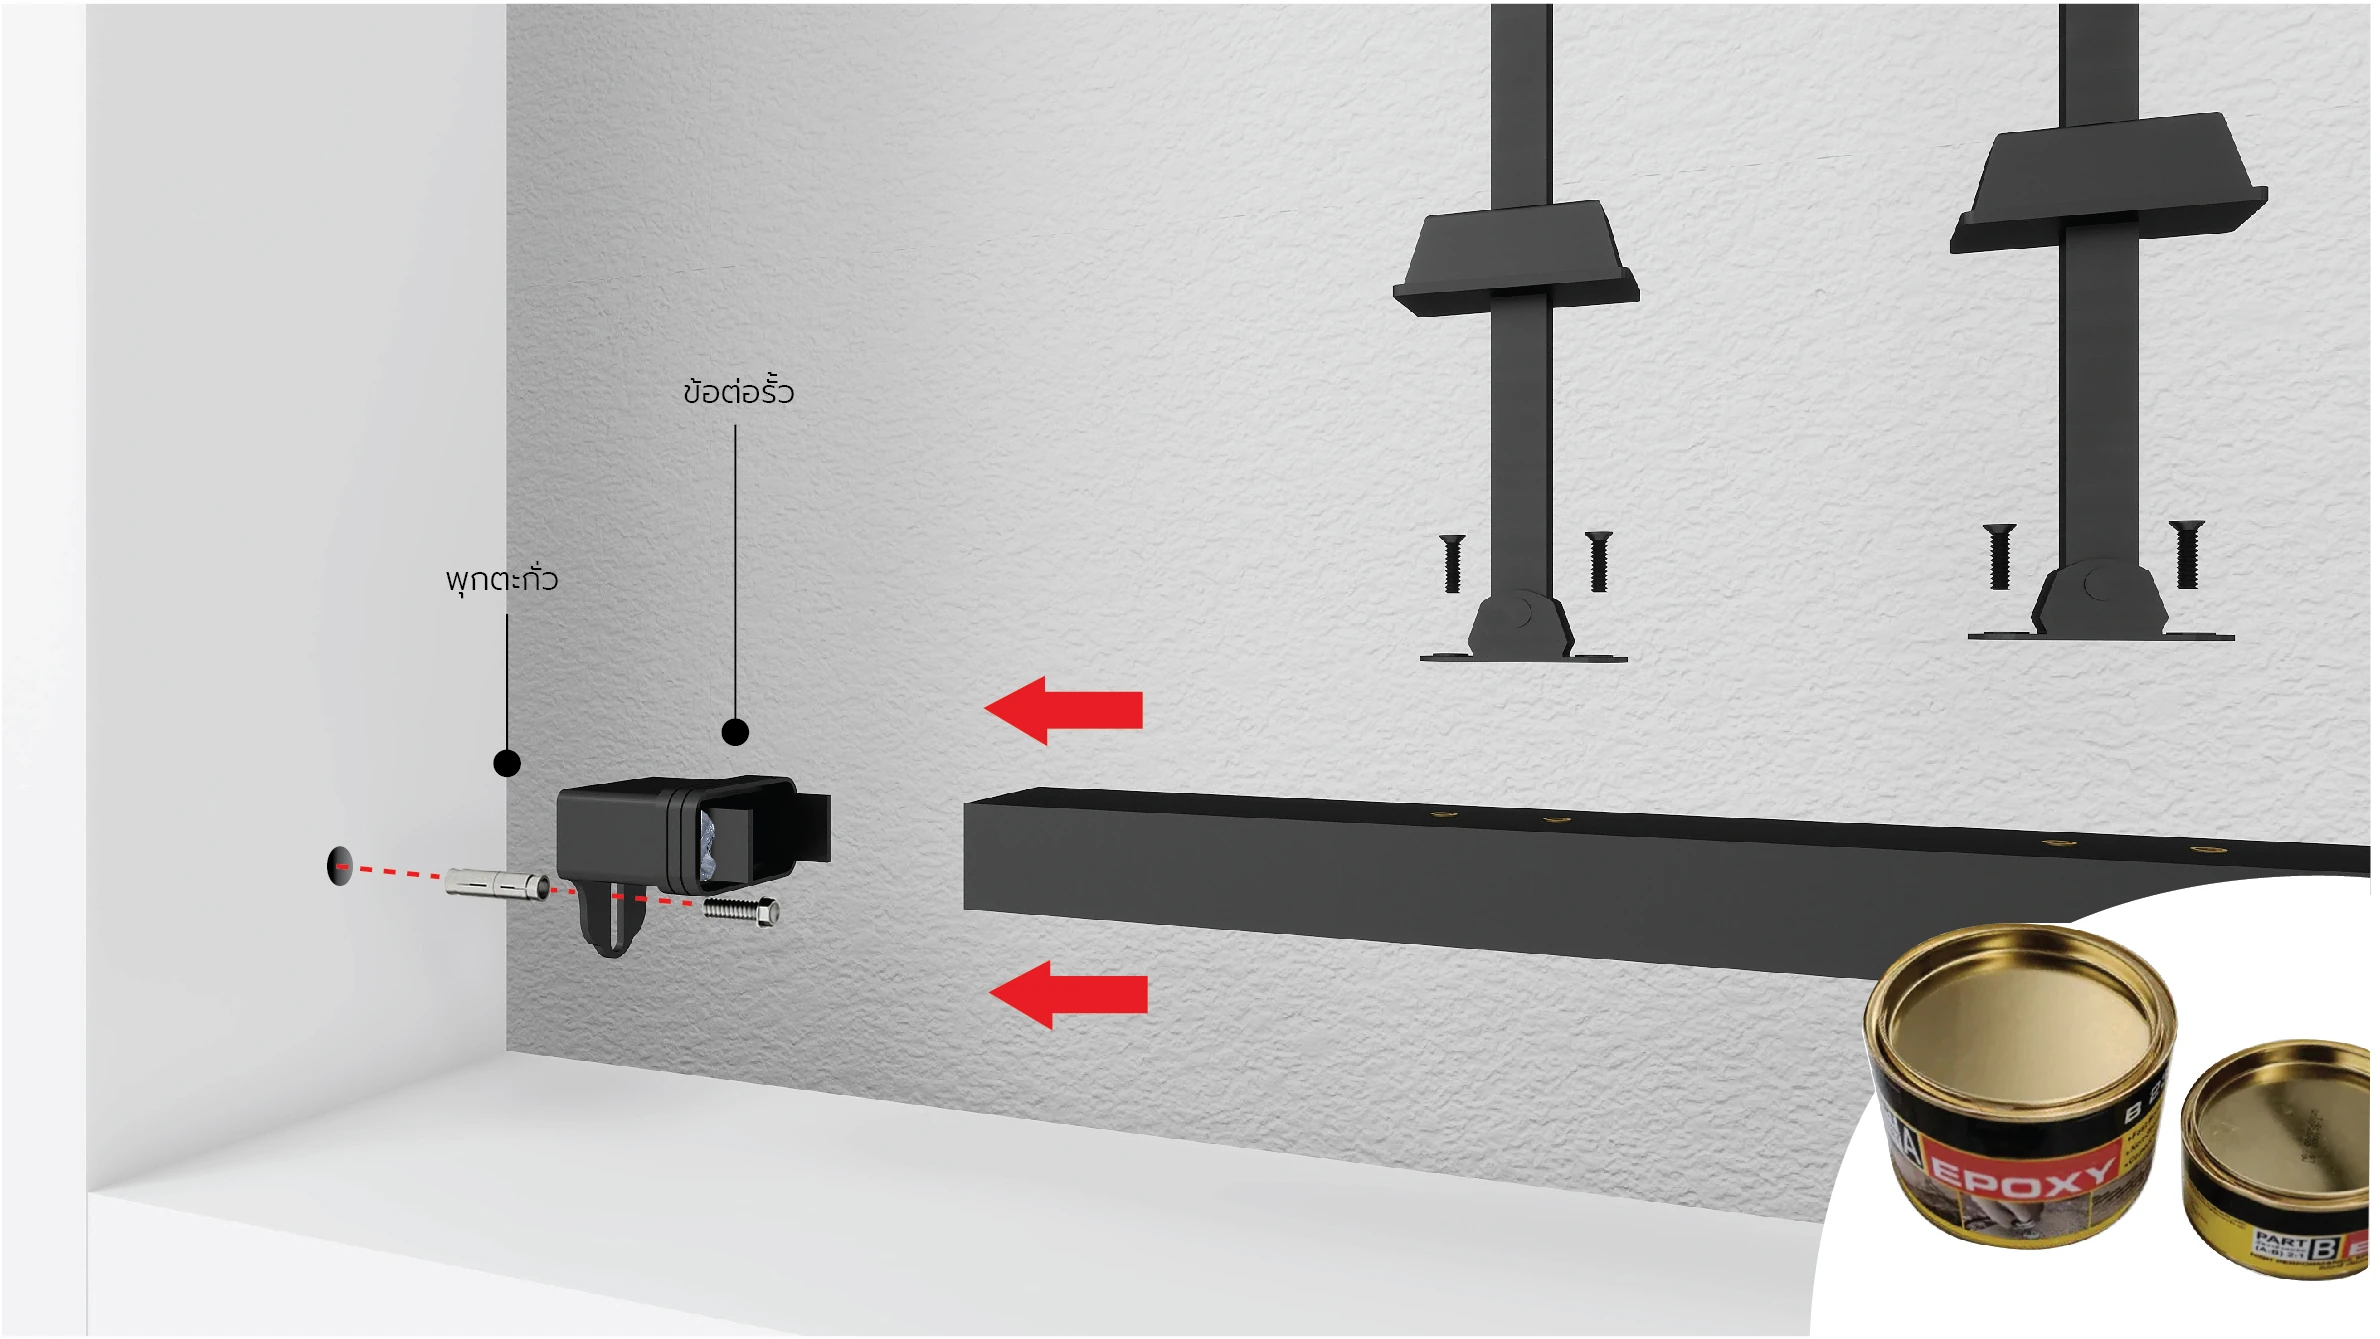
05/ 06Bolt
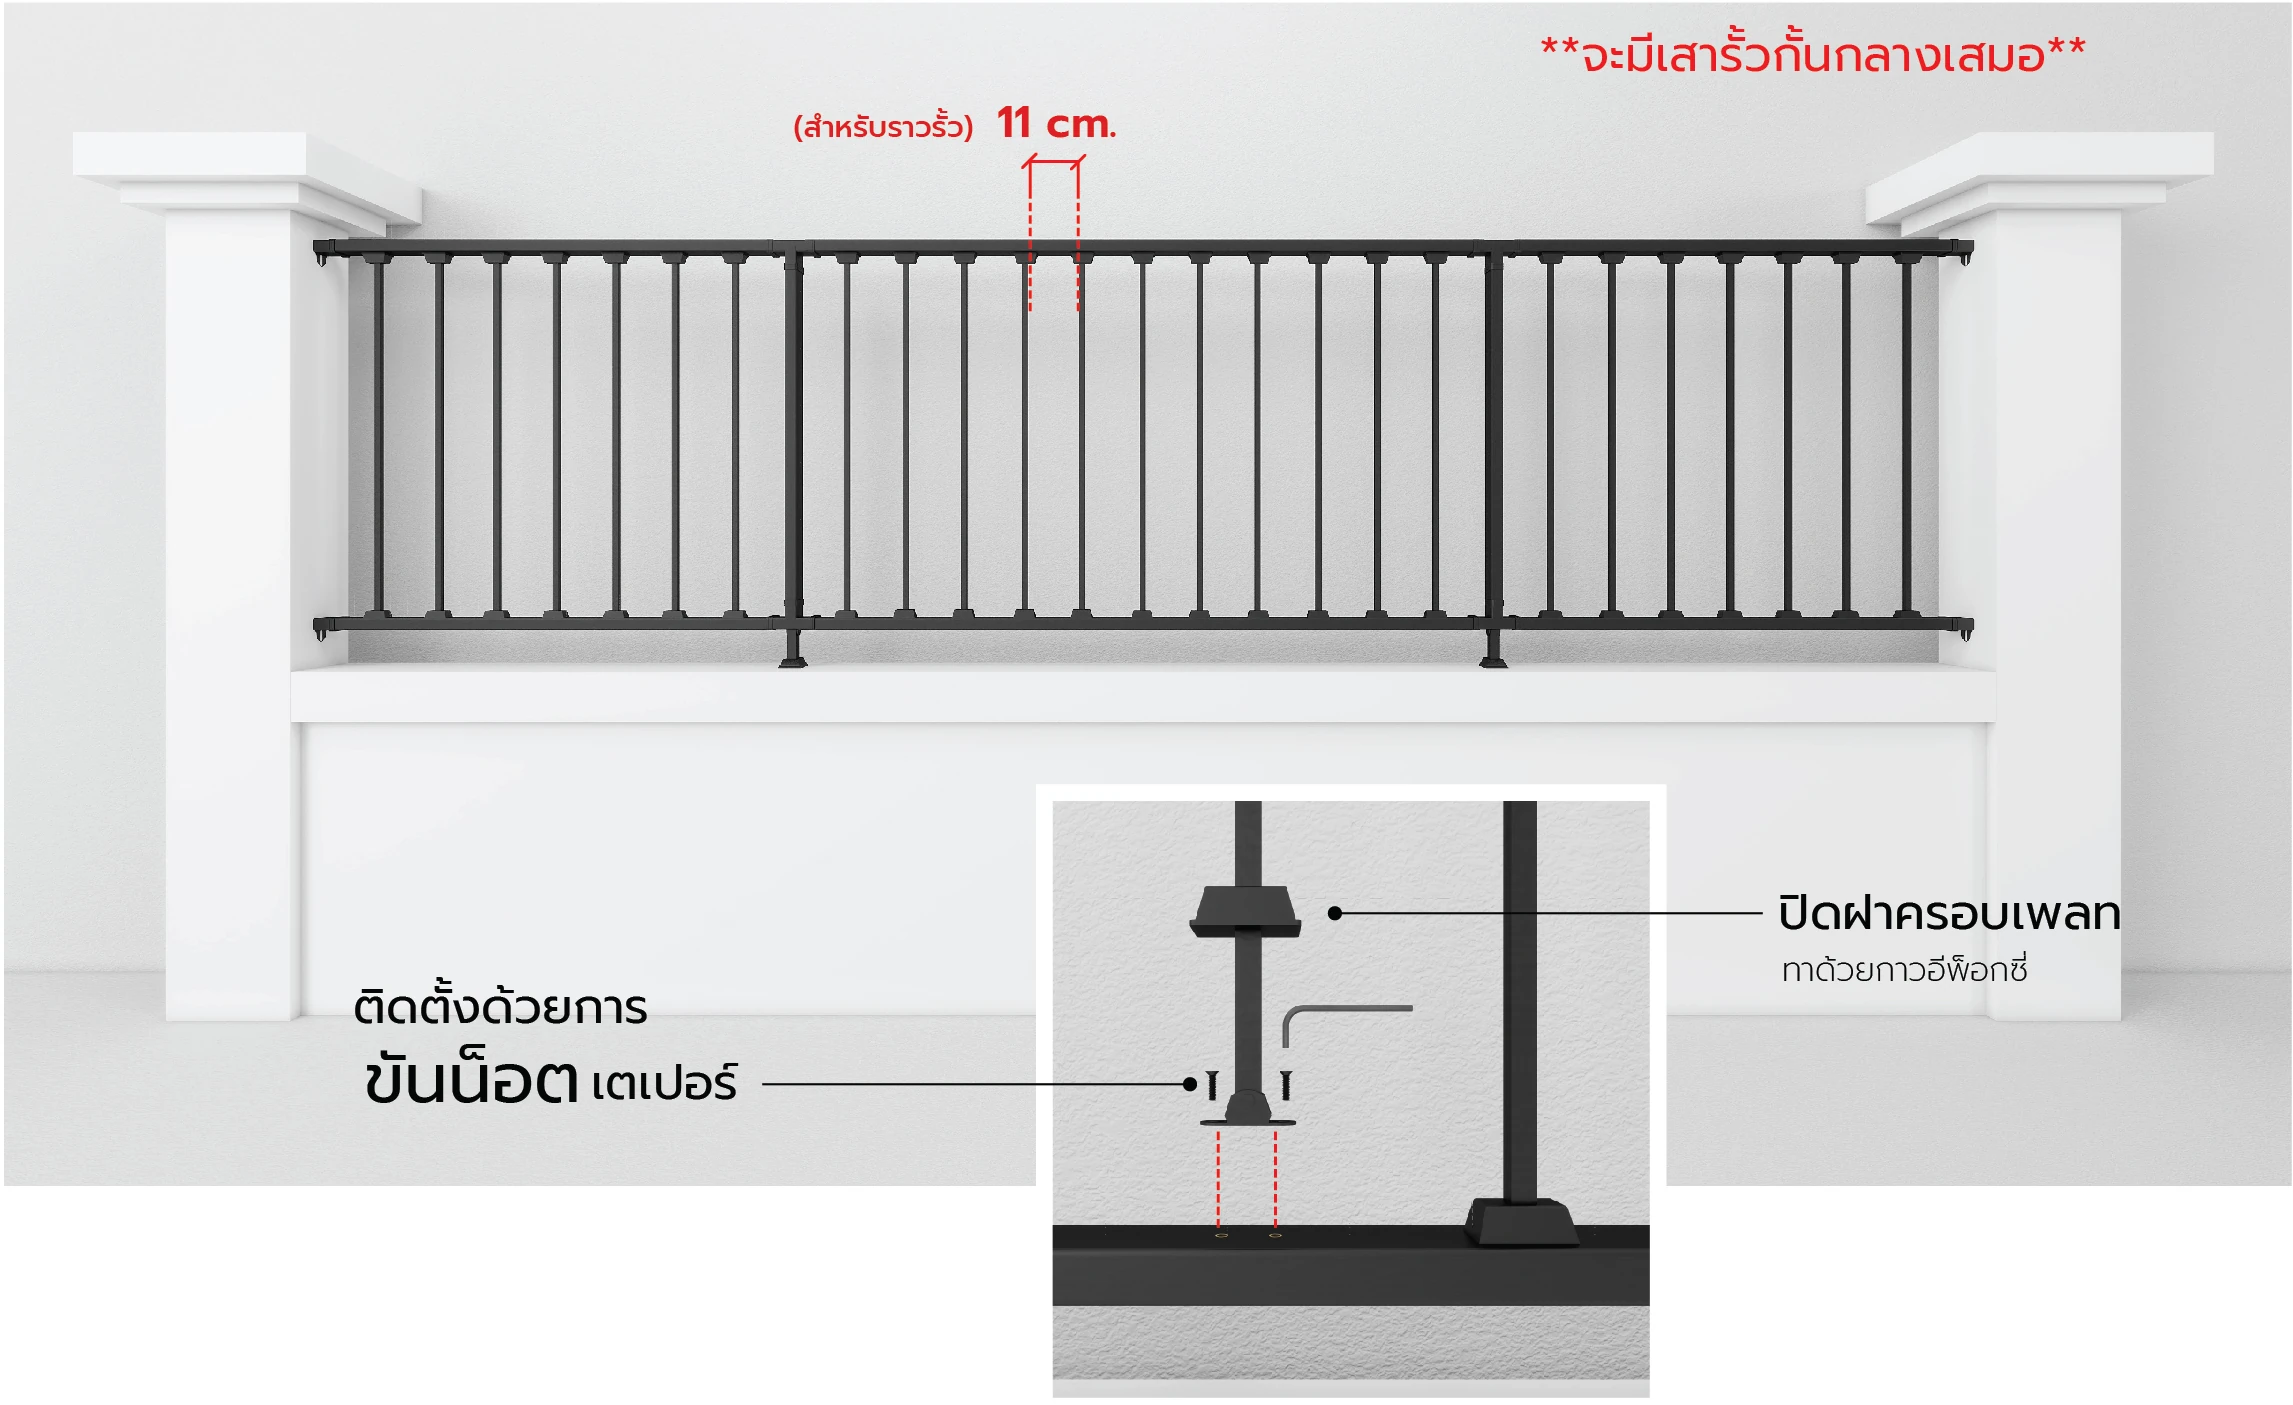
Install the decorative balusters by tightening taper bolts into the rivet nuts, then close the baluster plate covers with steel epoxy adhesive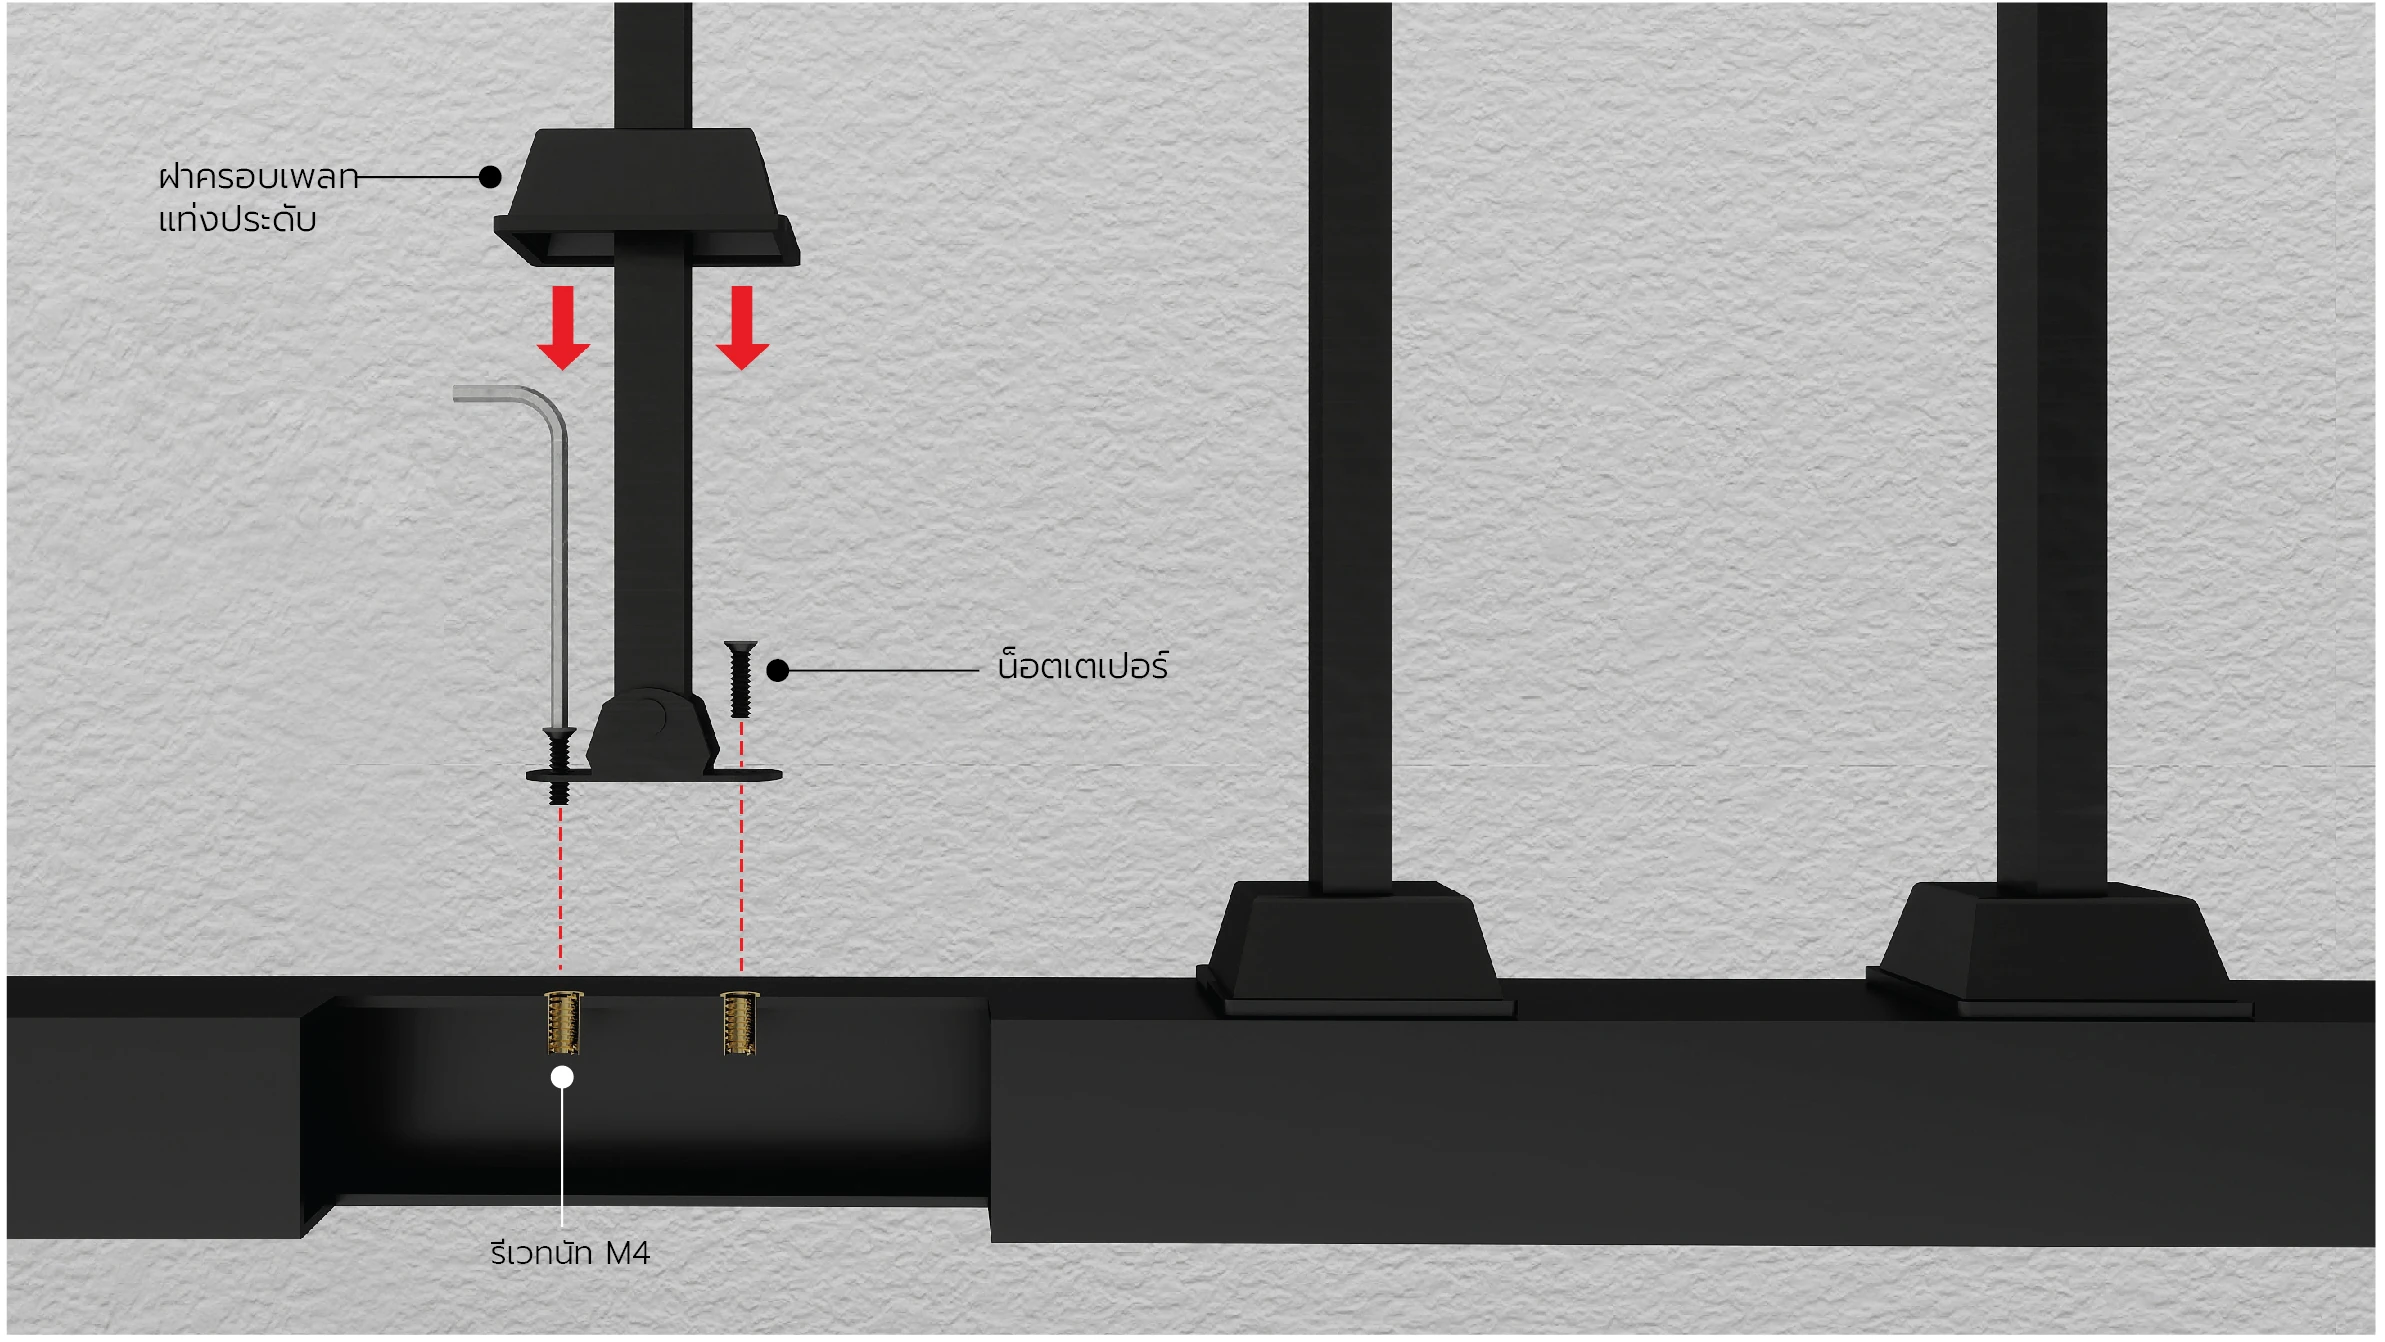
06/ 06Bolt
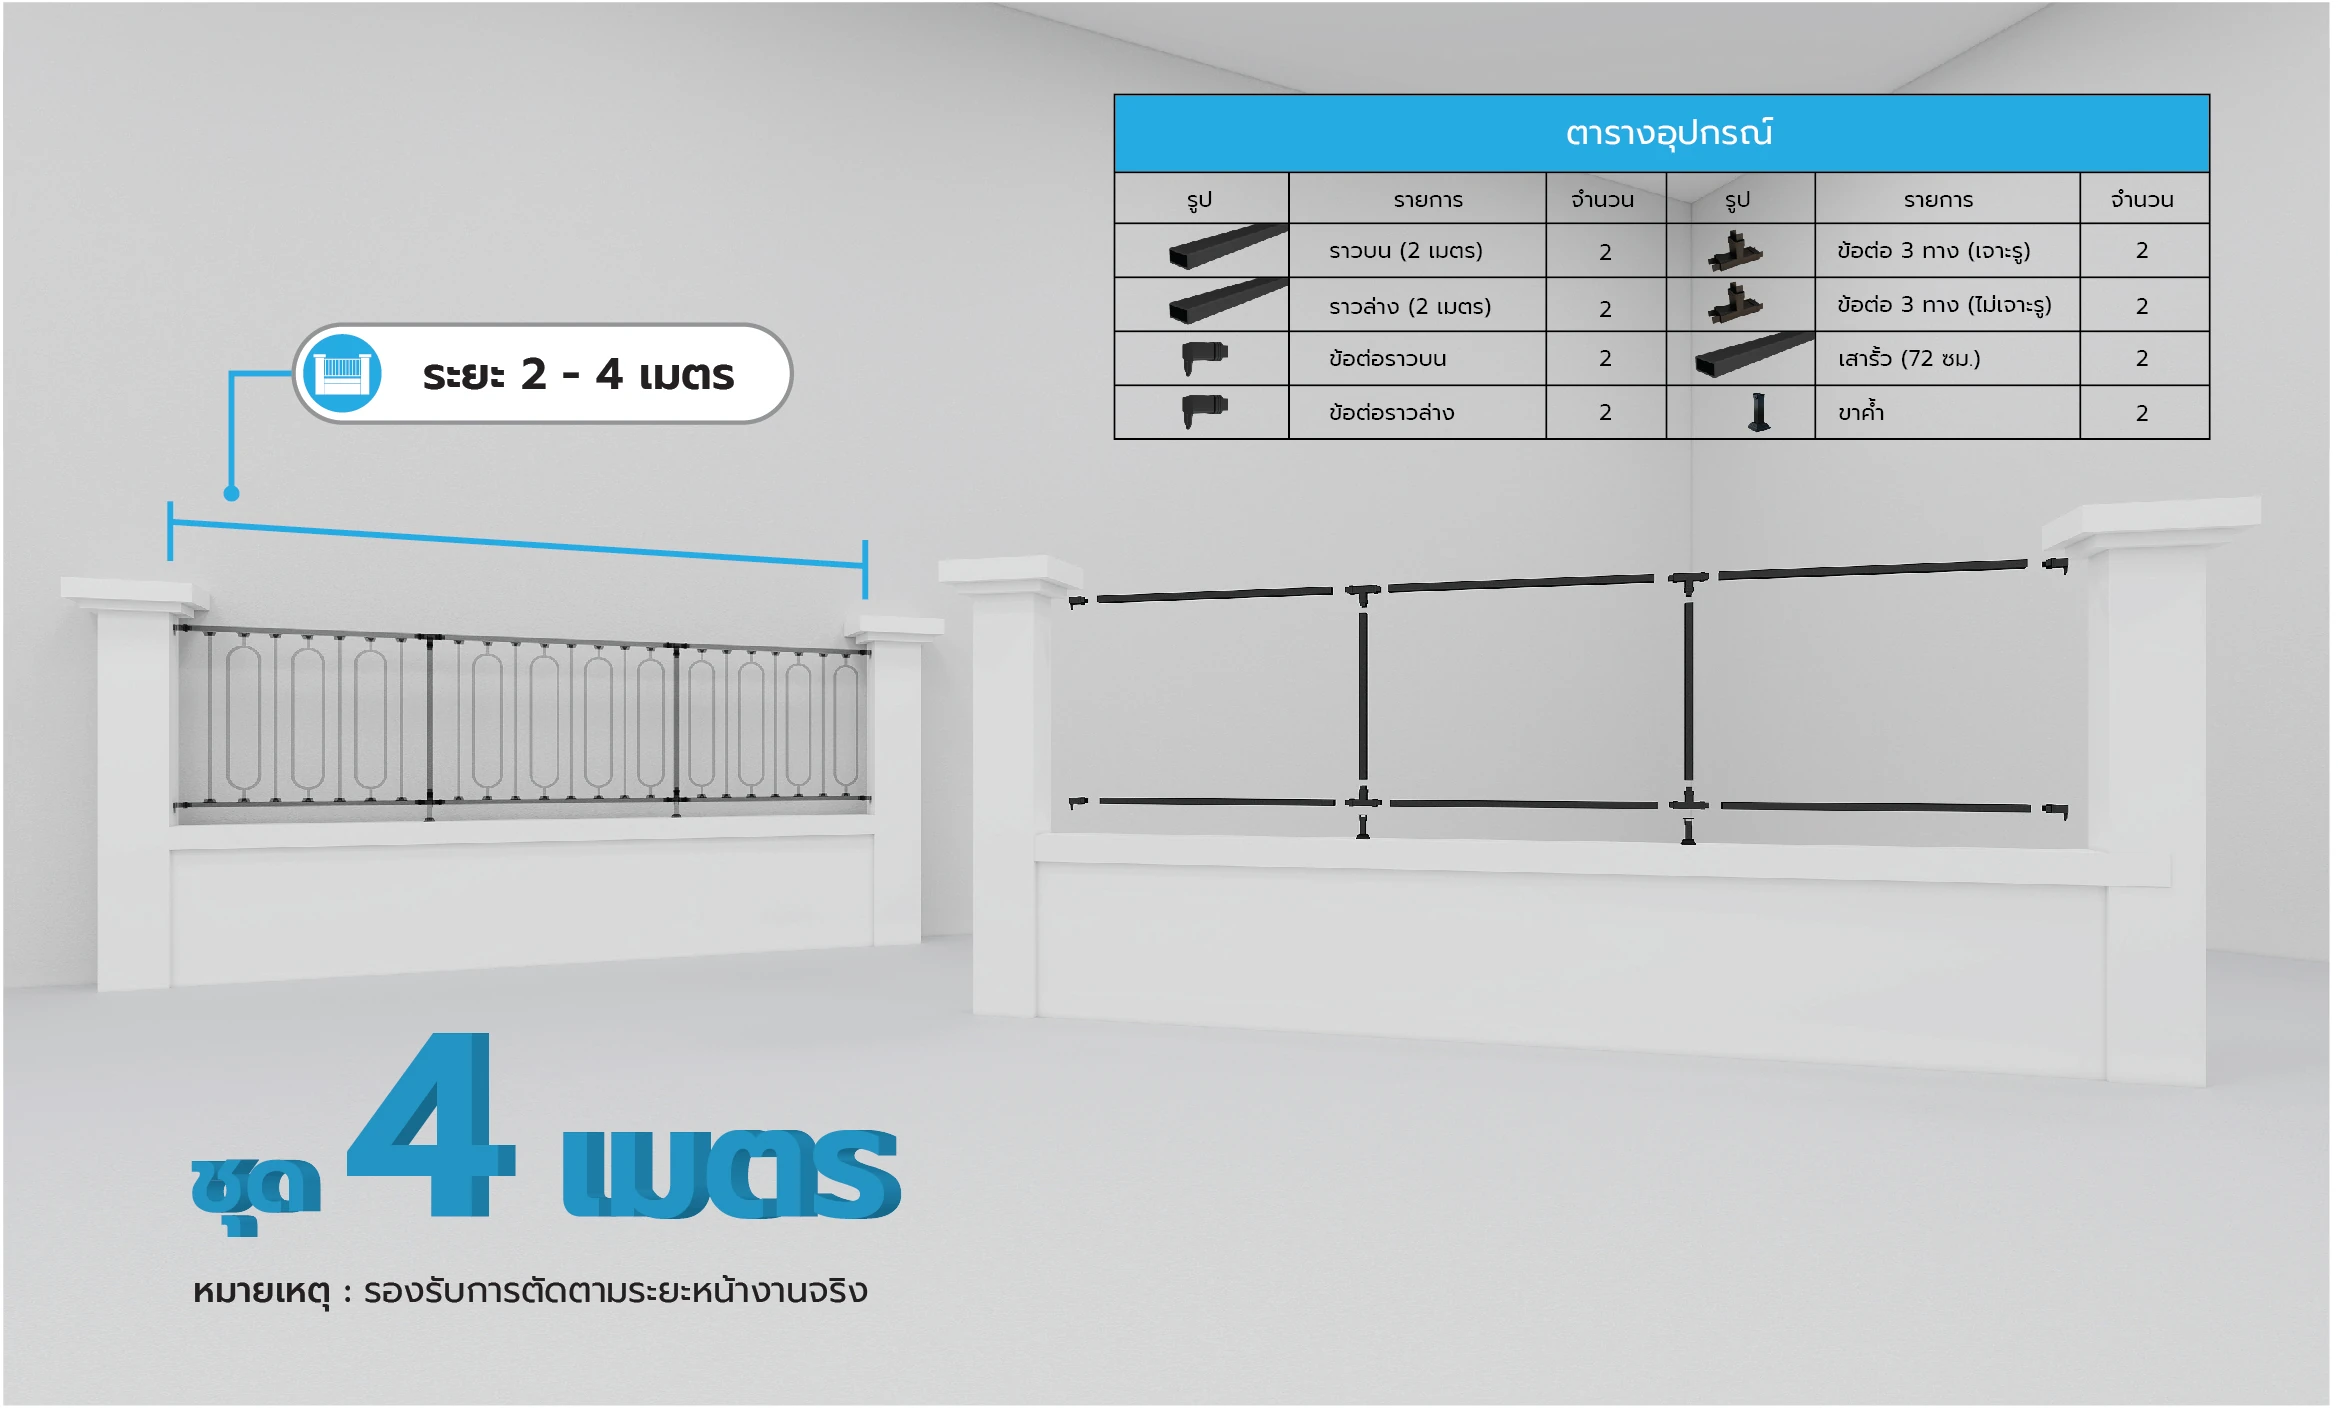
Installation complete: fence span up to 2 metersThis layout has no center divider post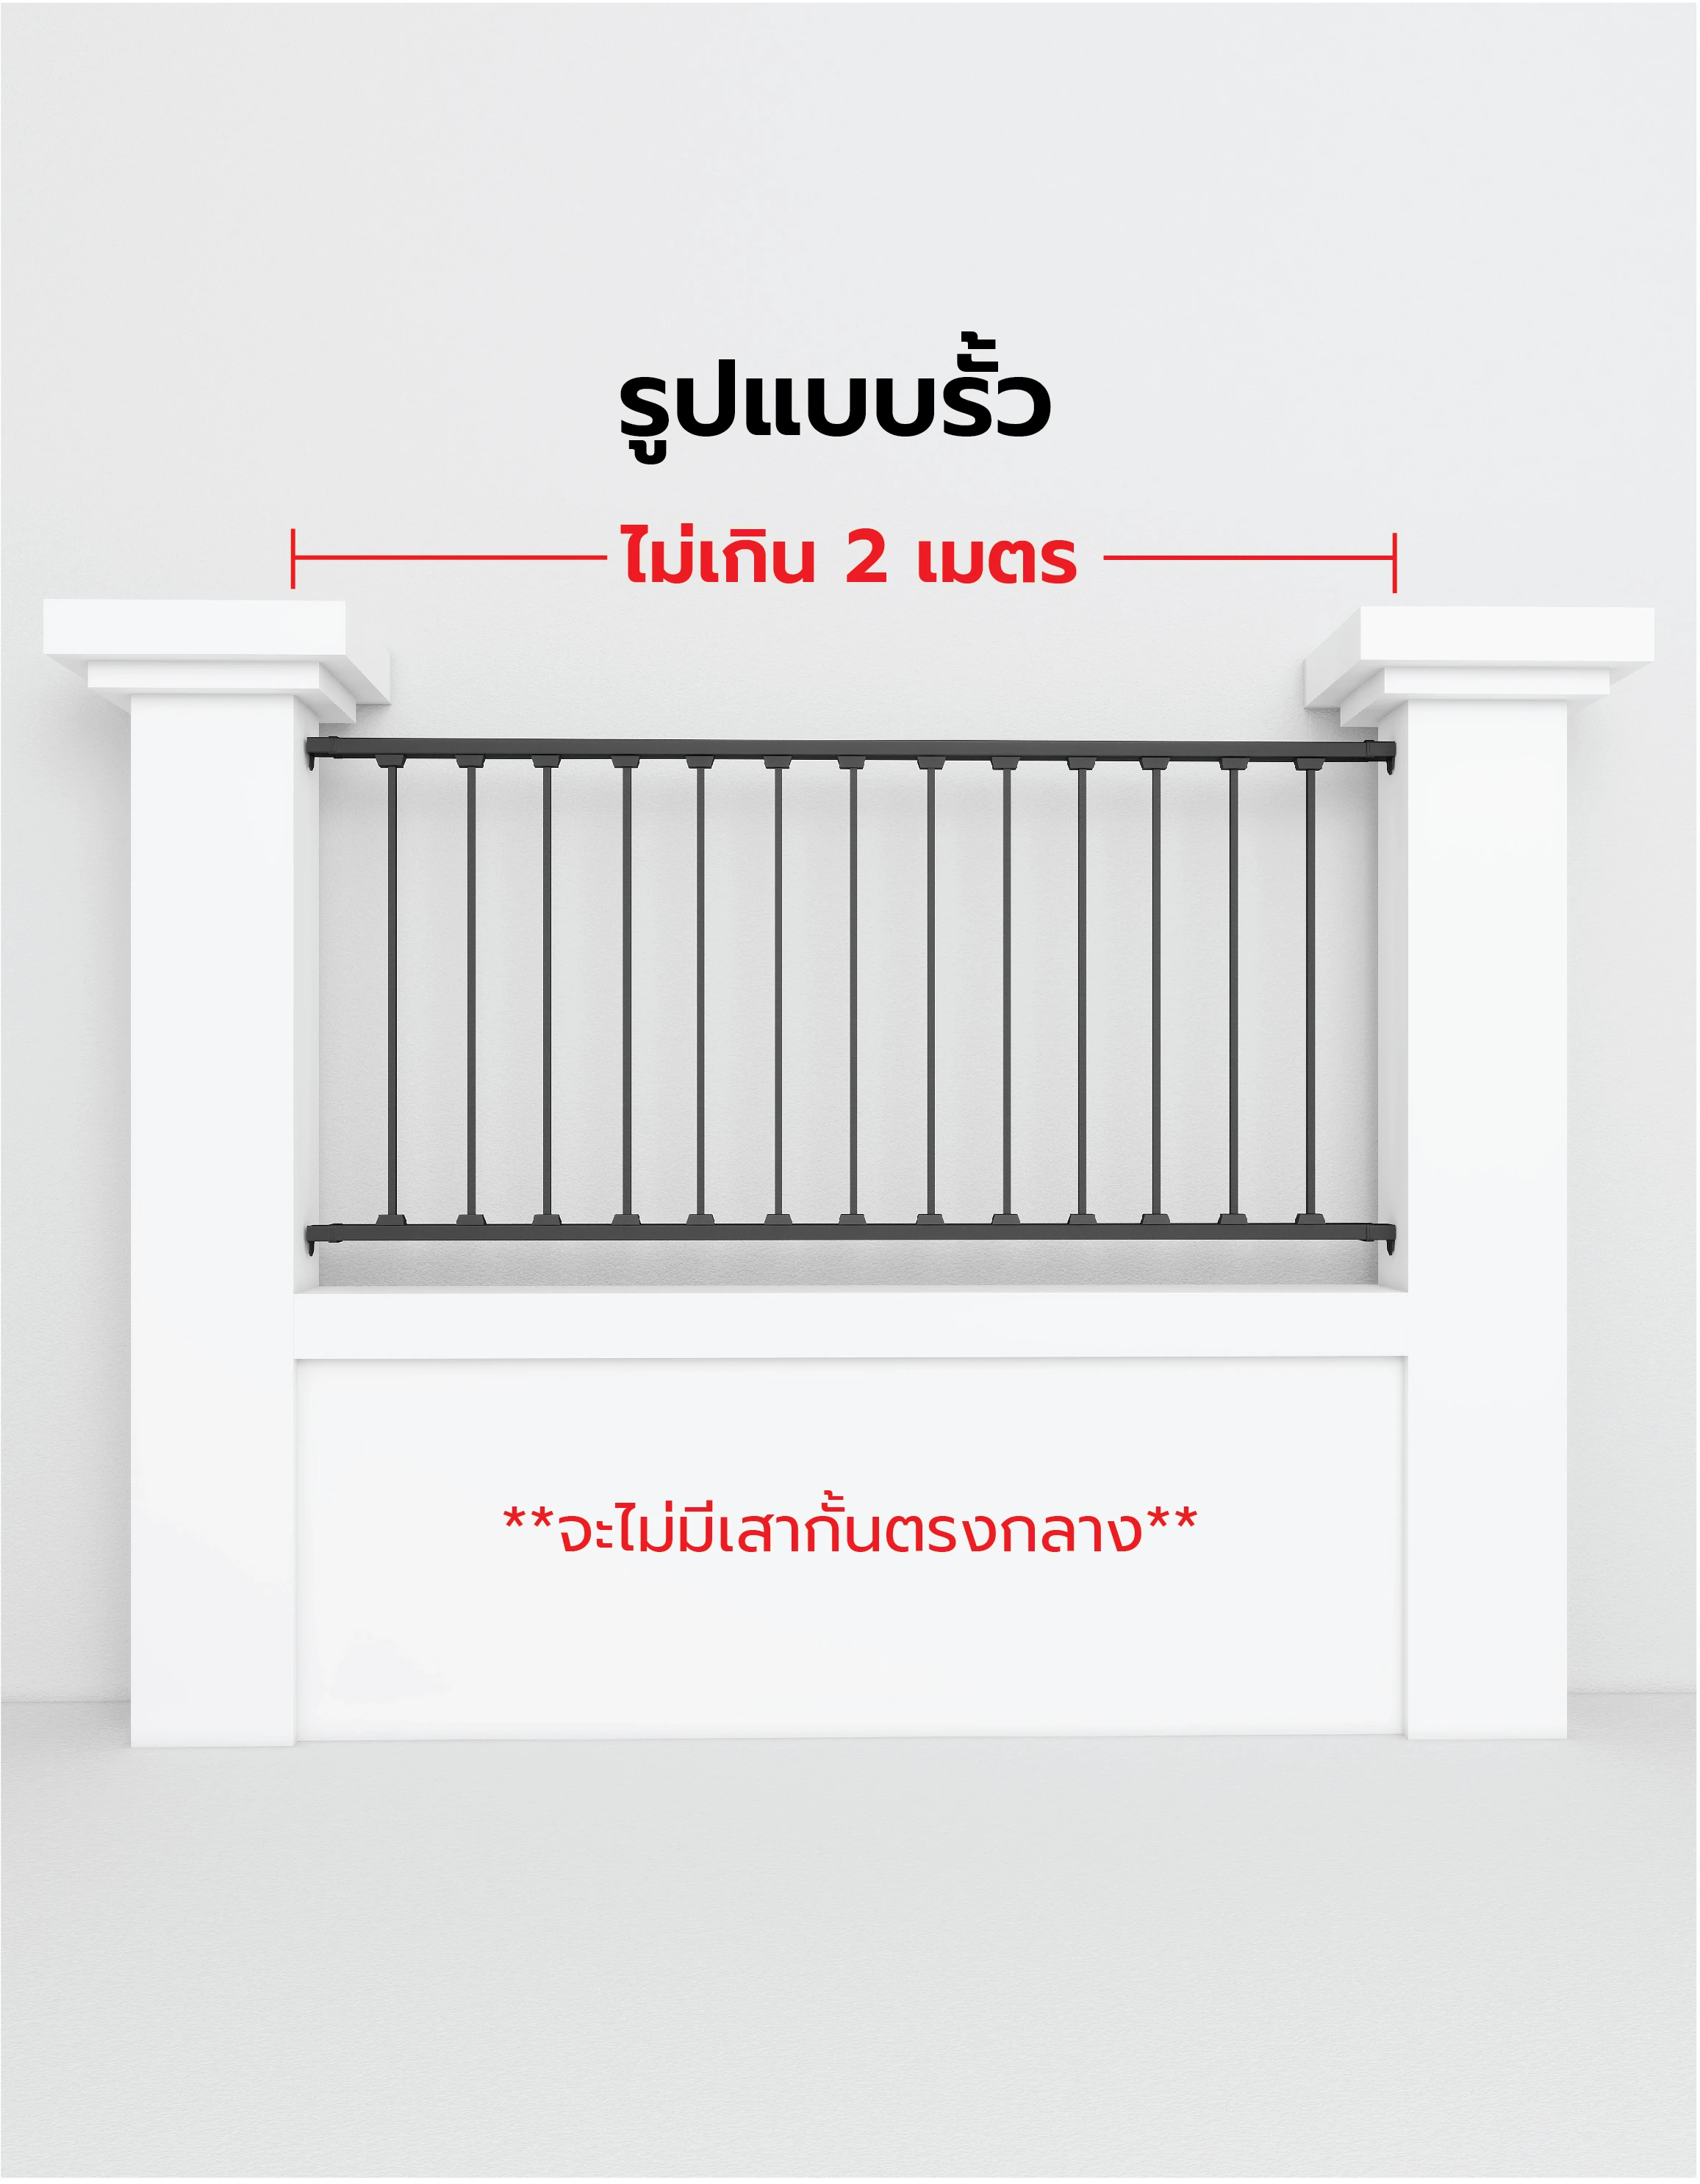
No Welding
Installation GuideKnockdown FenceInstallation animation
Choose the part you want to watch with the buttons below
Drill · anchor
All partsExploded view
Pick a spot to explore and the parts there will separate so you can see each one
Loading parts
Pick a spot to explore — the parts there will separate so you can see each one
Other productsMore products
How to orderHow to order
and still get quality wrought iron that's beautiful, just as you wanted, and ready to make your home stand out with confidence