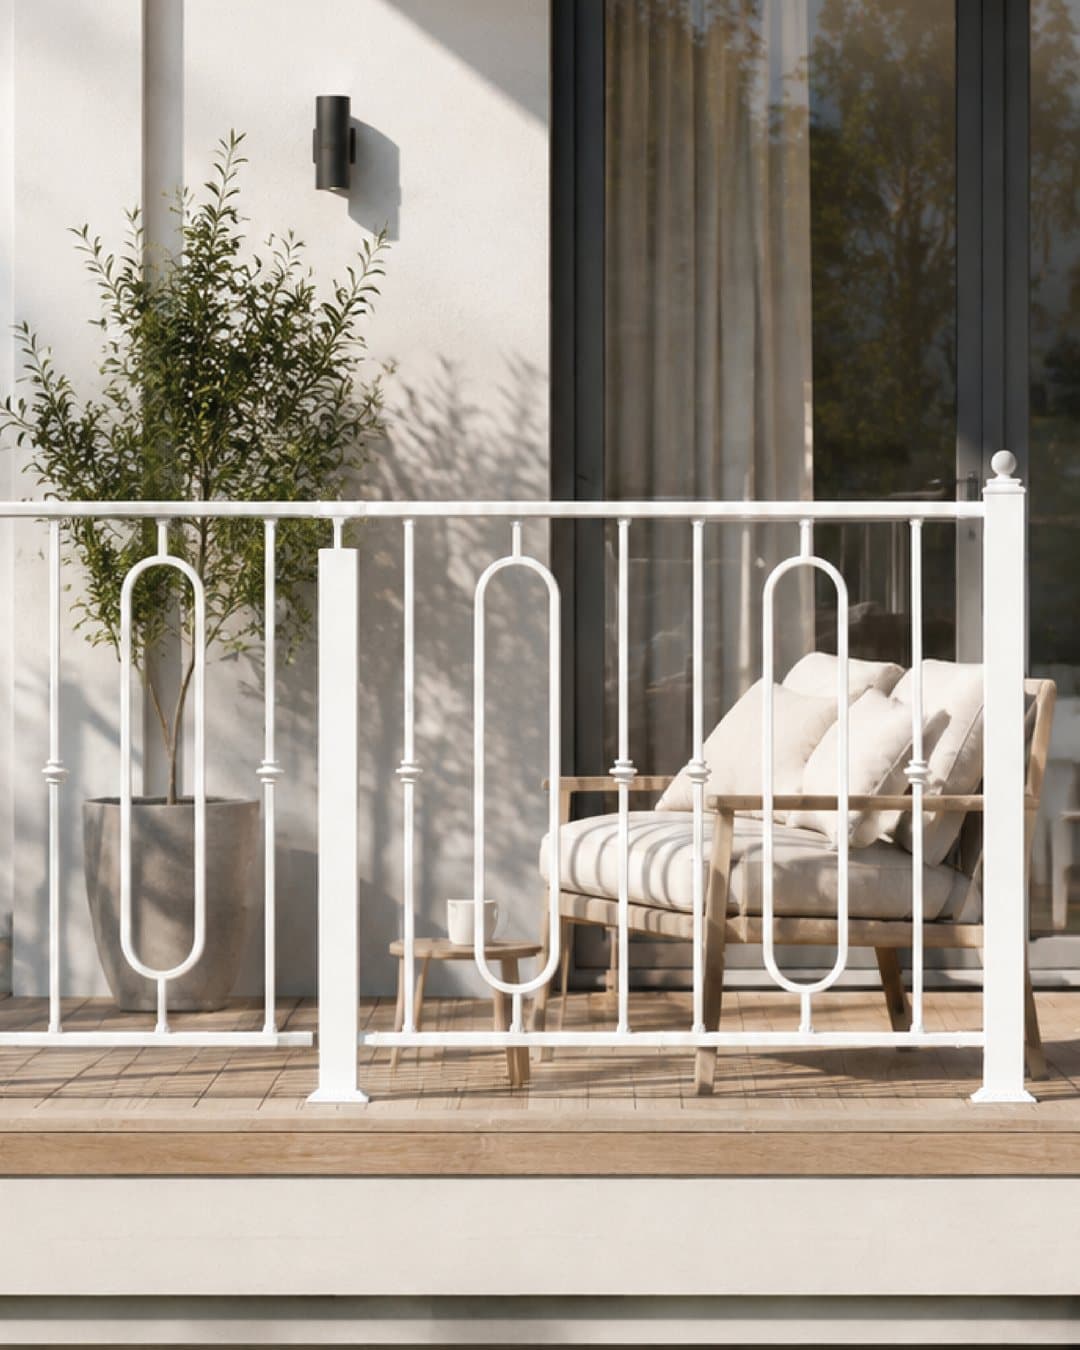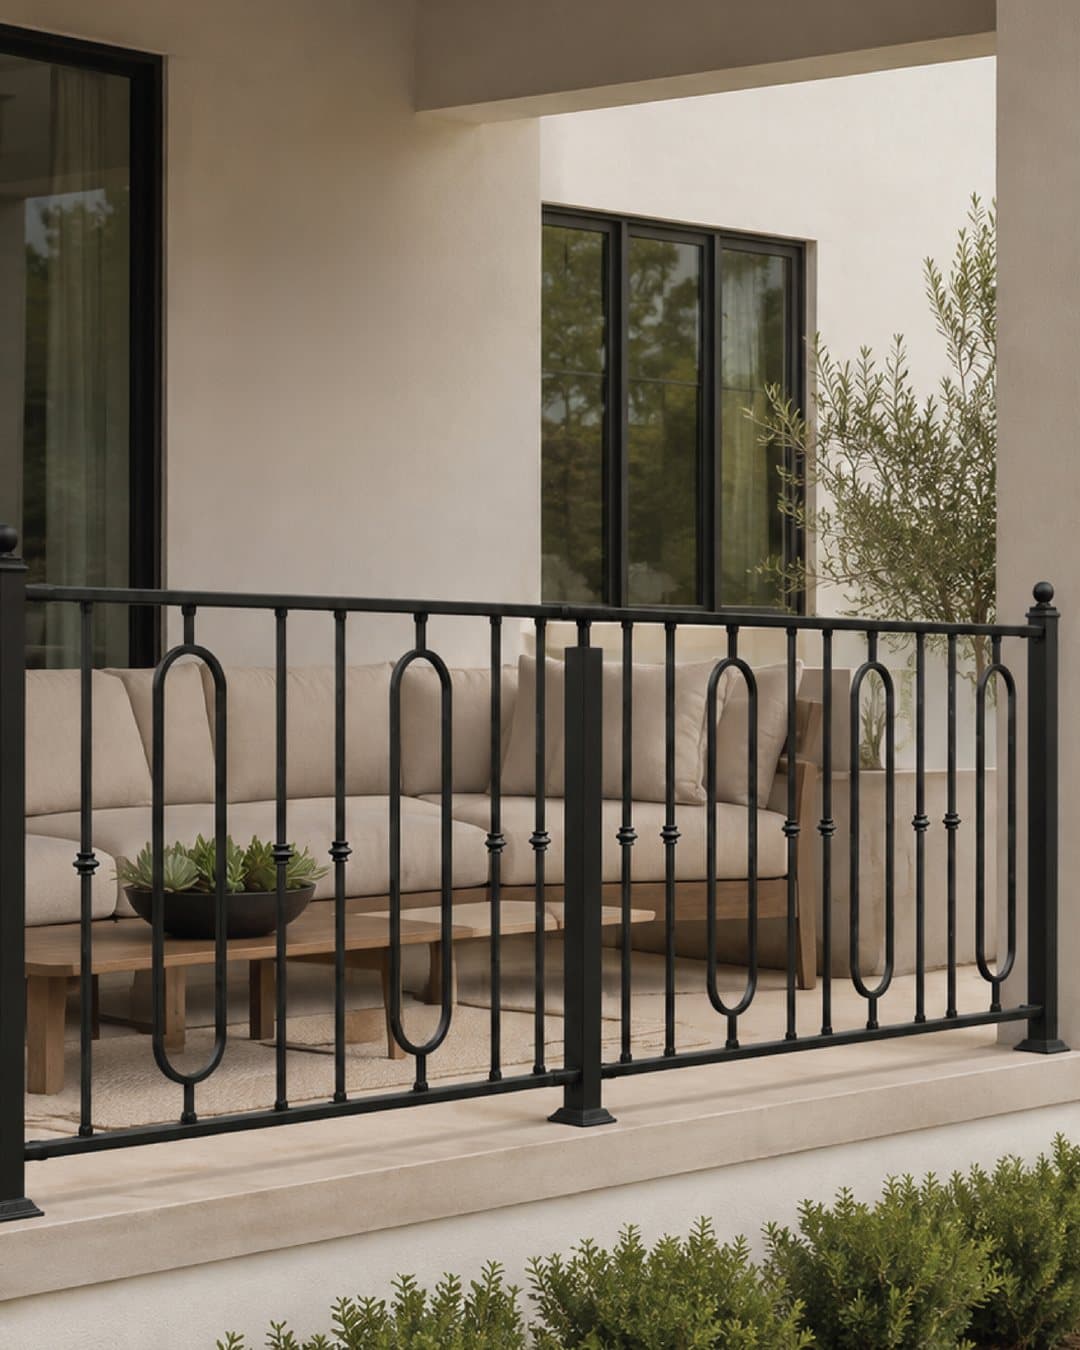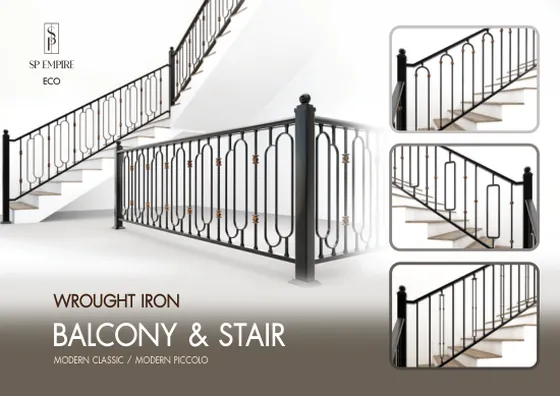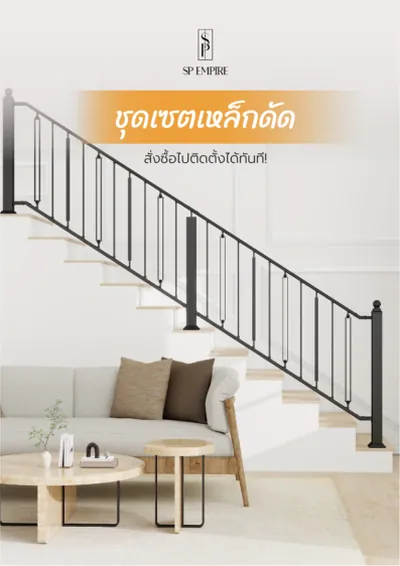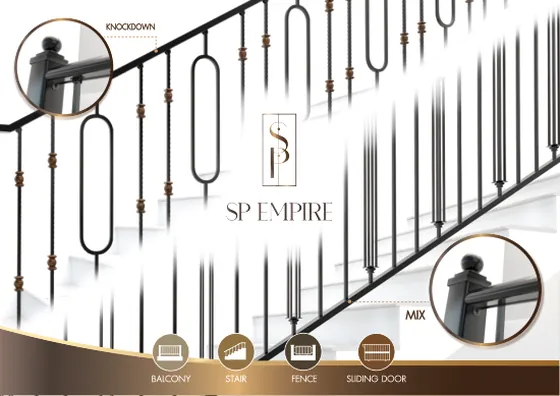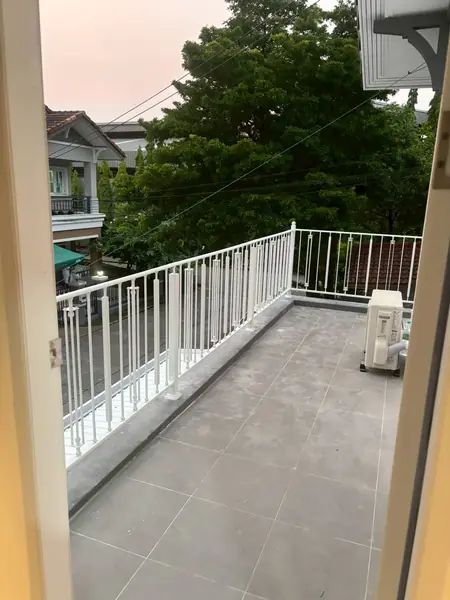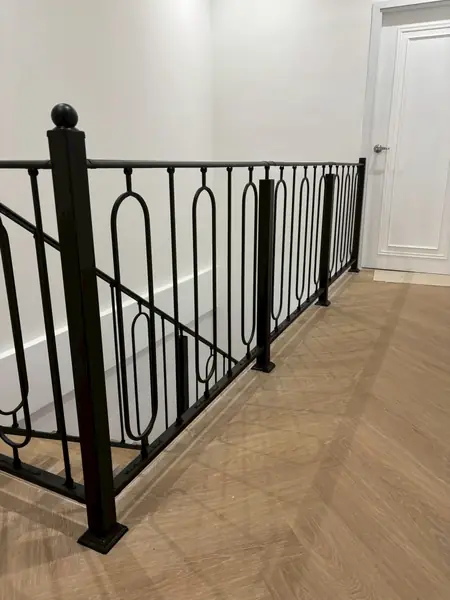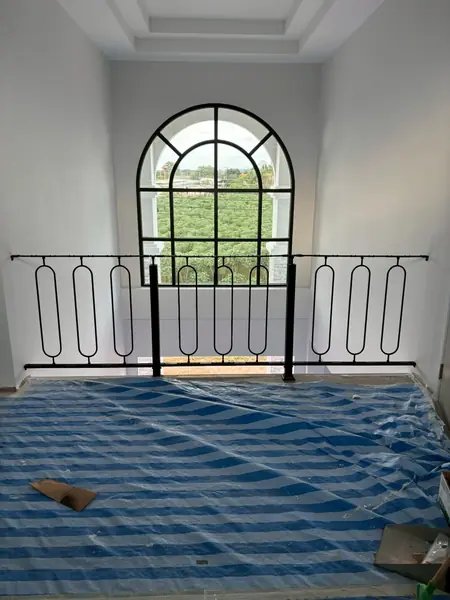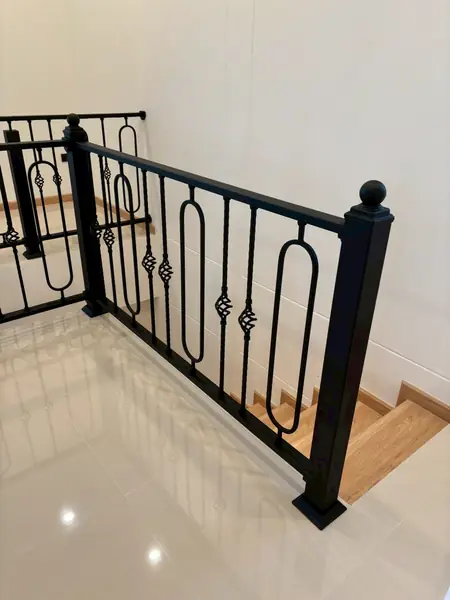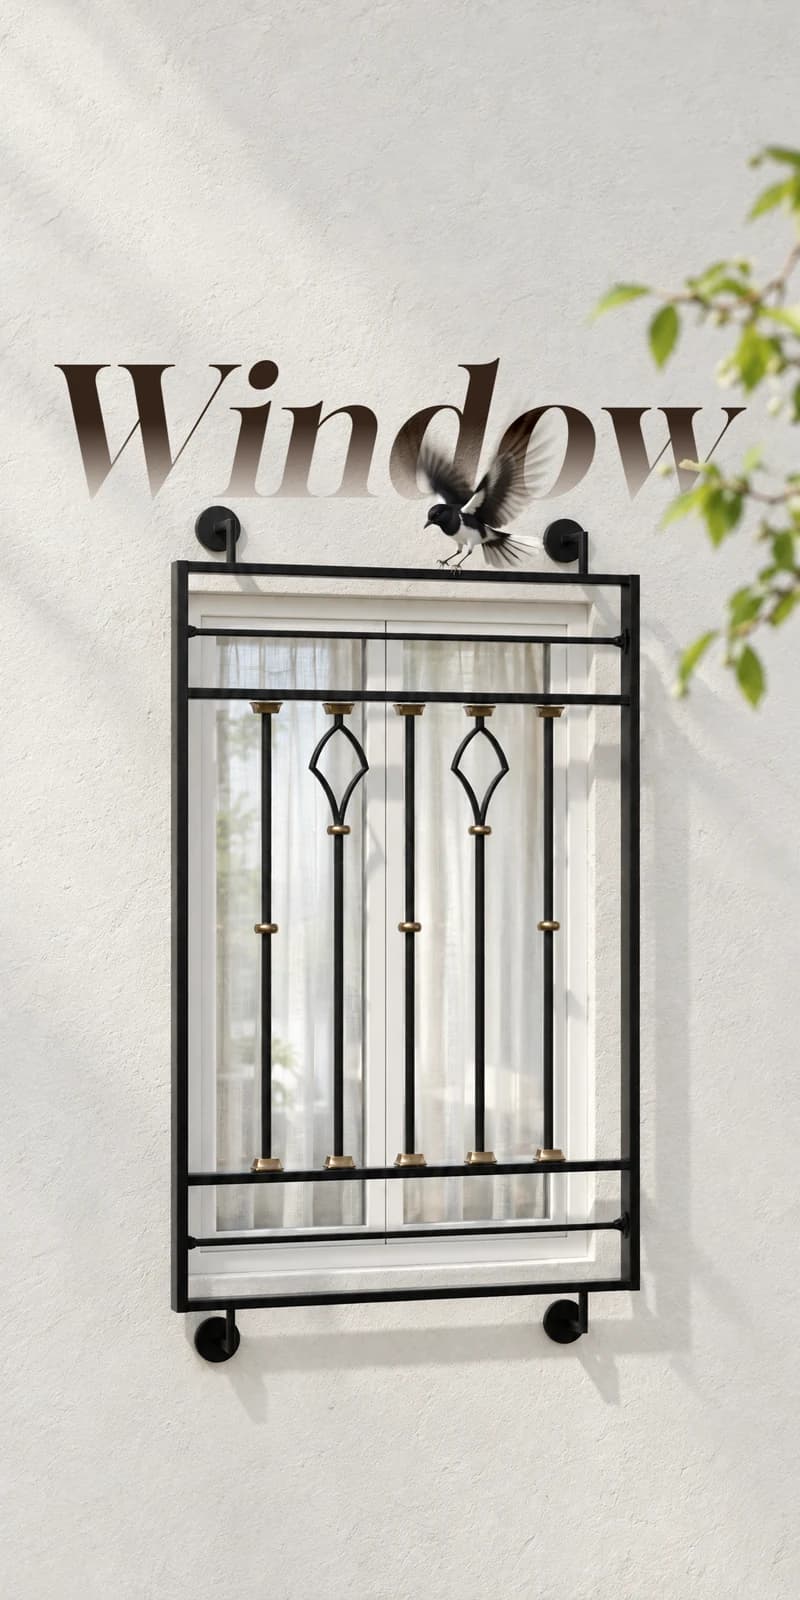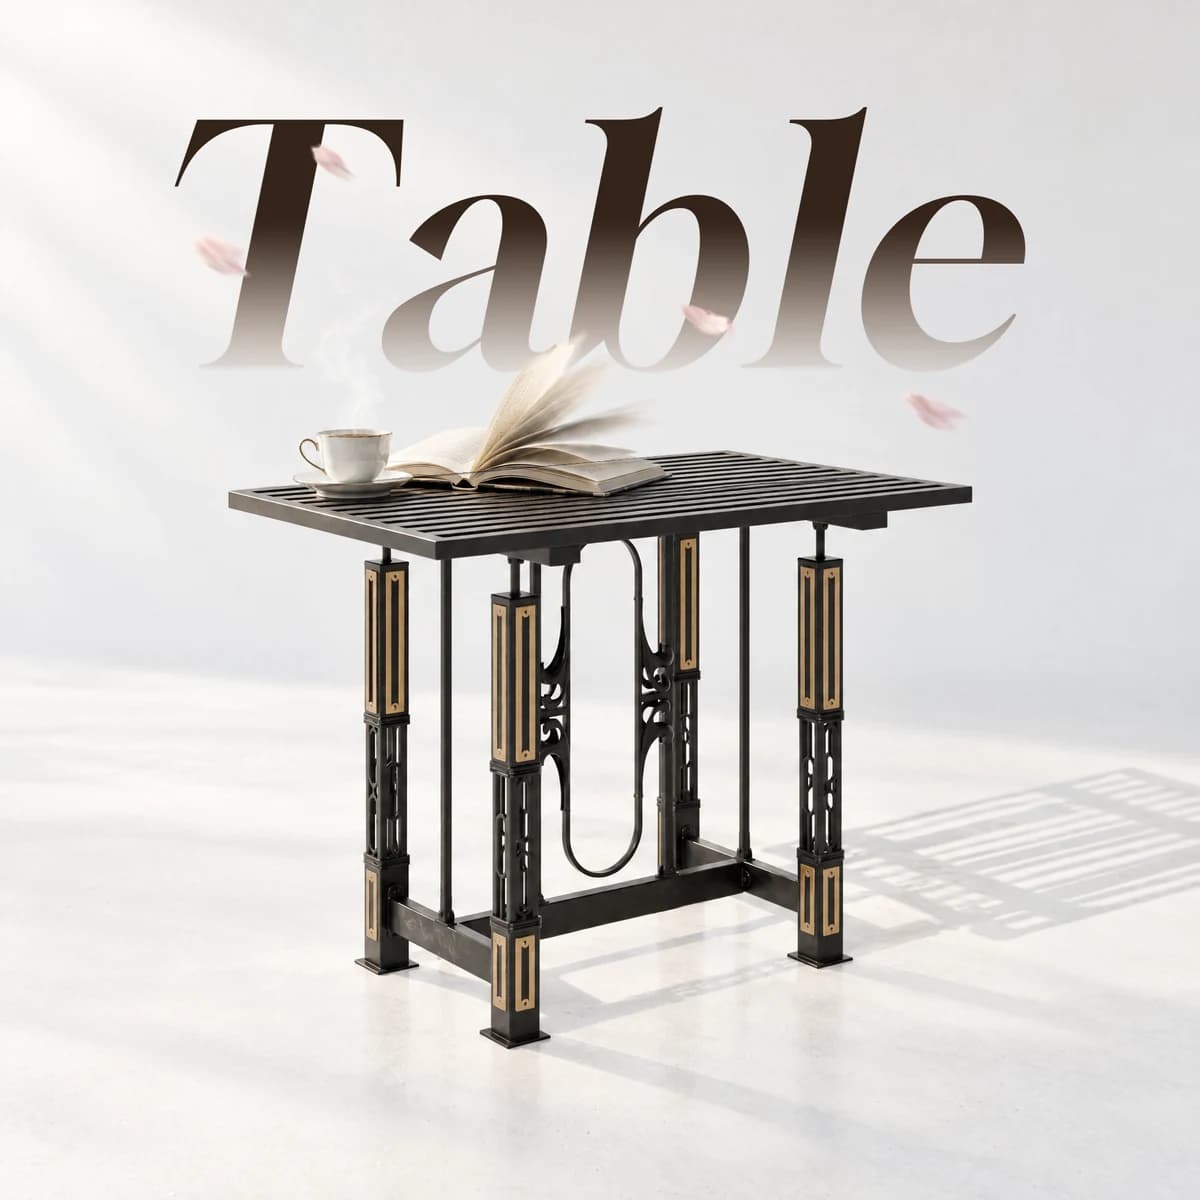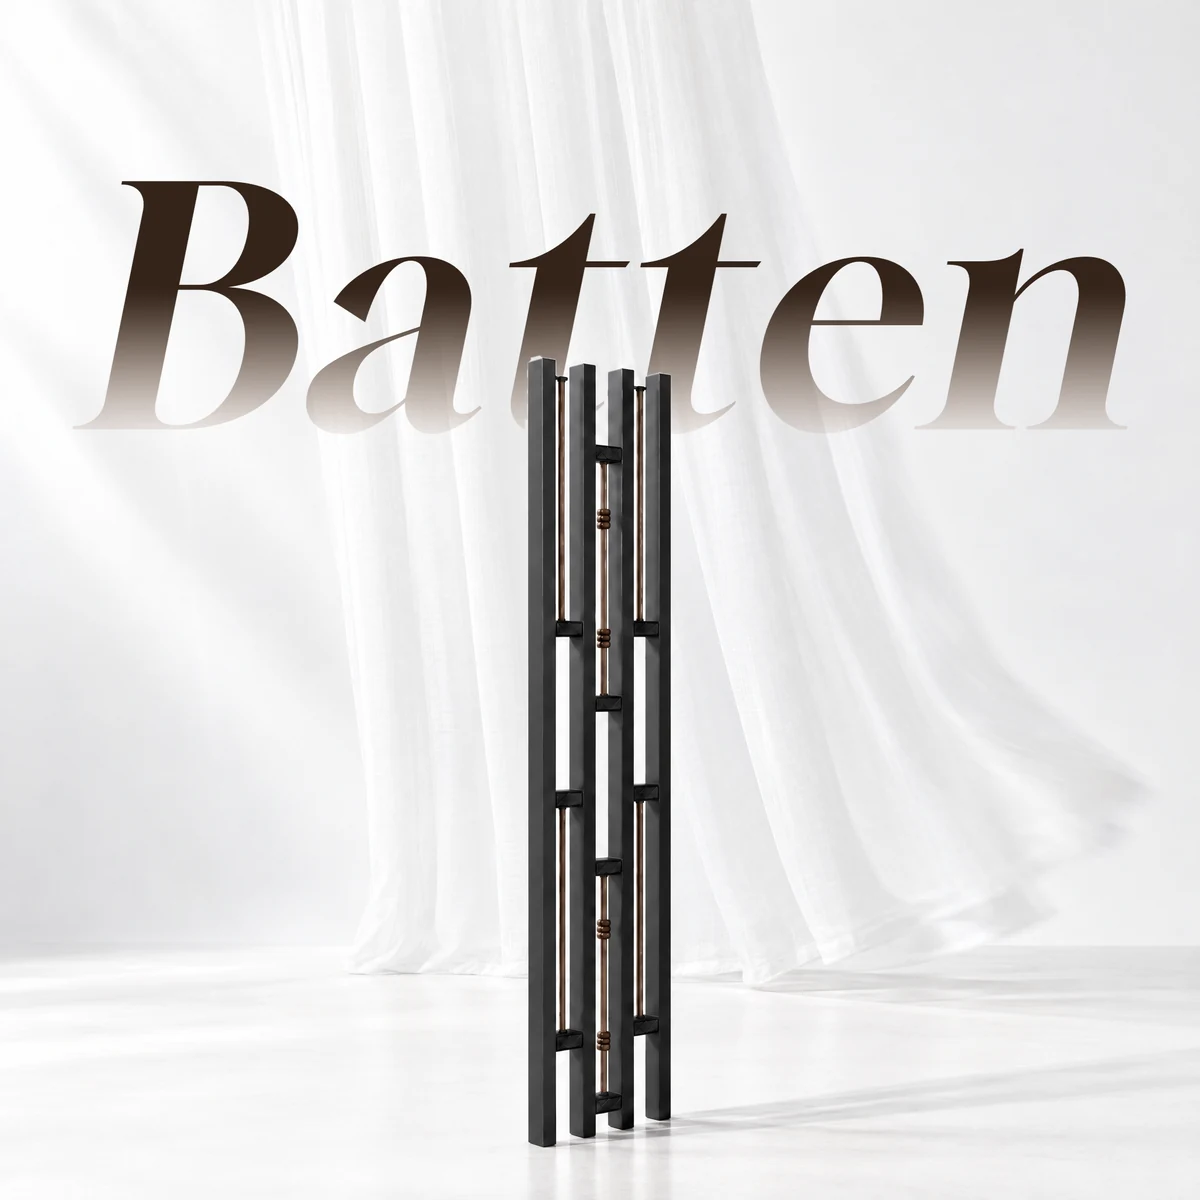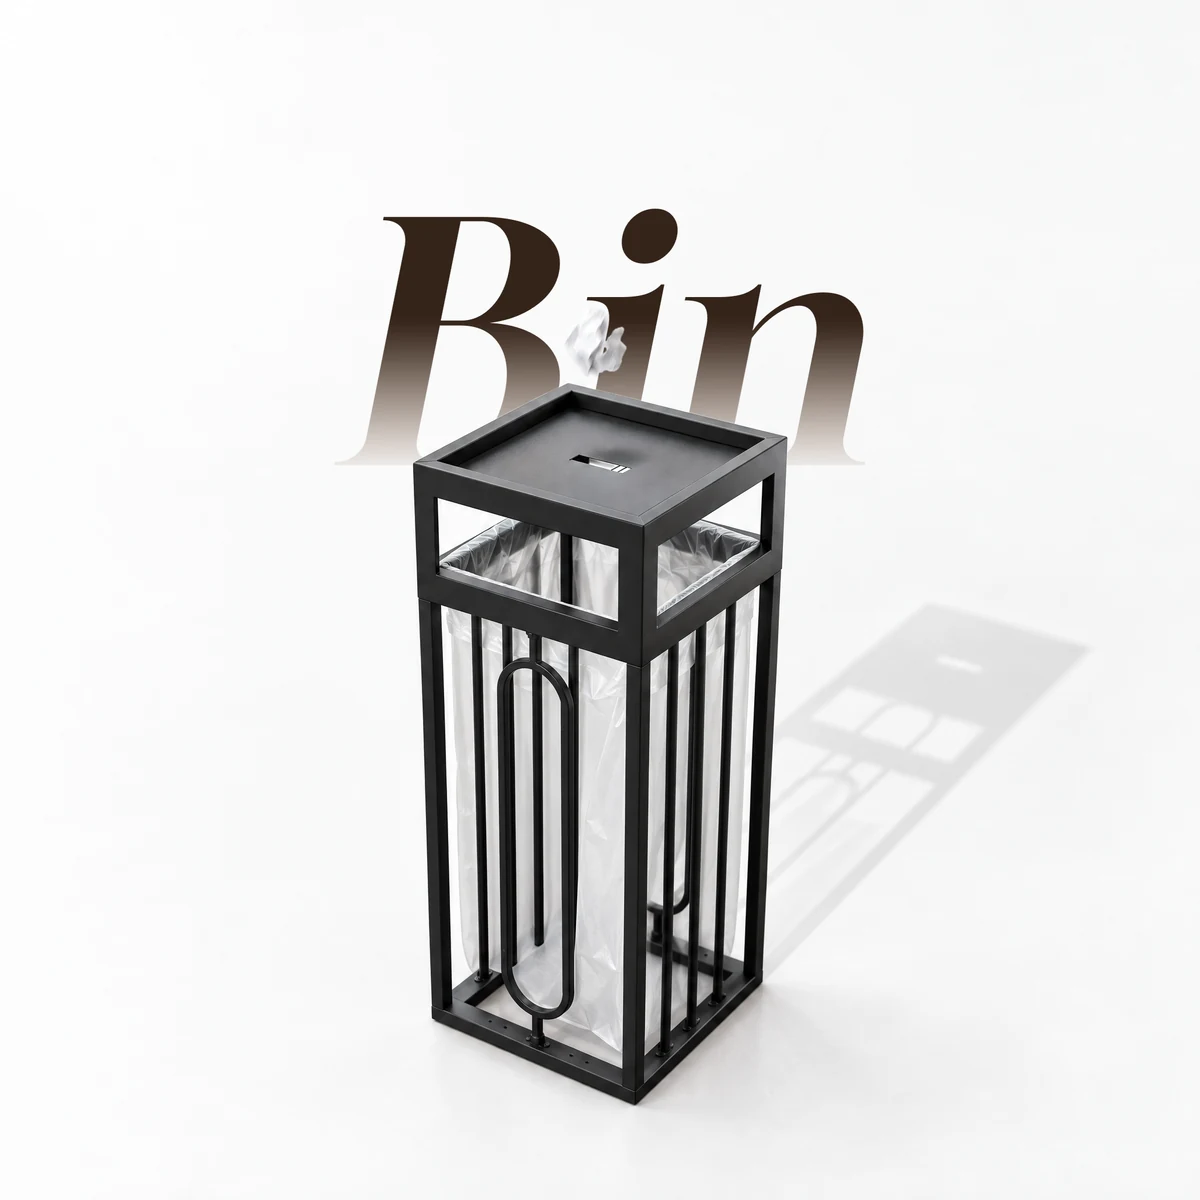
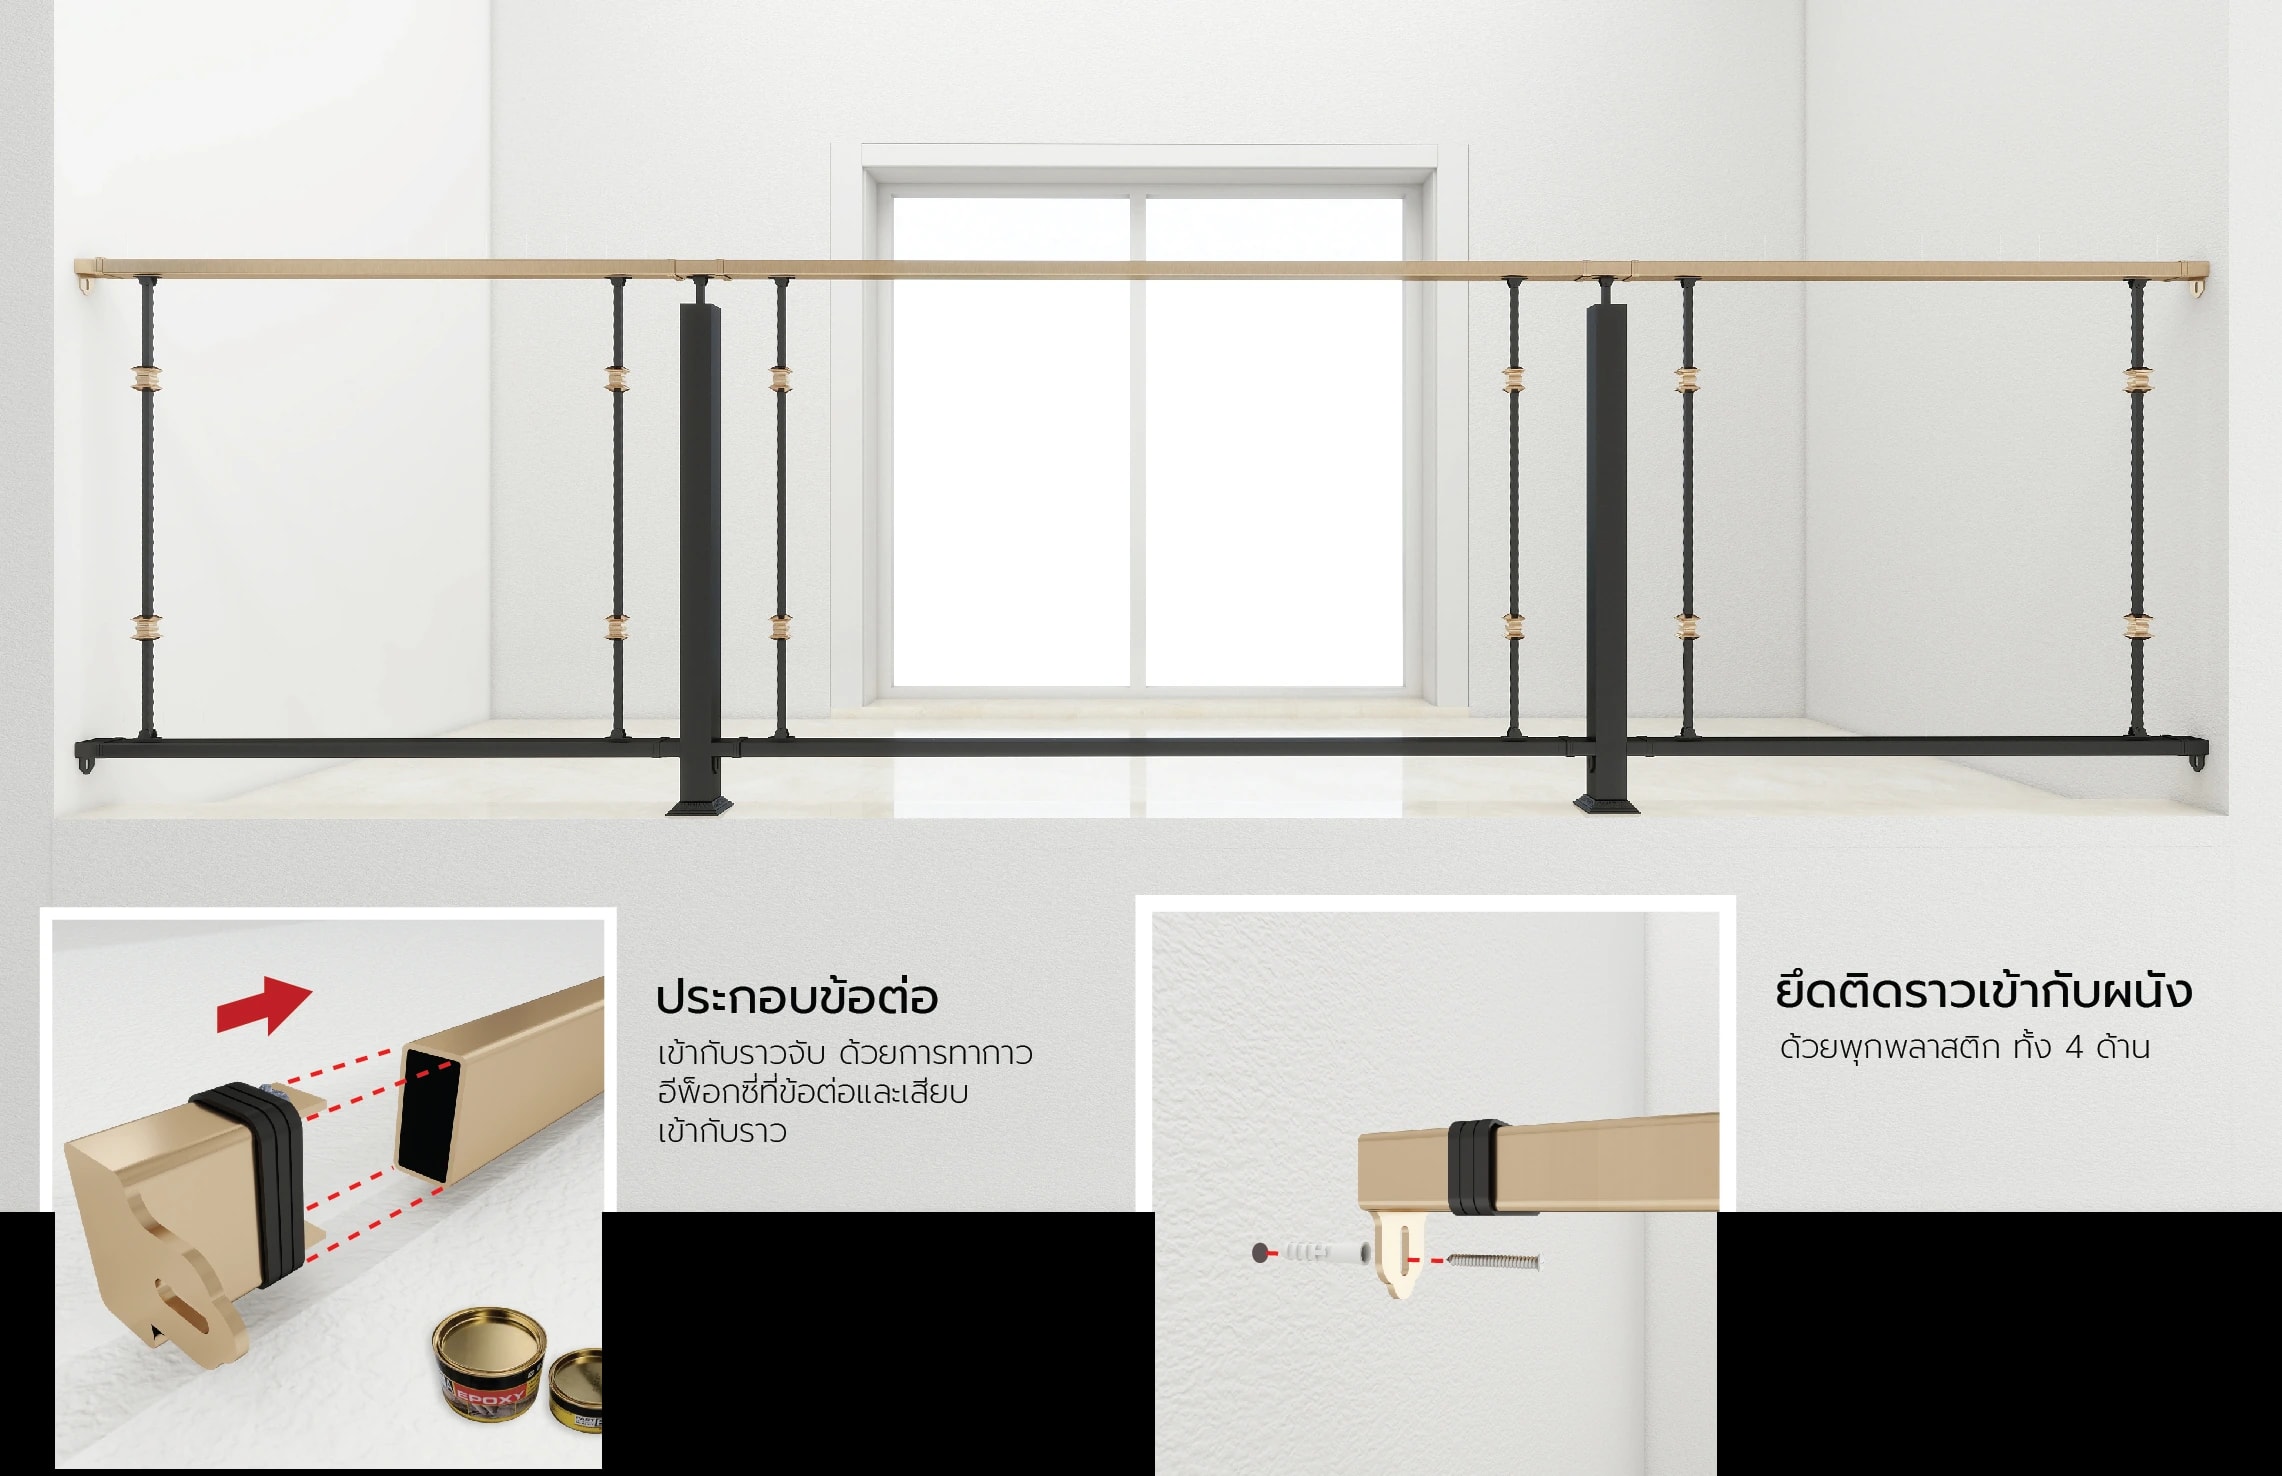
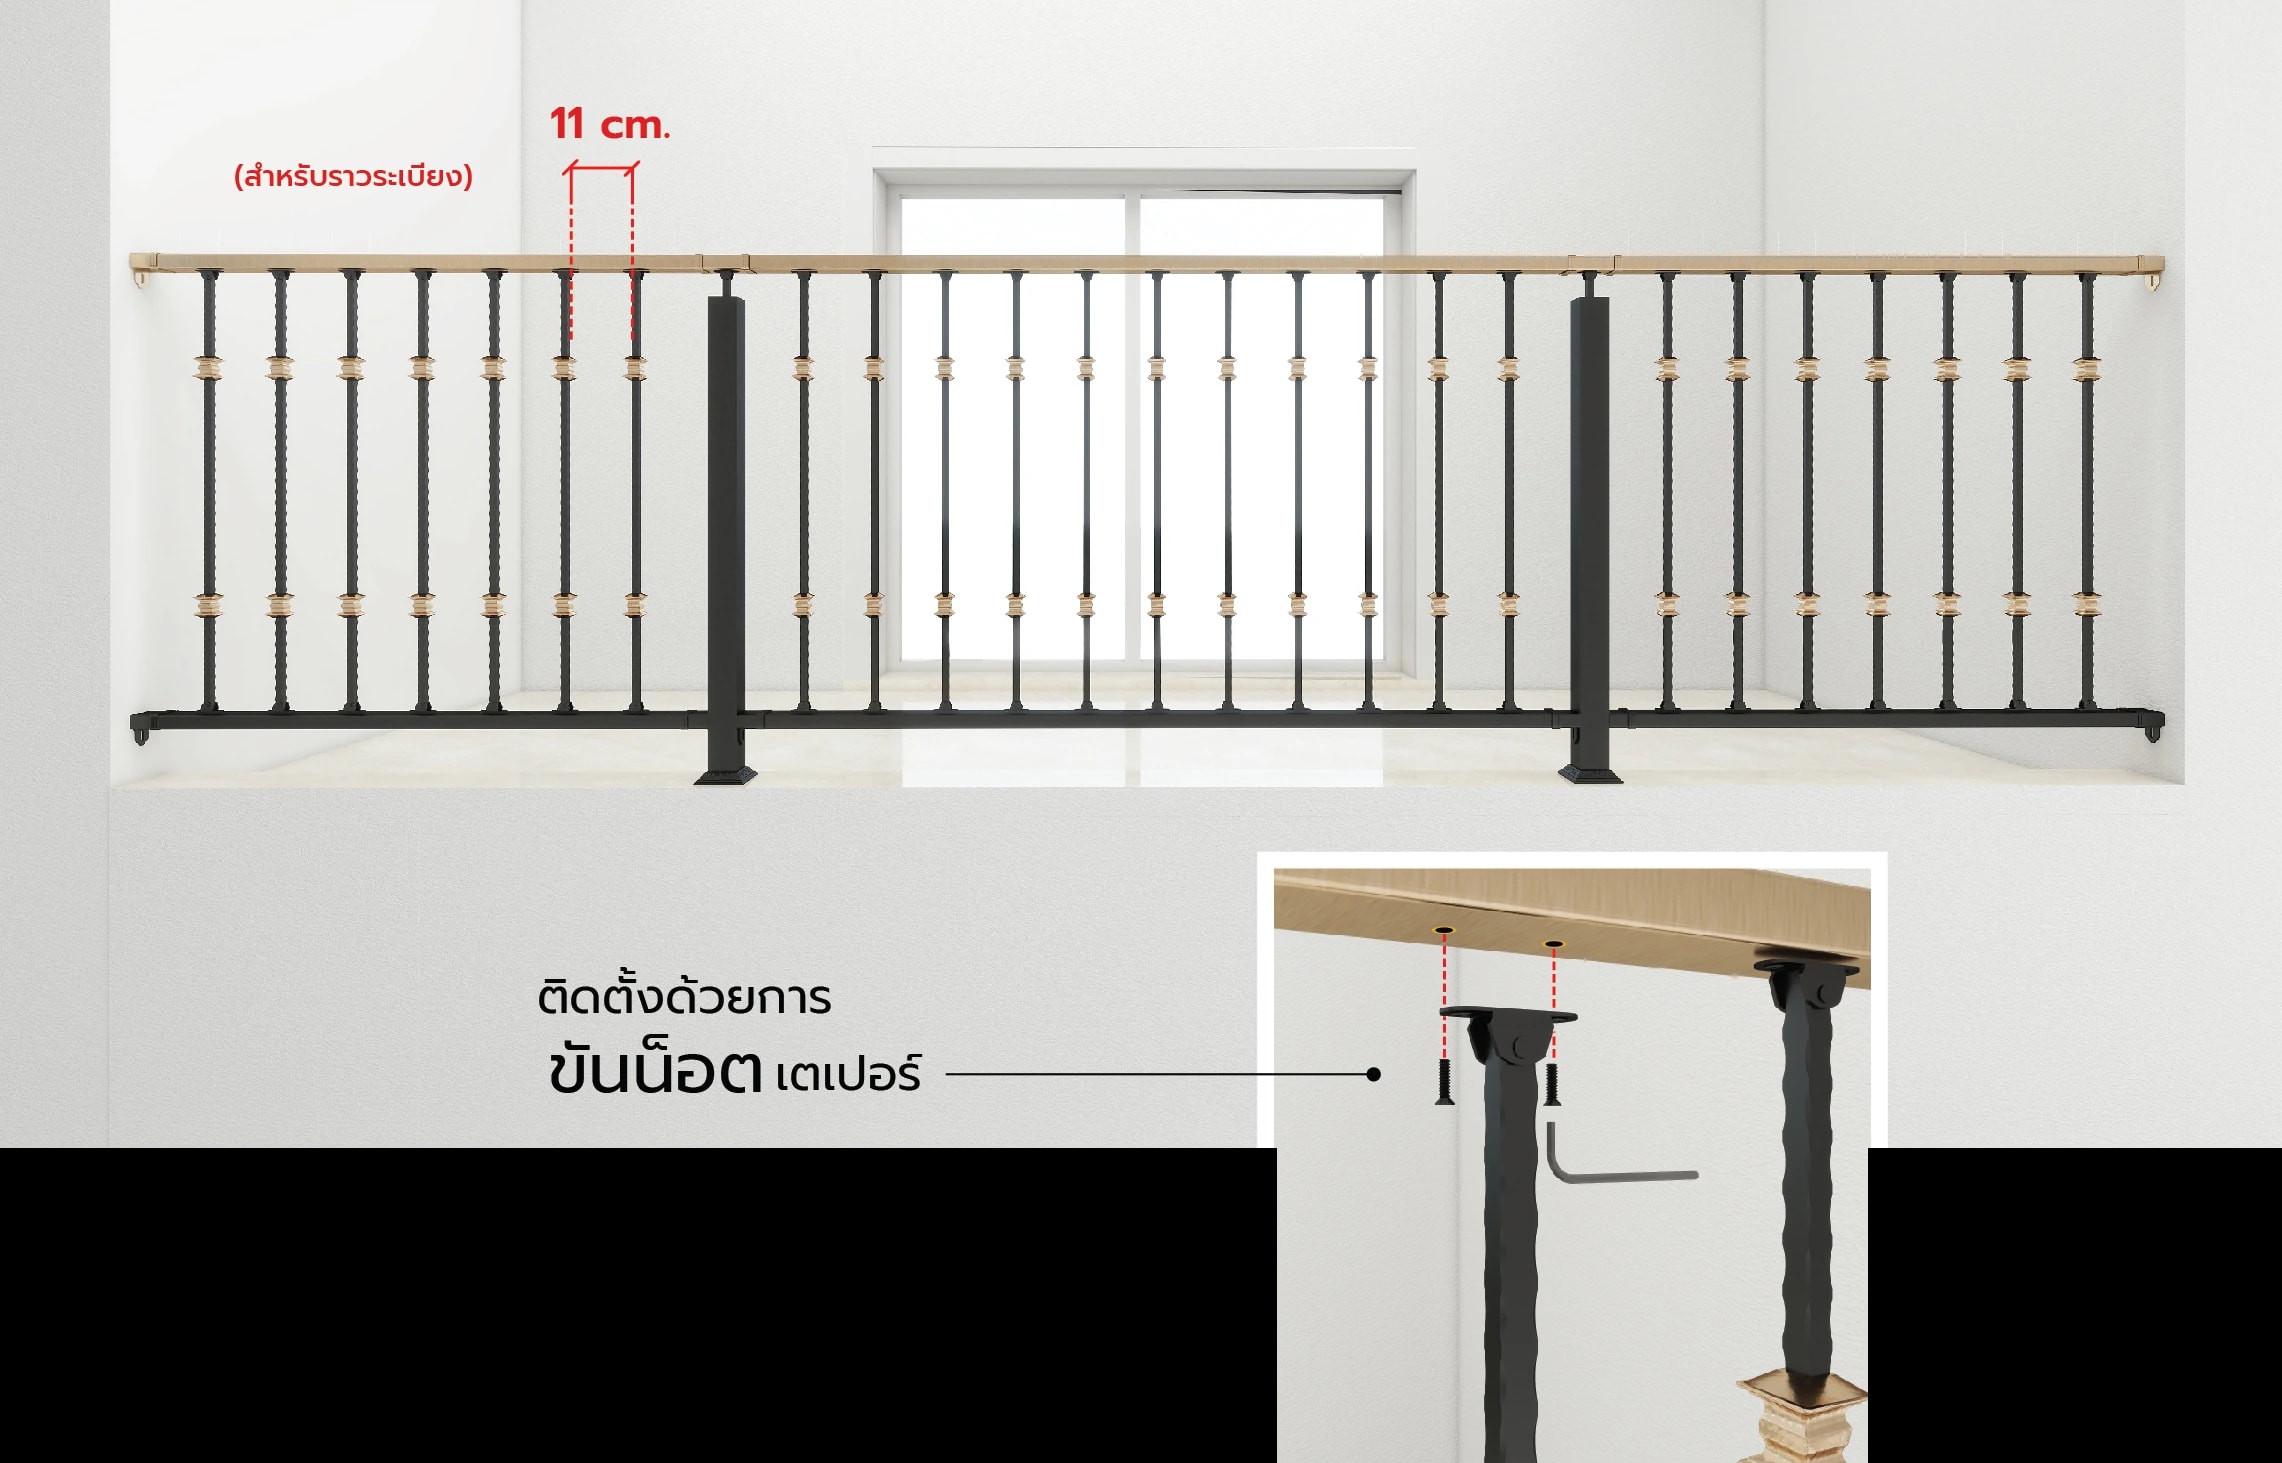
Ready-made Wrought Iron Balcony RailingBalcony · Knockdown

Balcony Railing

Featured: Balcony Railing

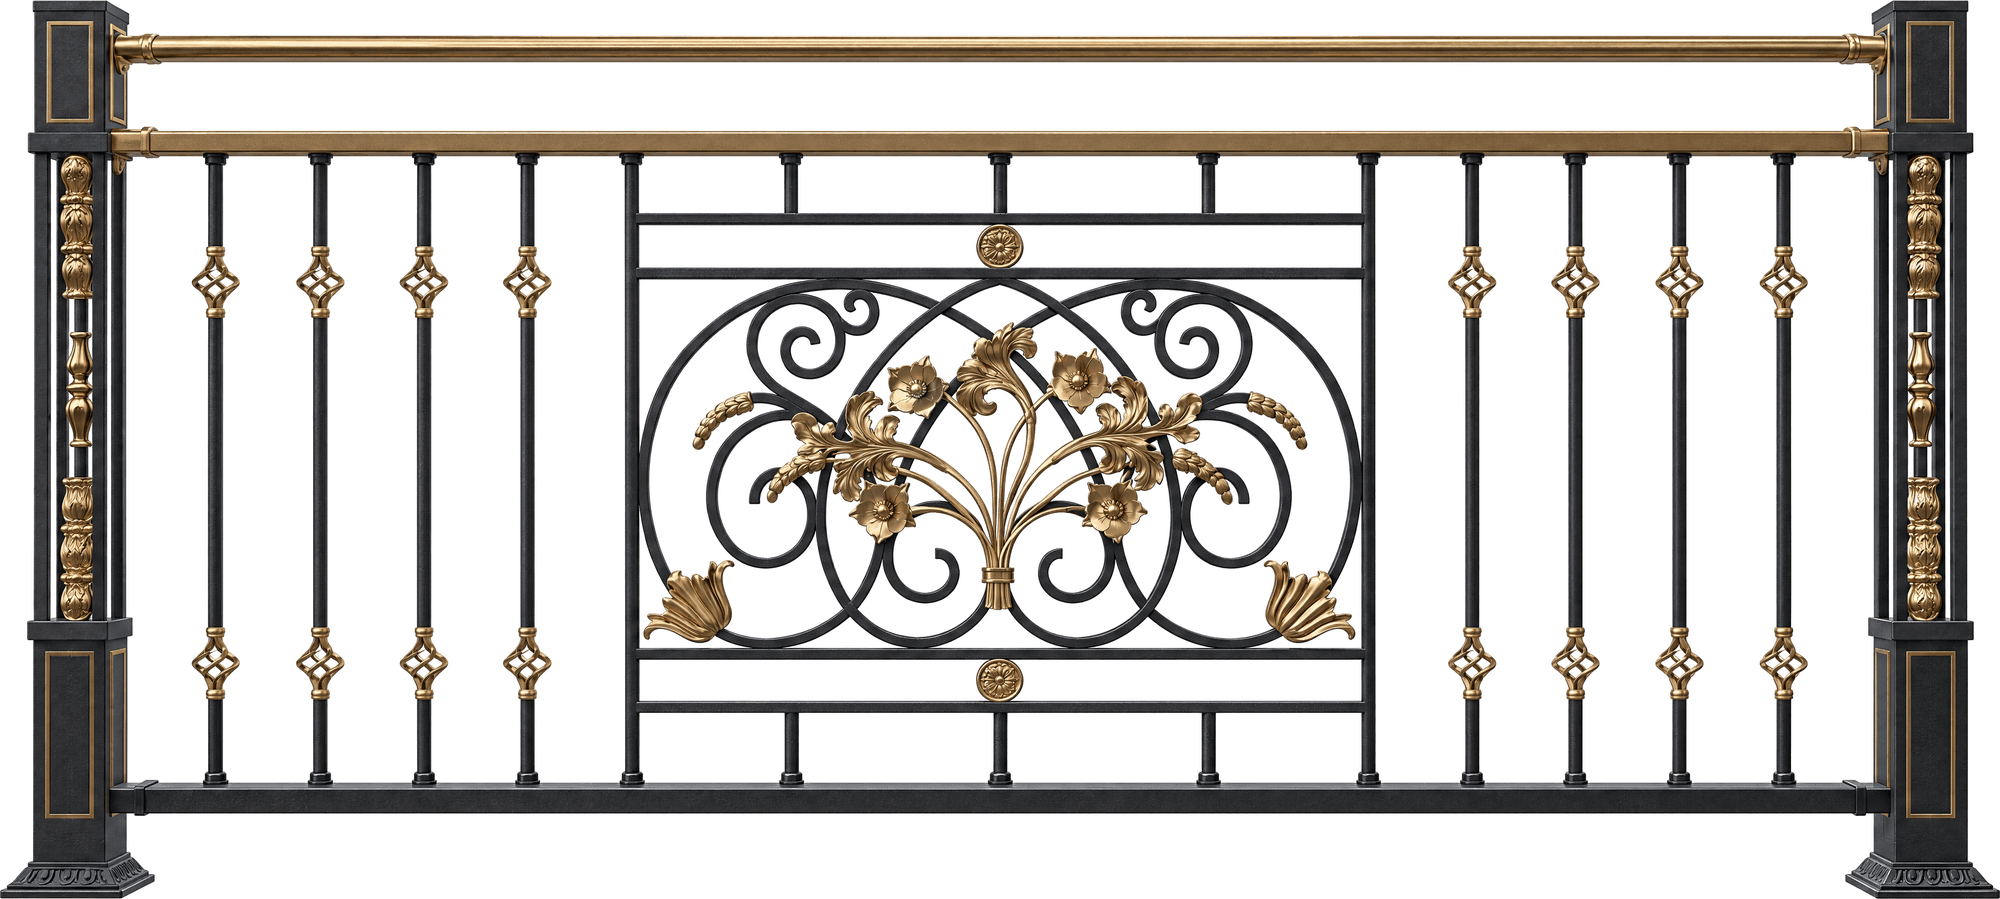
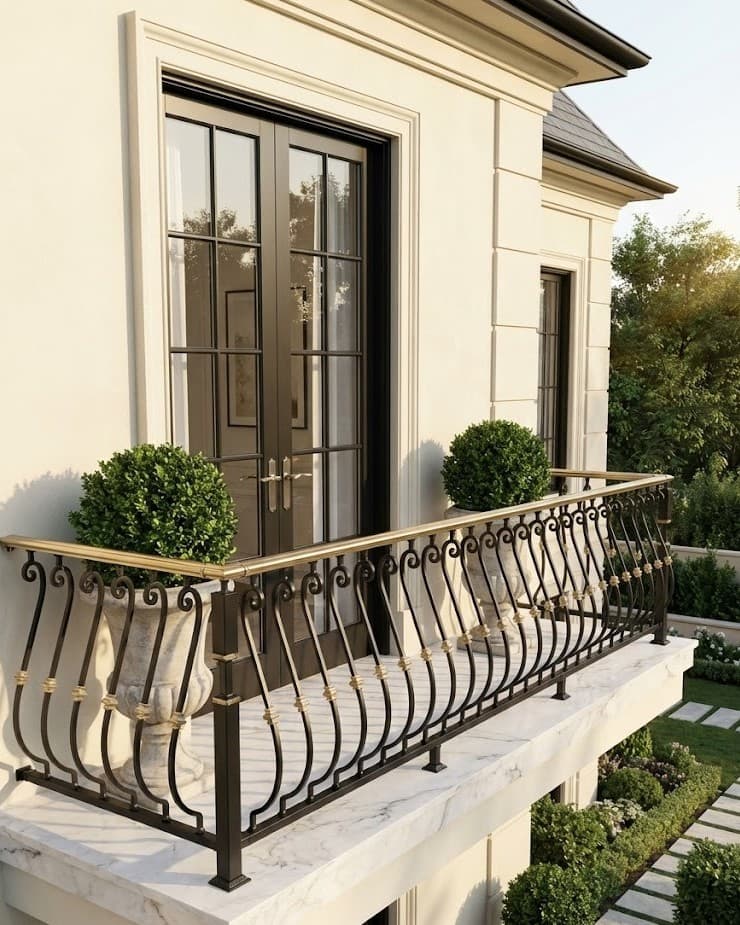
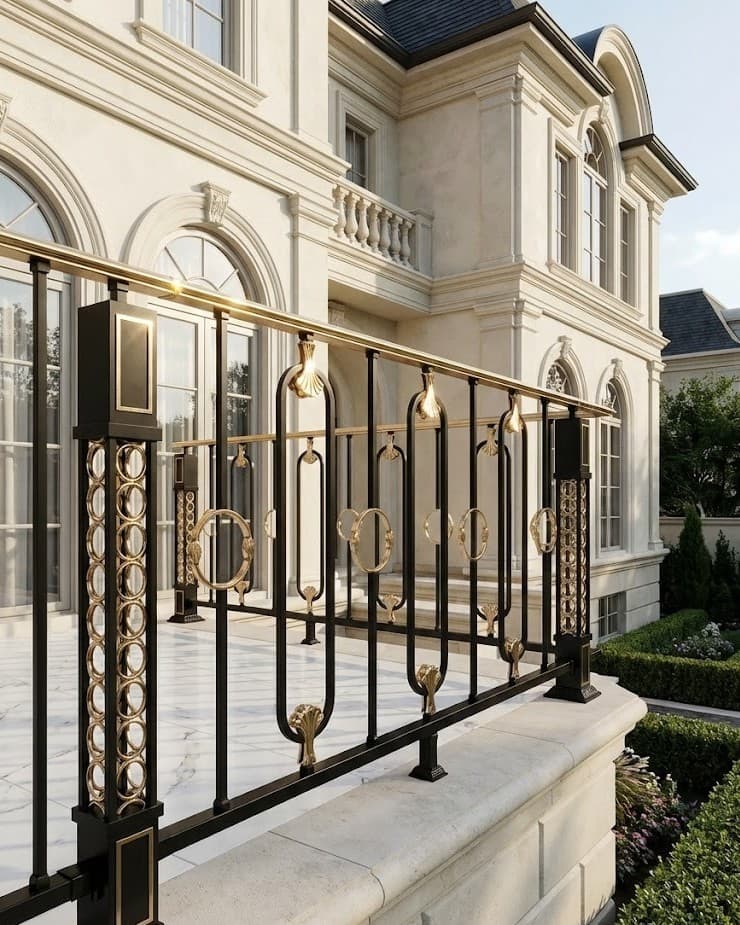
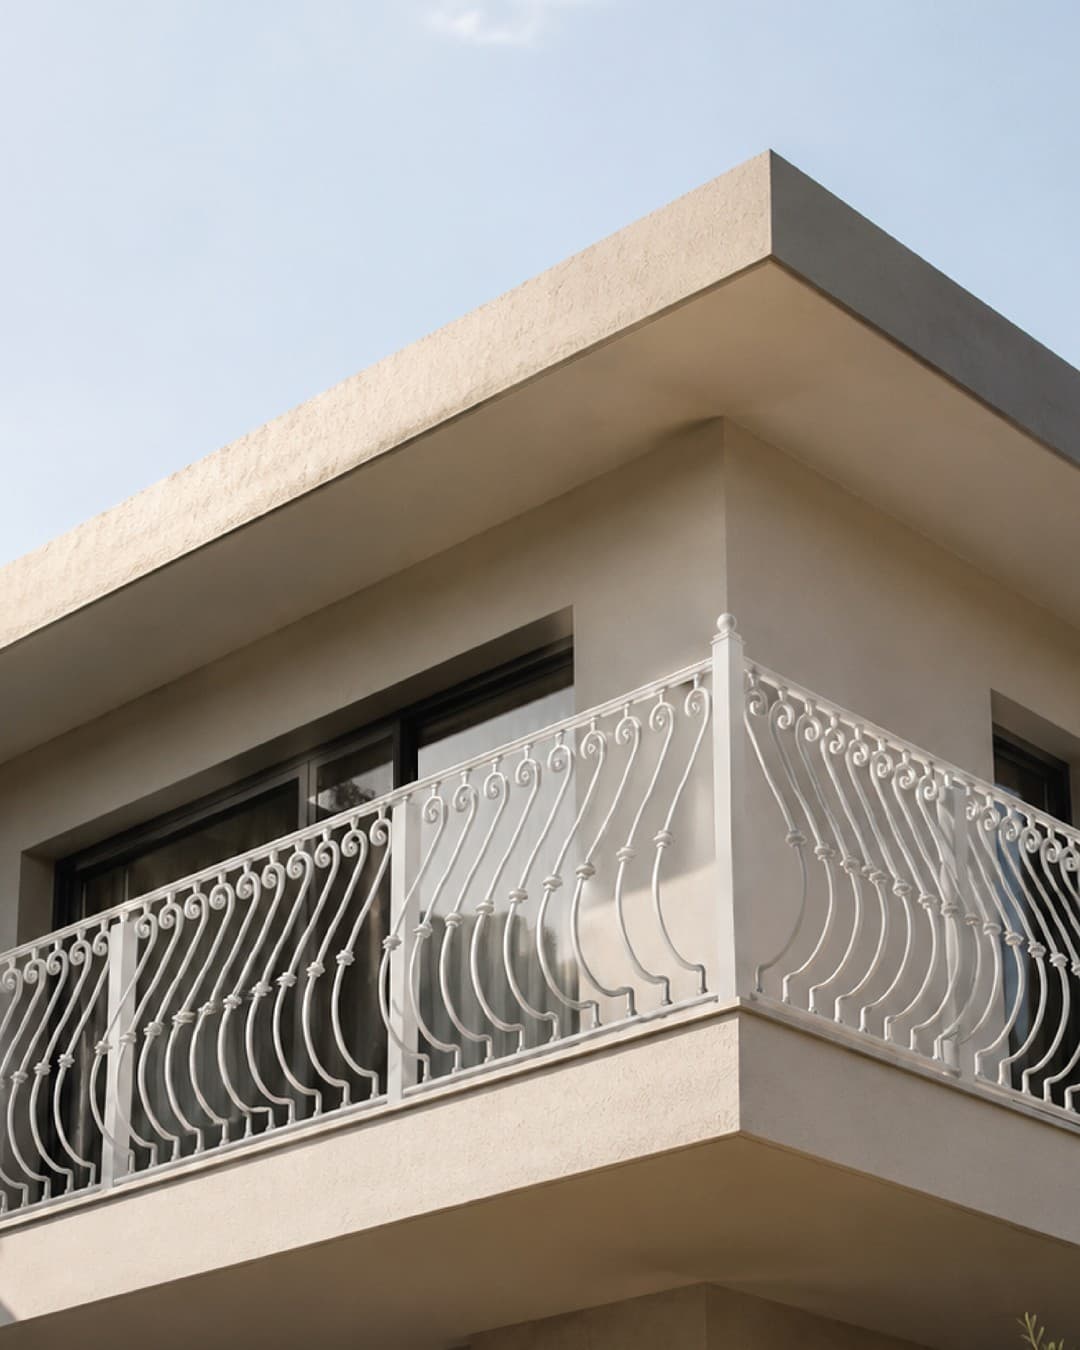
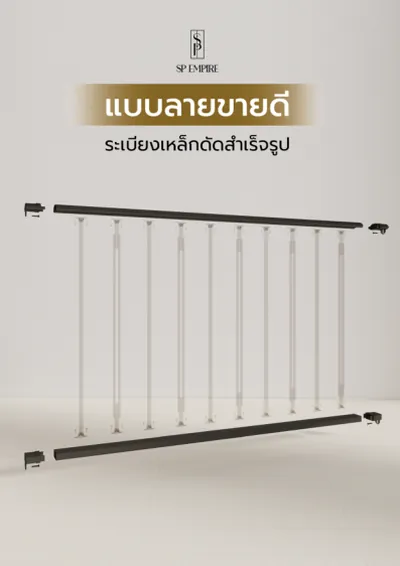
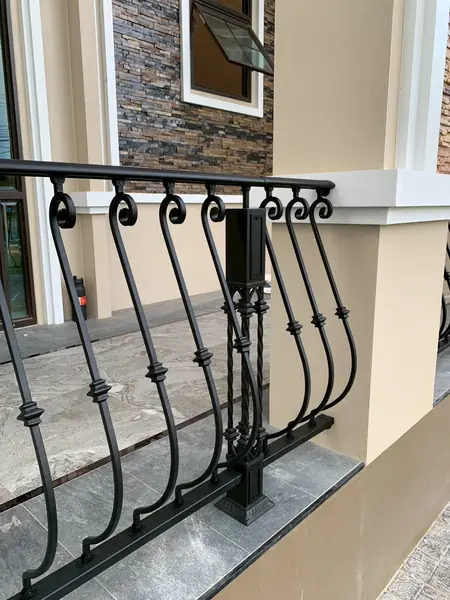
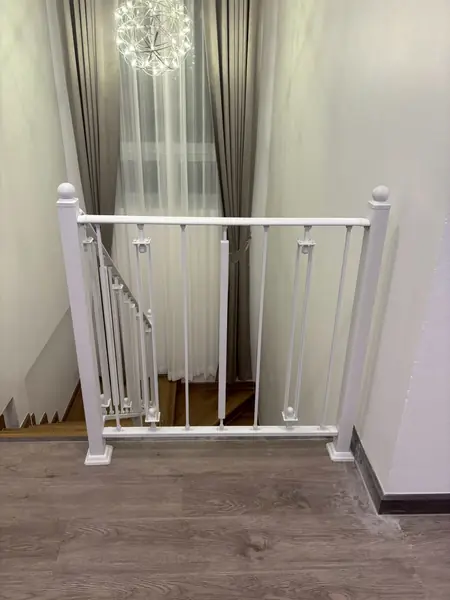
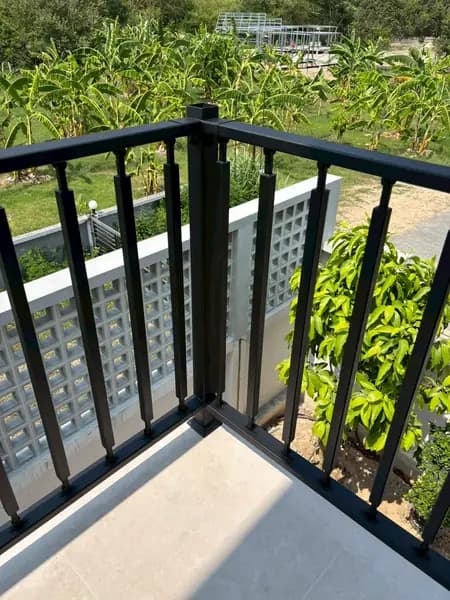
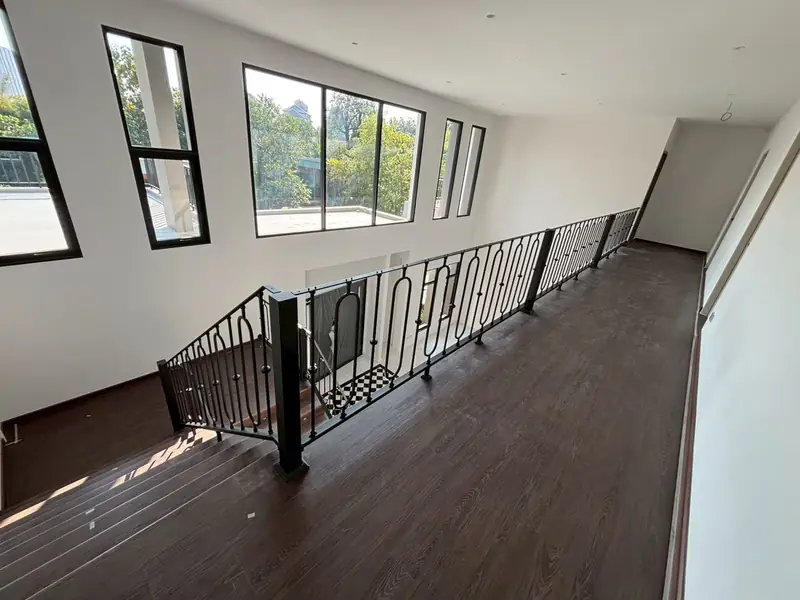
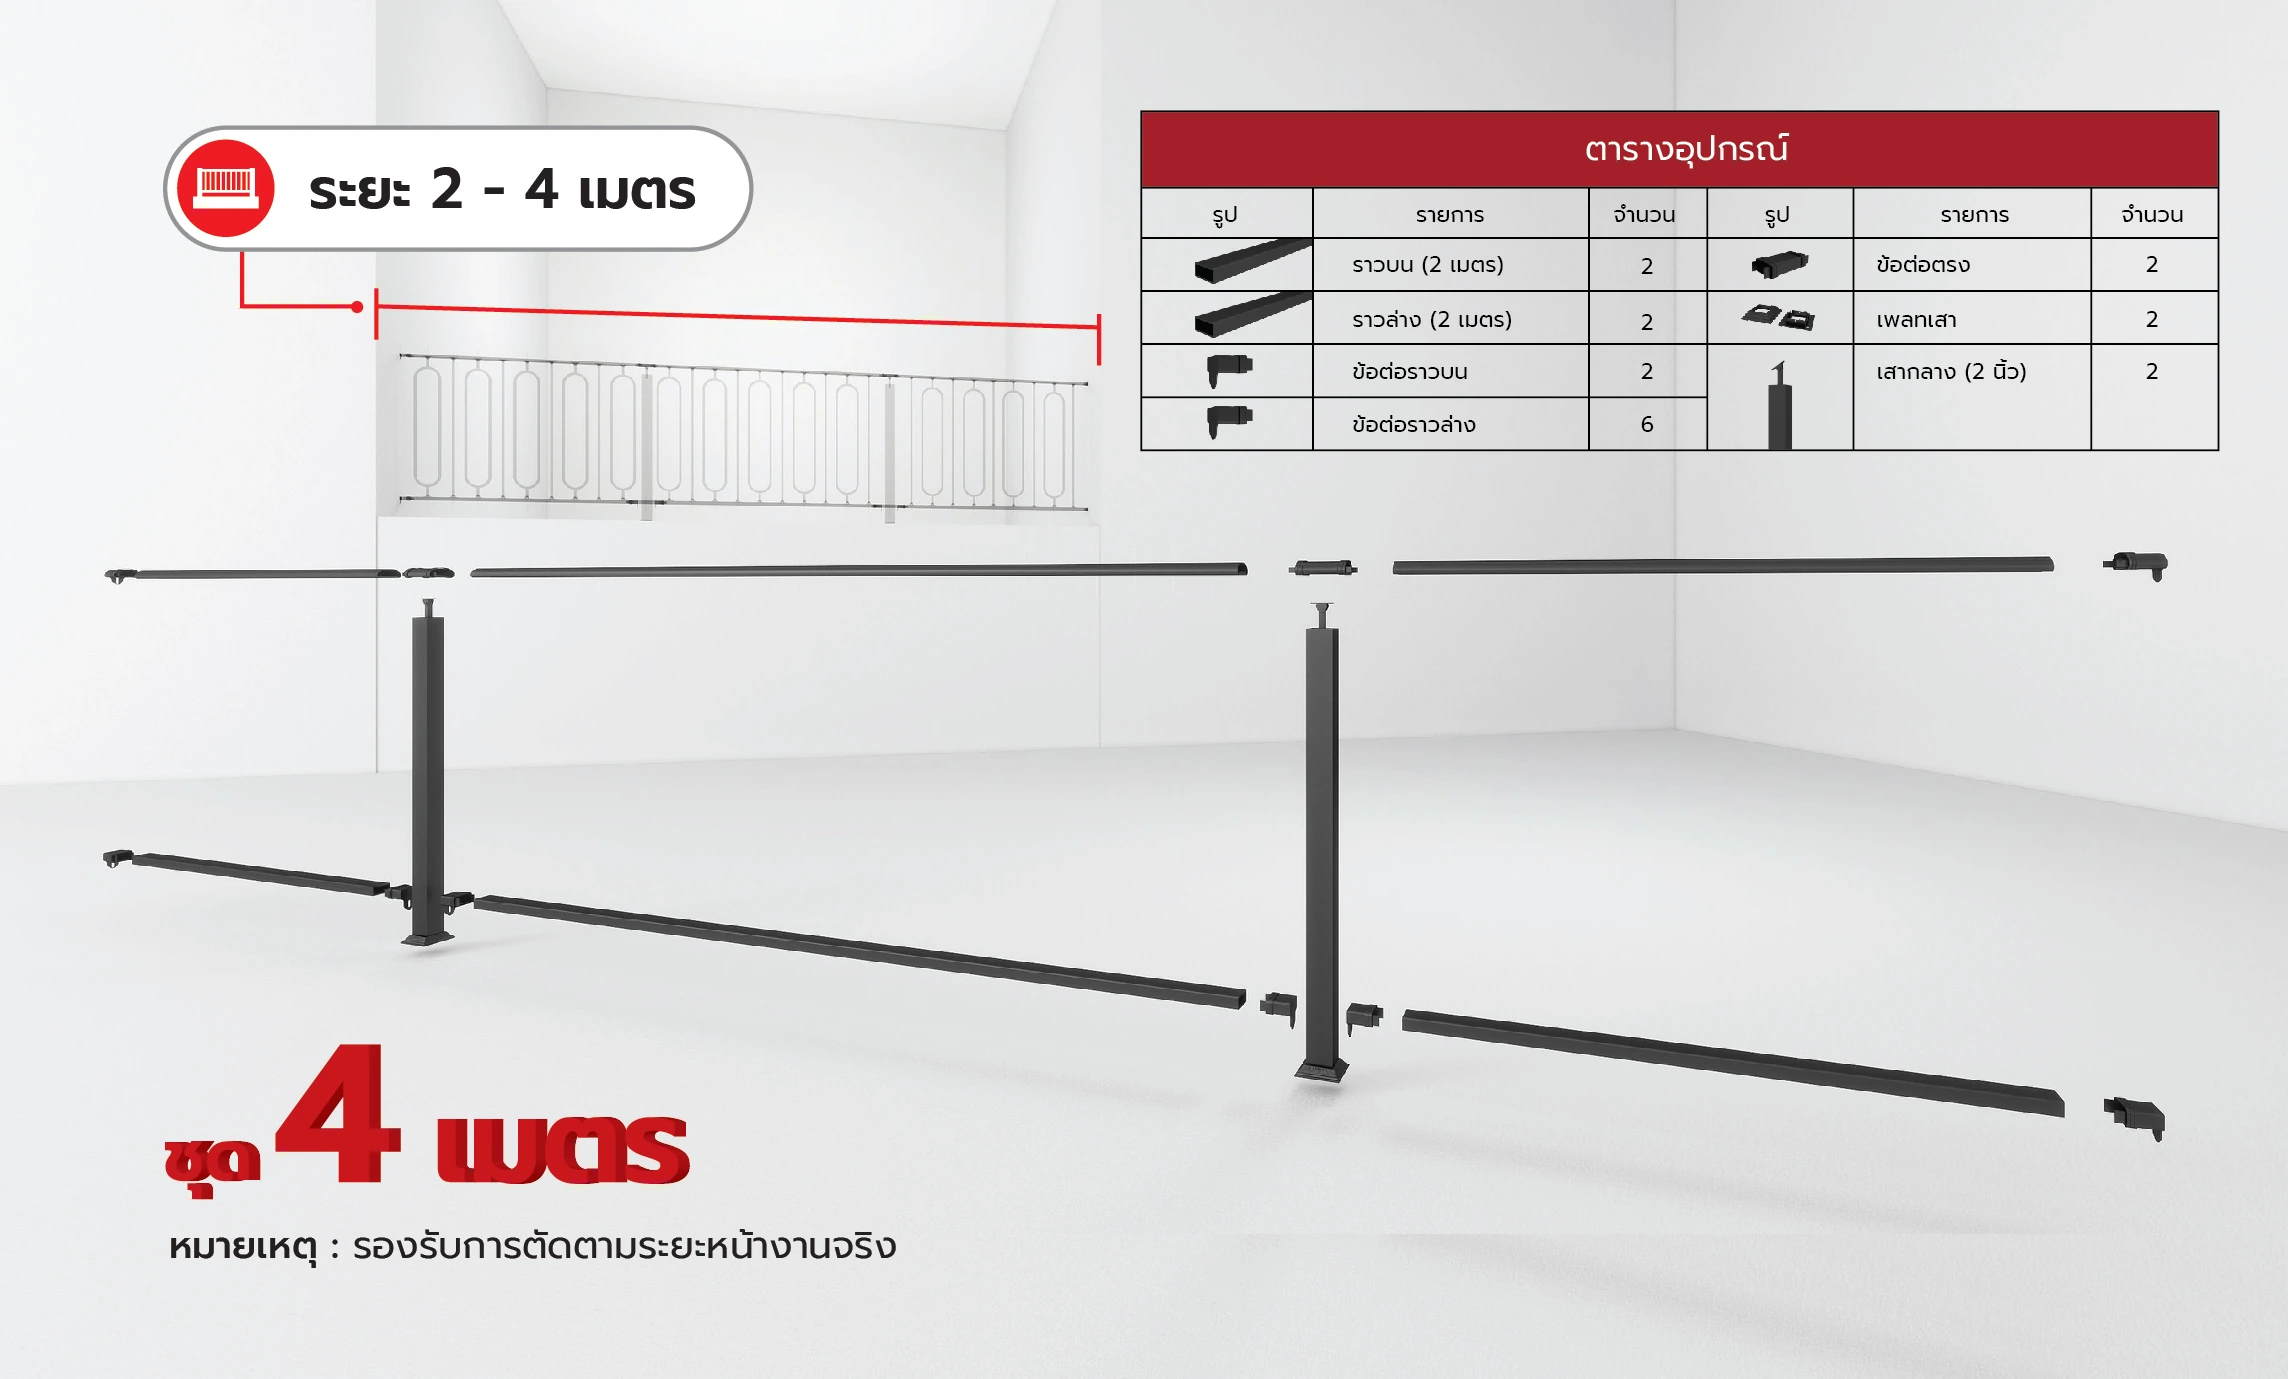
Ready-made wrought iron balcony railing in a ready-to-use box, designed to install easily in just a few steps. Even non-professionals can do it

  • No WeldingMeasure, cut, insert, bolt

  • Connector InnovationSupports many structure types

  • 2-Layer Coating SystemEffective rust protection

  • Indoor and outdoorBeautiful, durable, quick to install

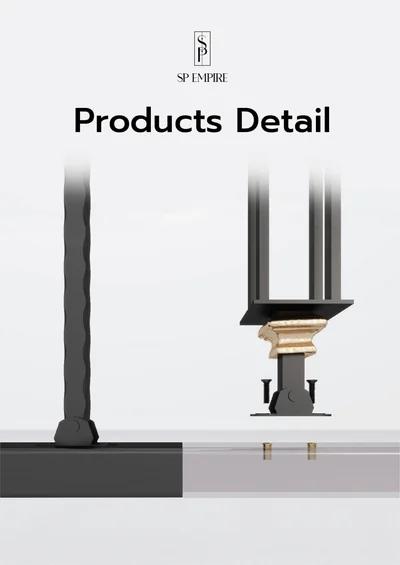
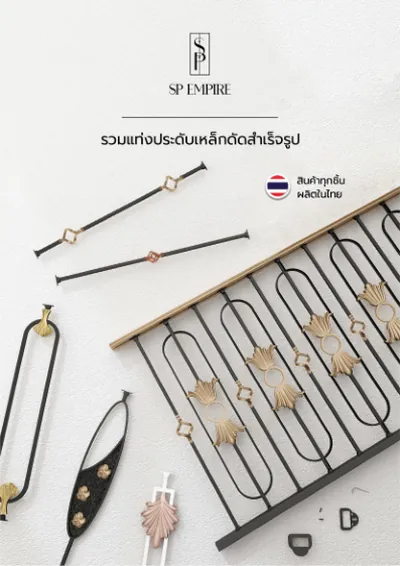
CatalogsCatalog

Downloadany of our catalogs

Tap a book to download the PDF

See all catalogs

Balcony Railing · Plate-and-Baluster System

A Closer Look

10 things worth knowing · tap a card to see the details

Structure Simulator3D Preview

Build a balcony railingto your own dimensions

Choose the shape, posts and handrail, and see the assembled piece instantly

Number of Posts

3D view for presentation · see the manual for the actual parts list and dimensions

Structure Set Manual

Installation GuideInstallation

No Welding Just 4 steps

Designed to install easily in just a few steps. Even non-professionals can do it

Your site

01/ 06Measure

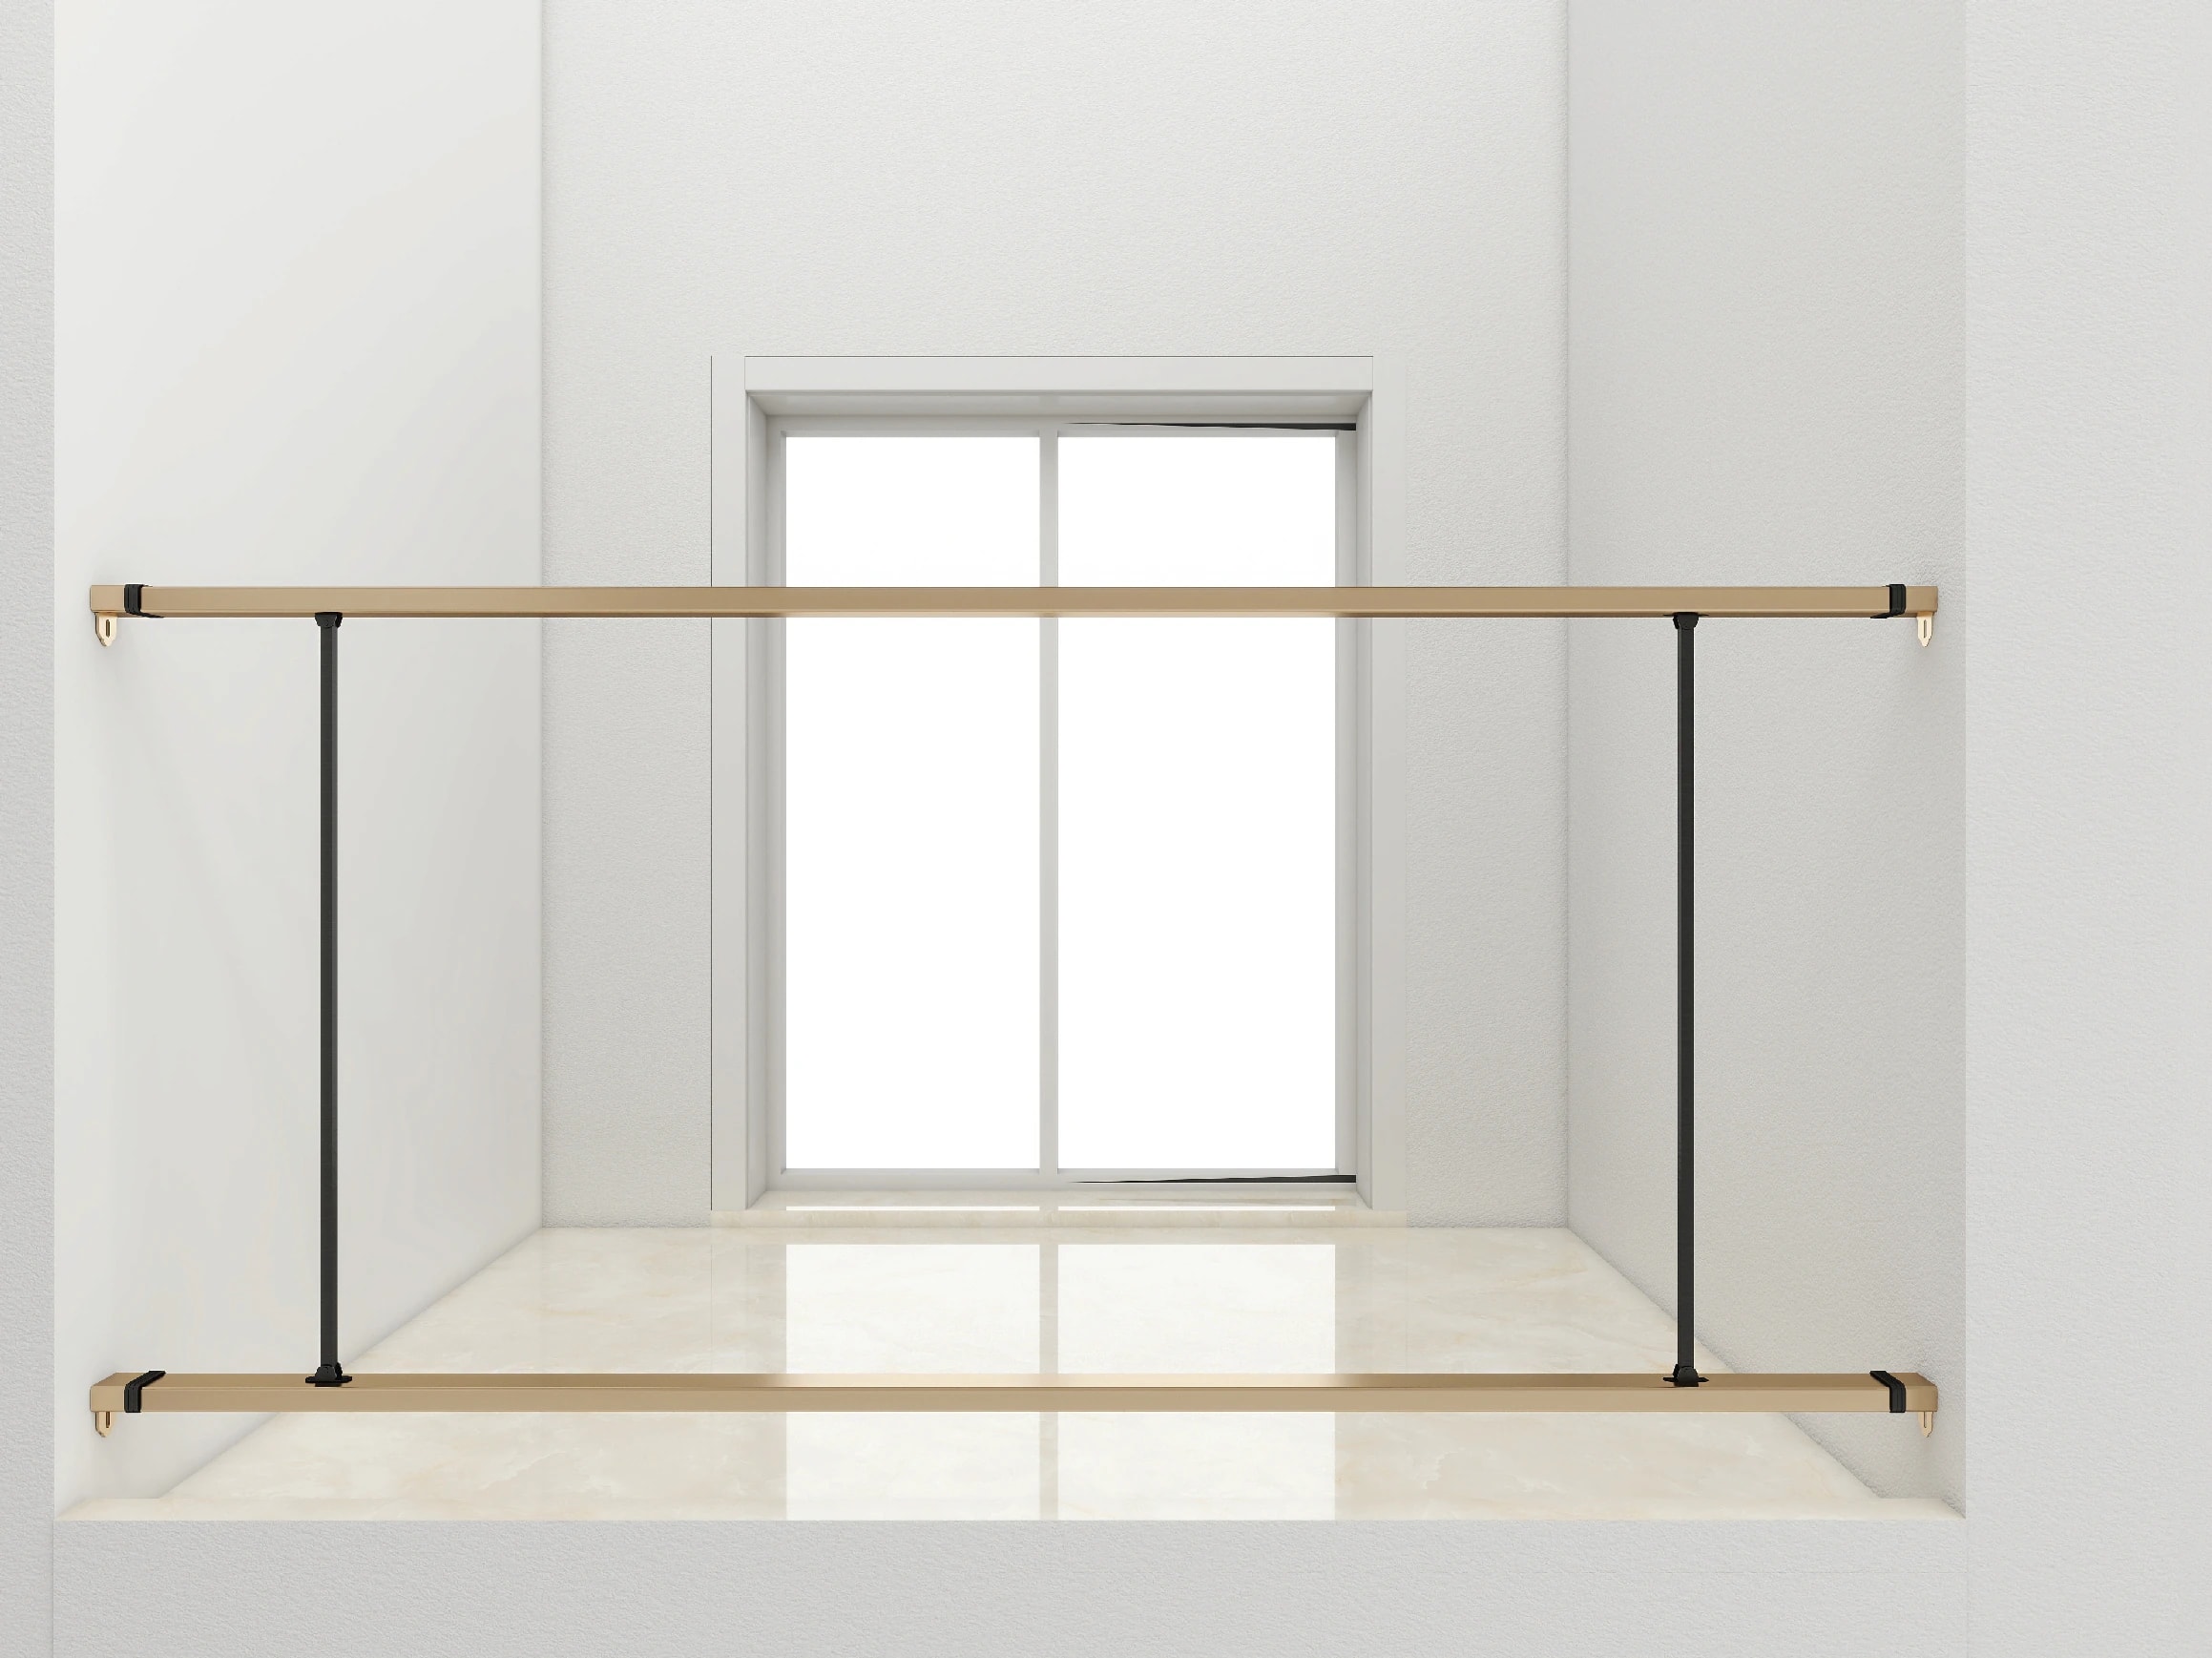
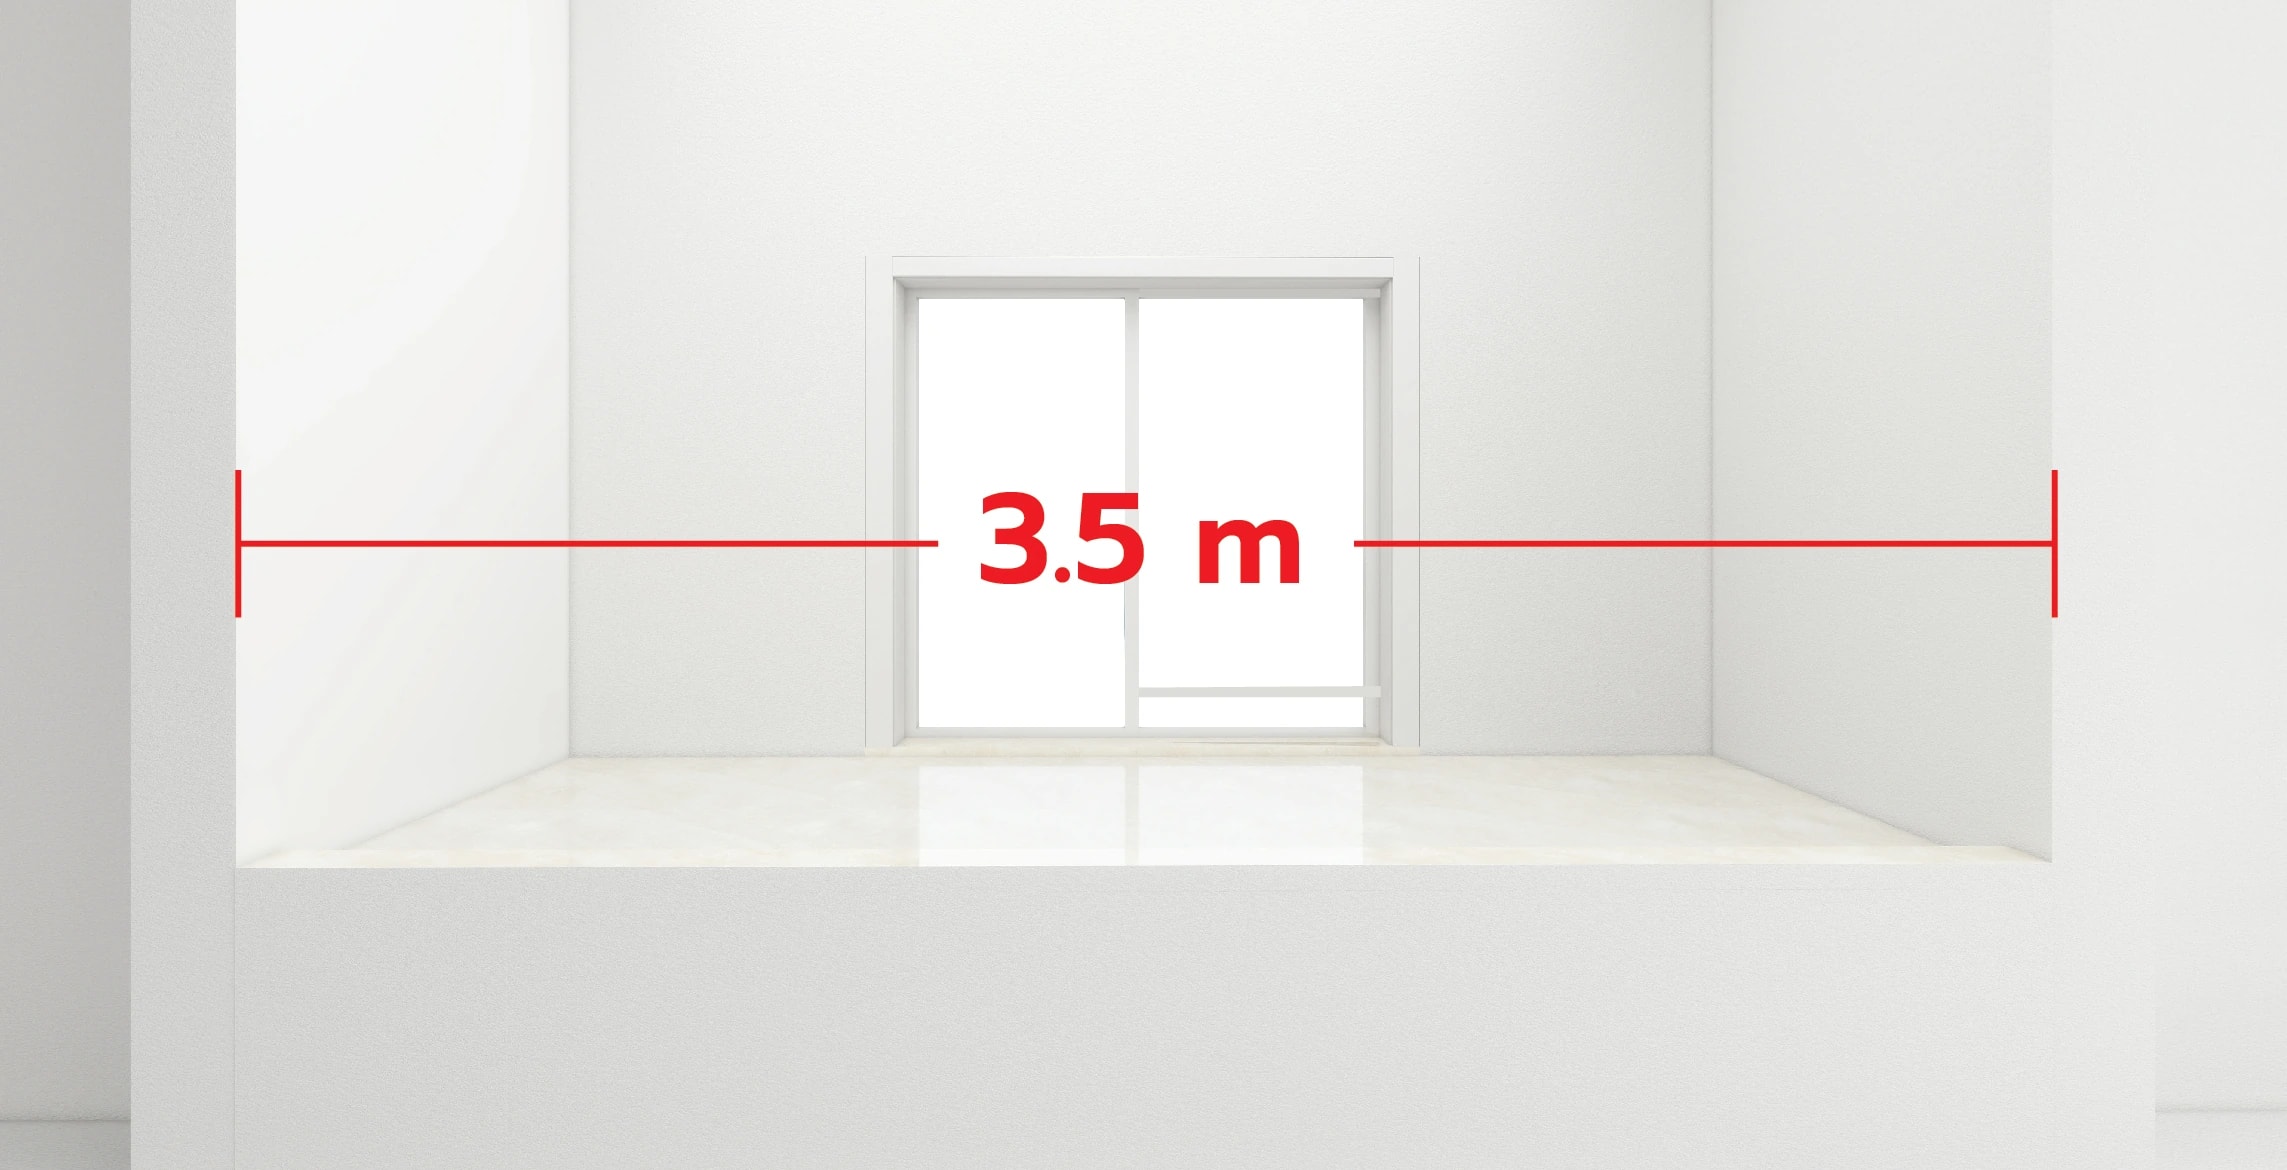
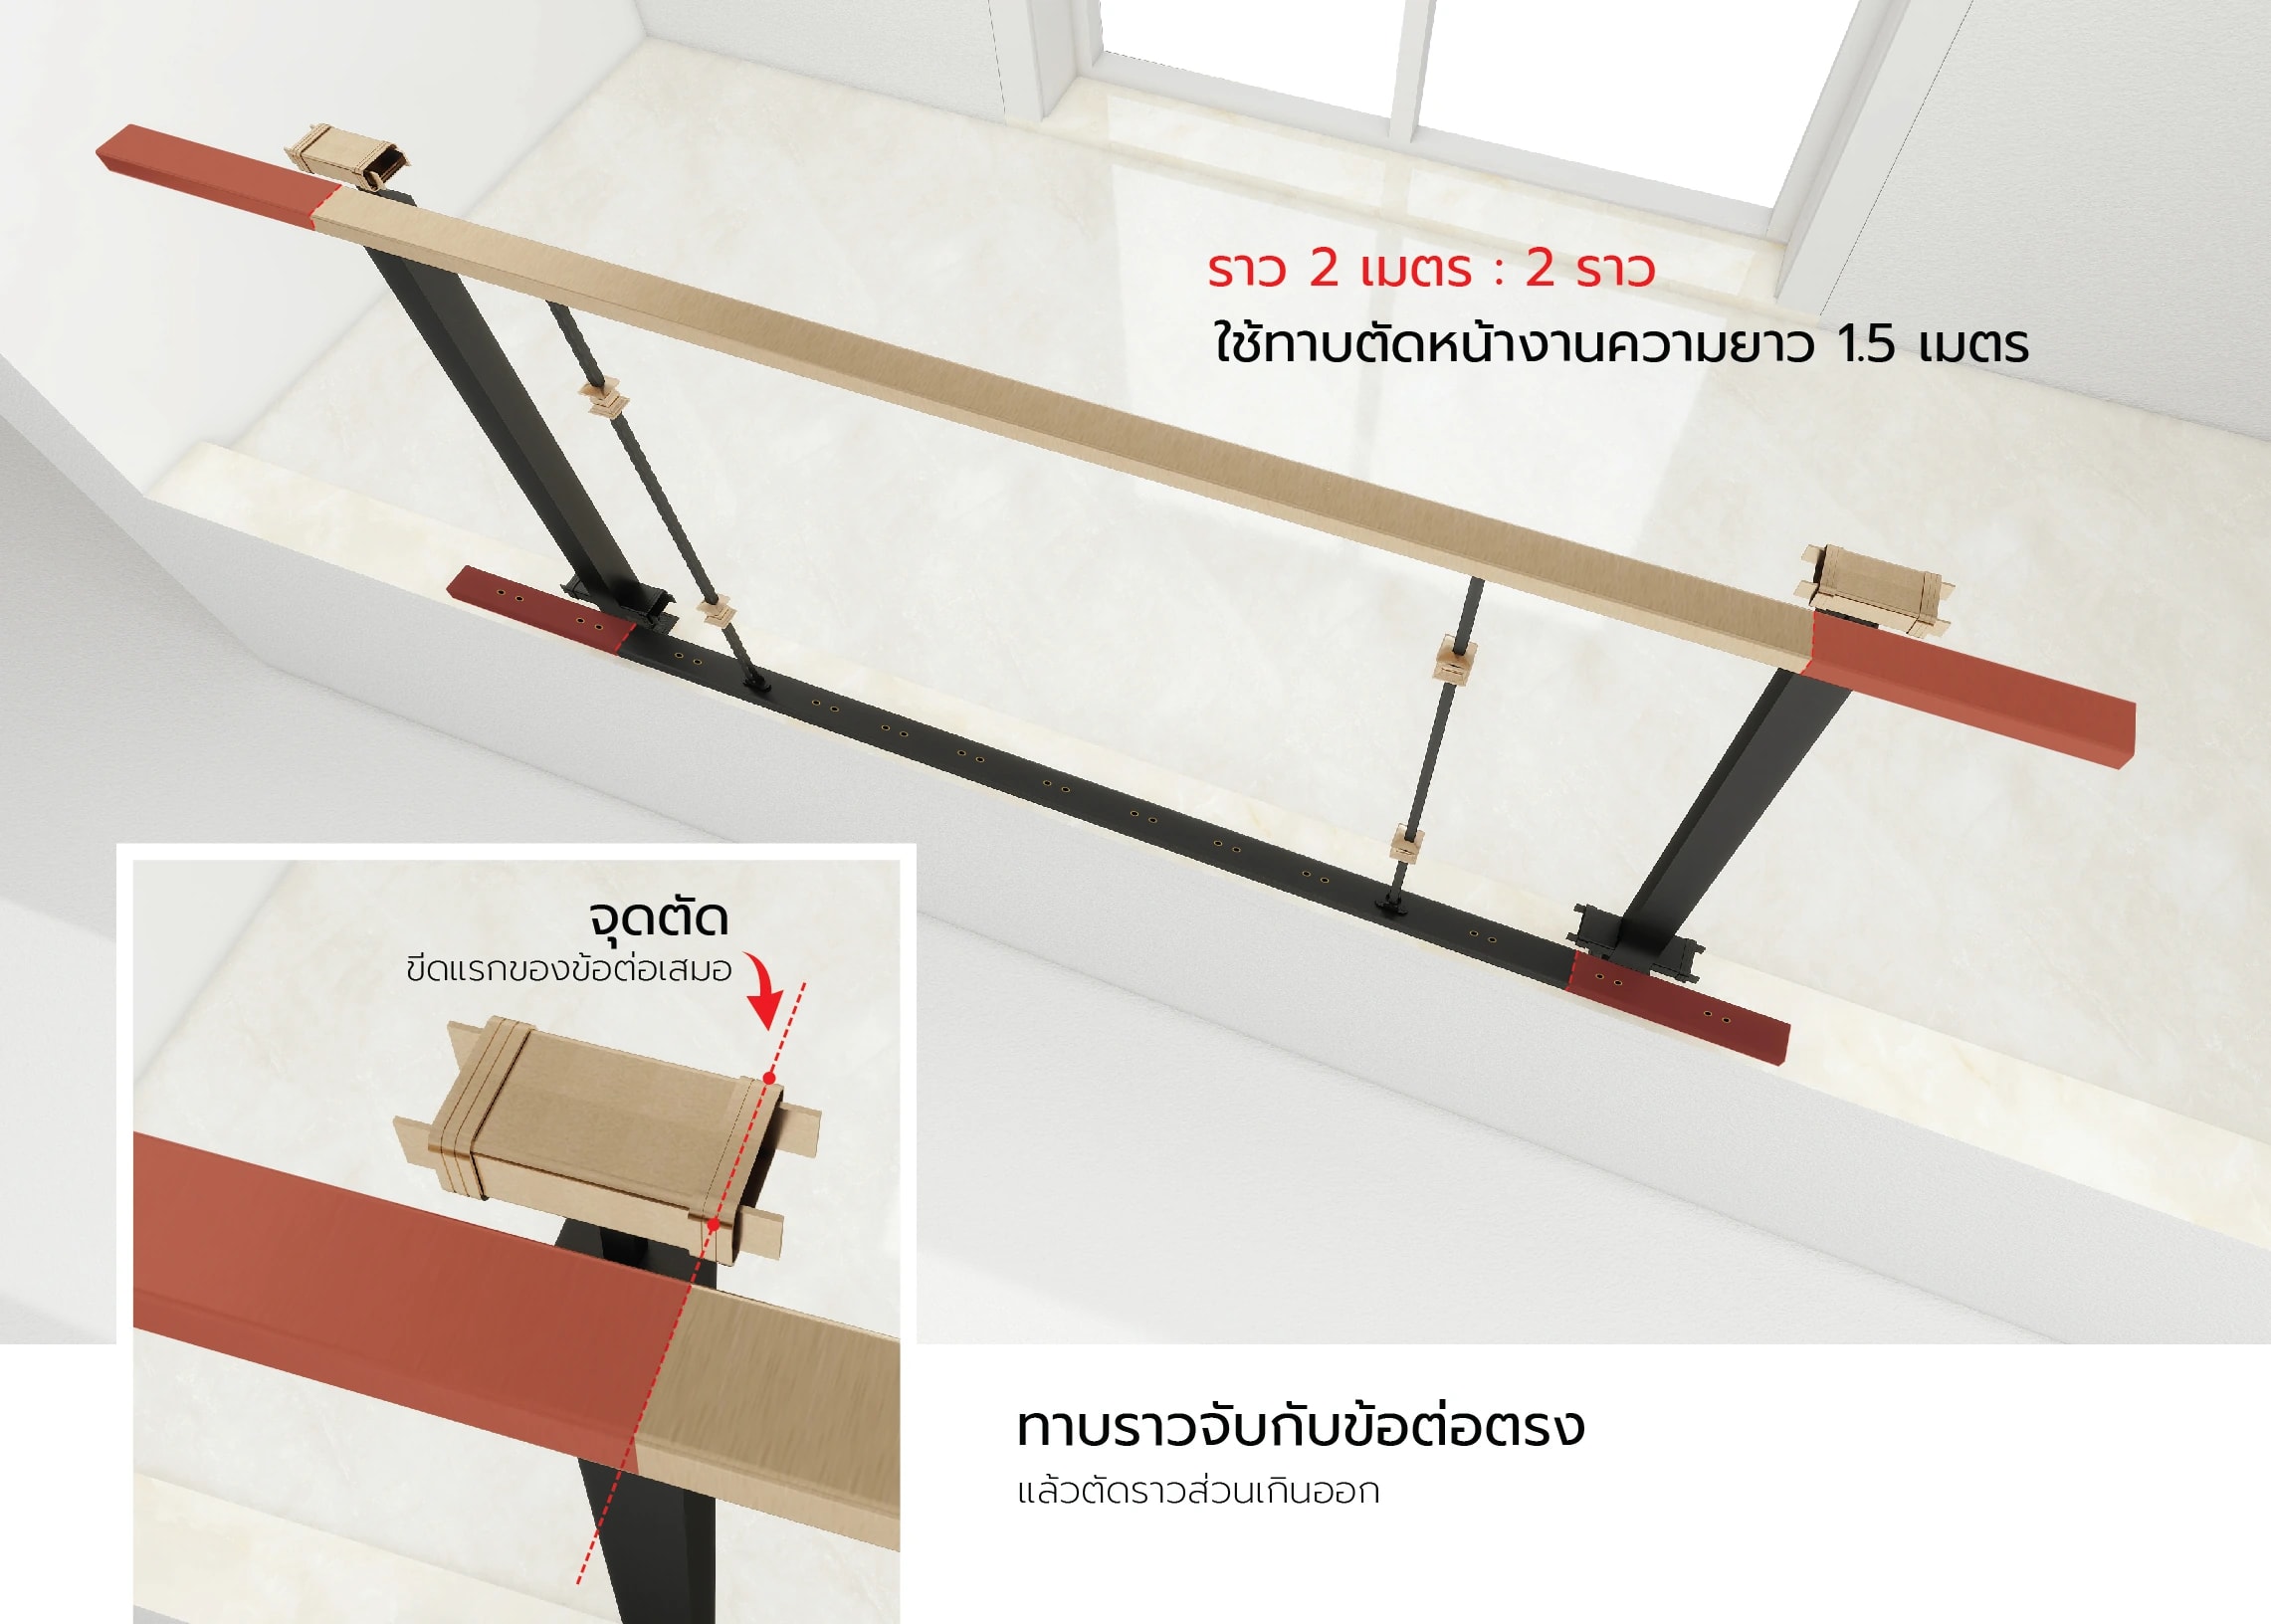
Fit about 2 balusters onto the rail to measure the balcony railing against the actual site
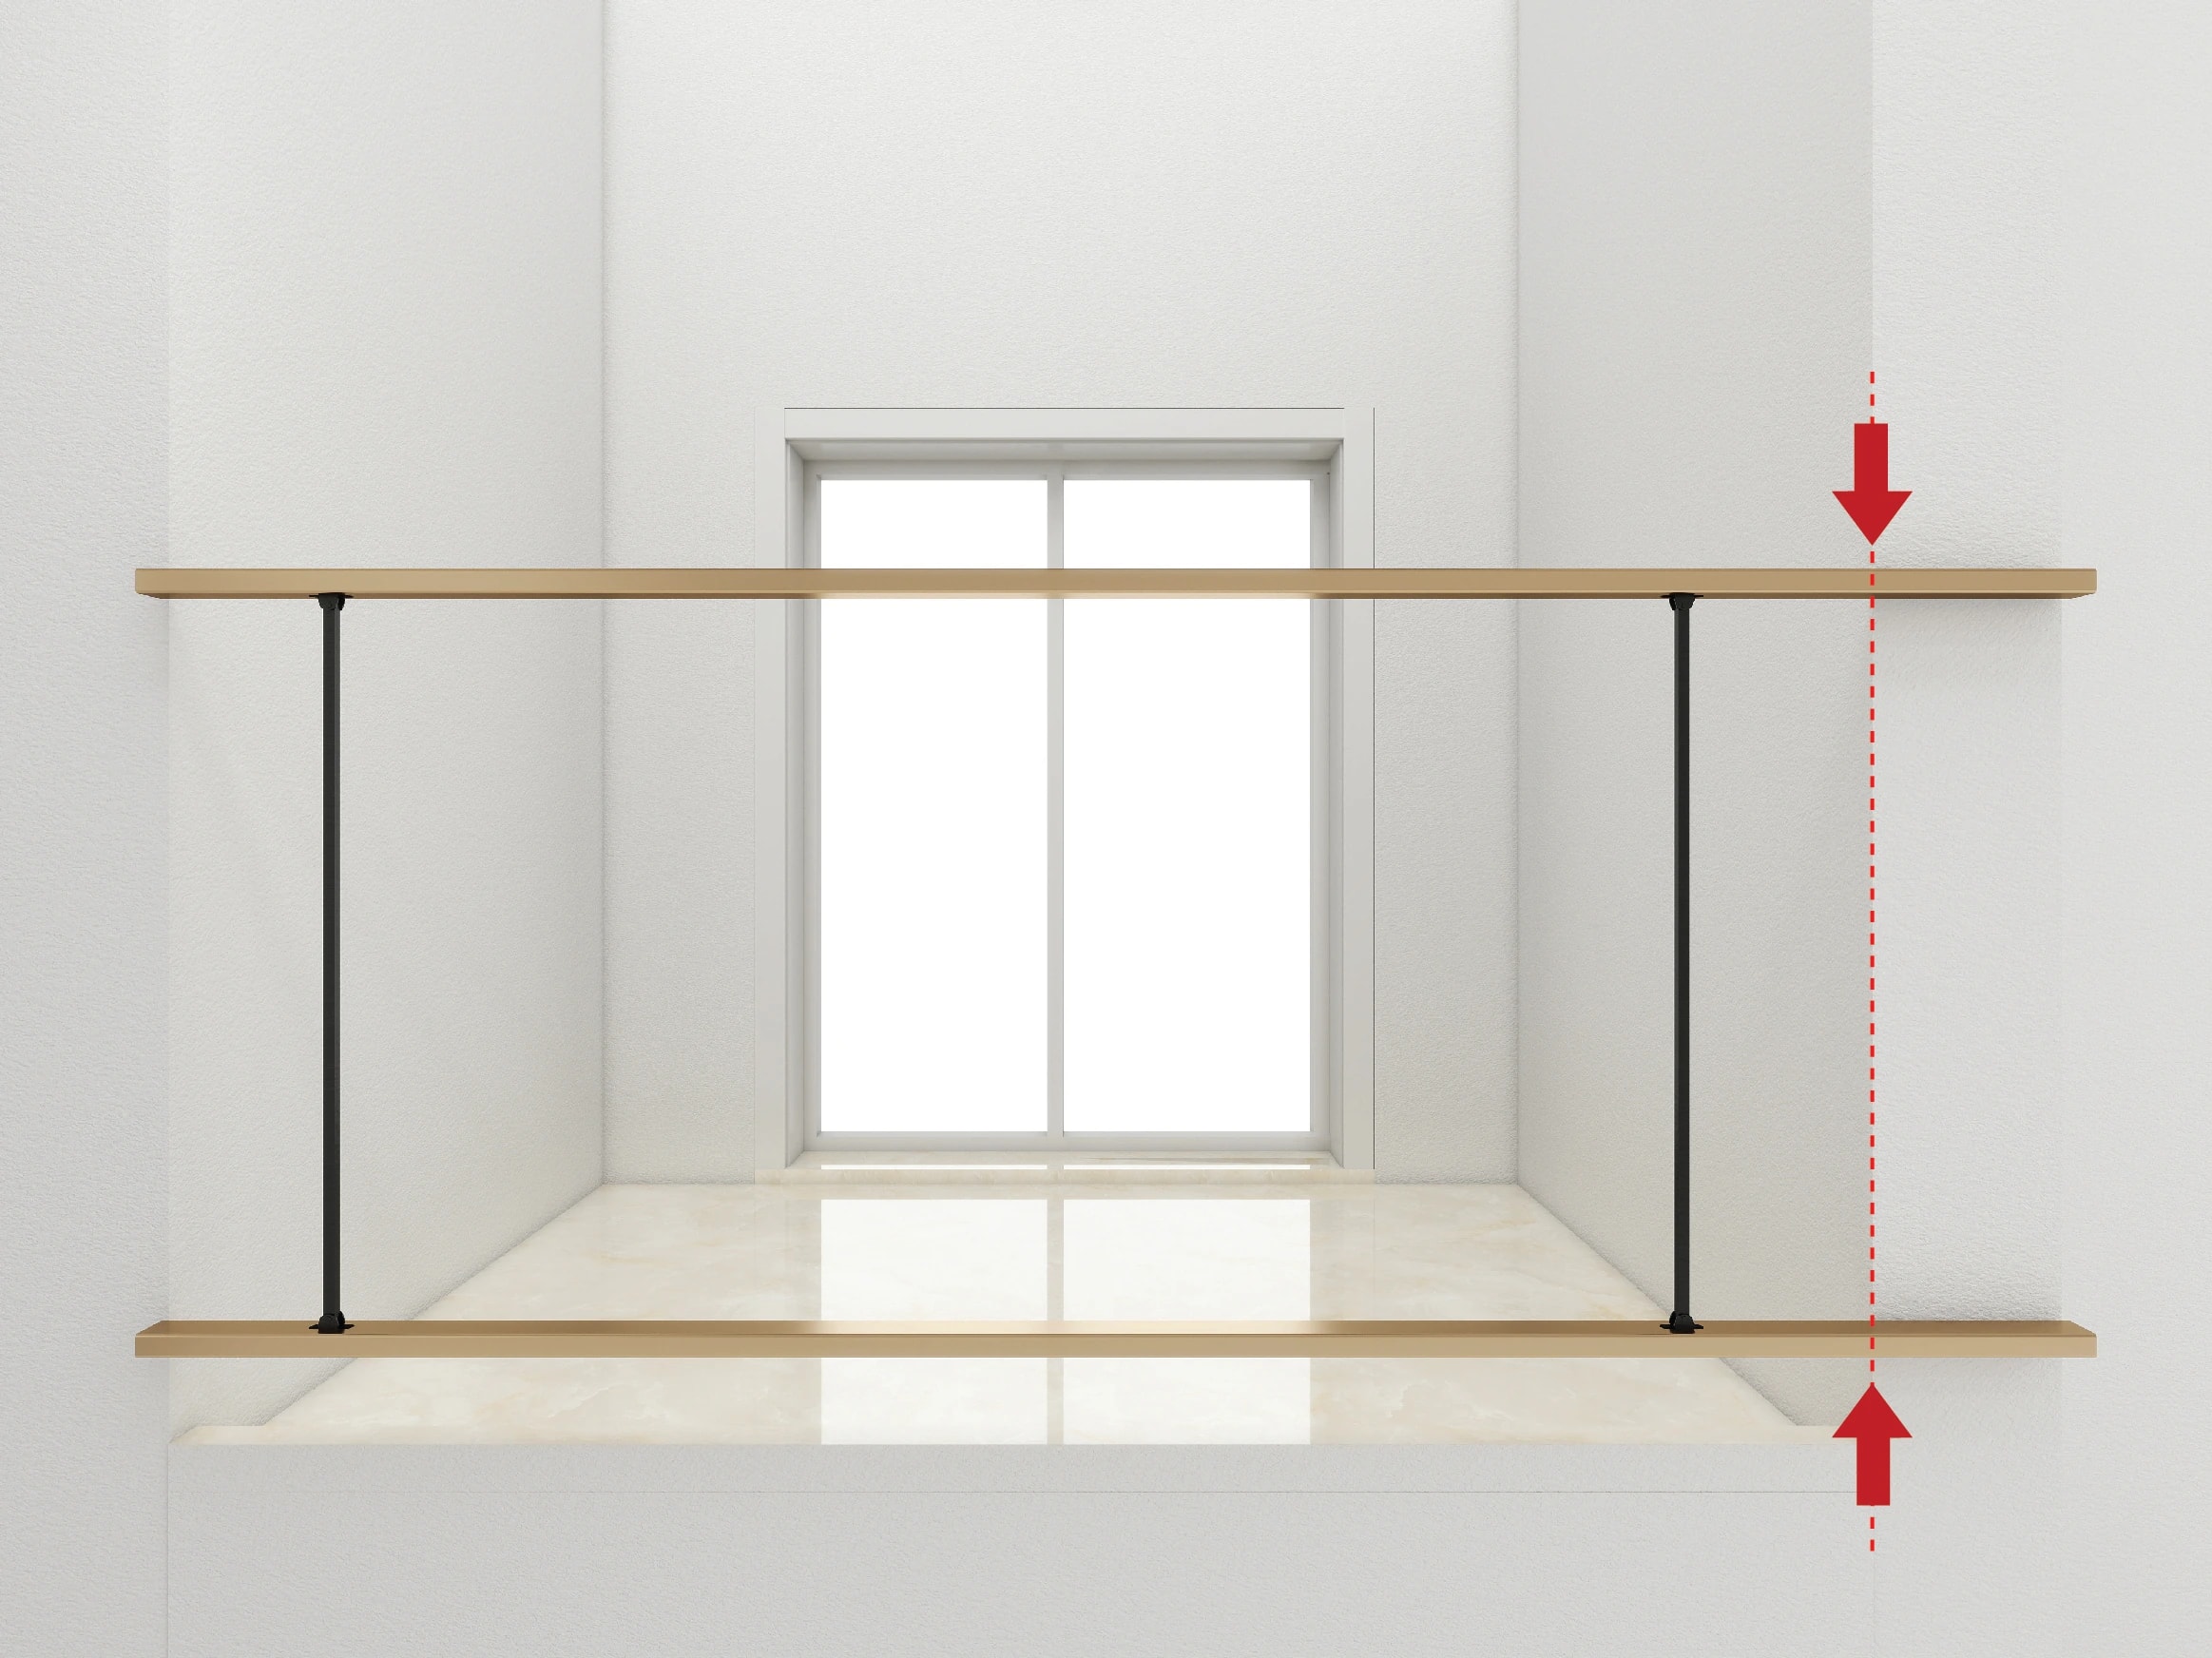
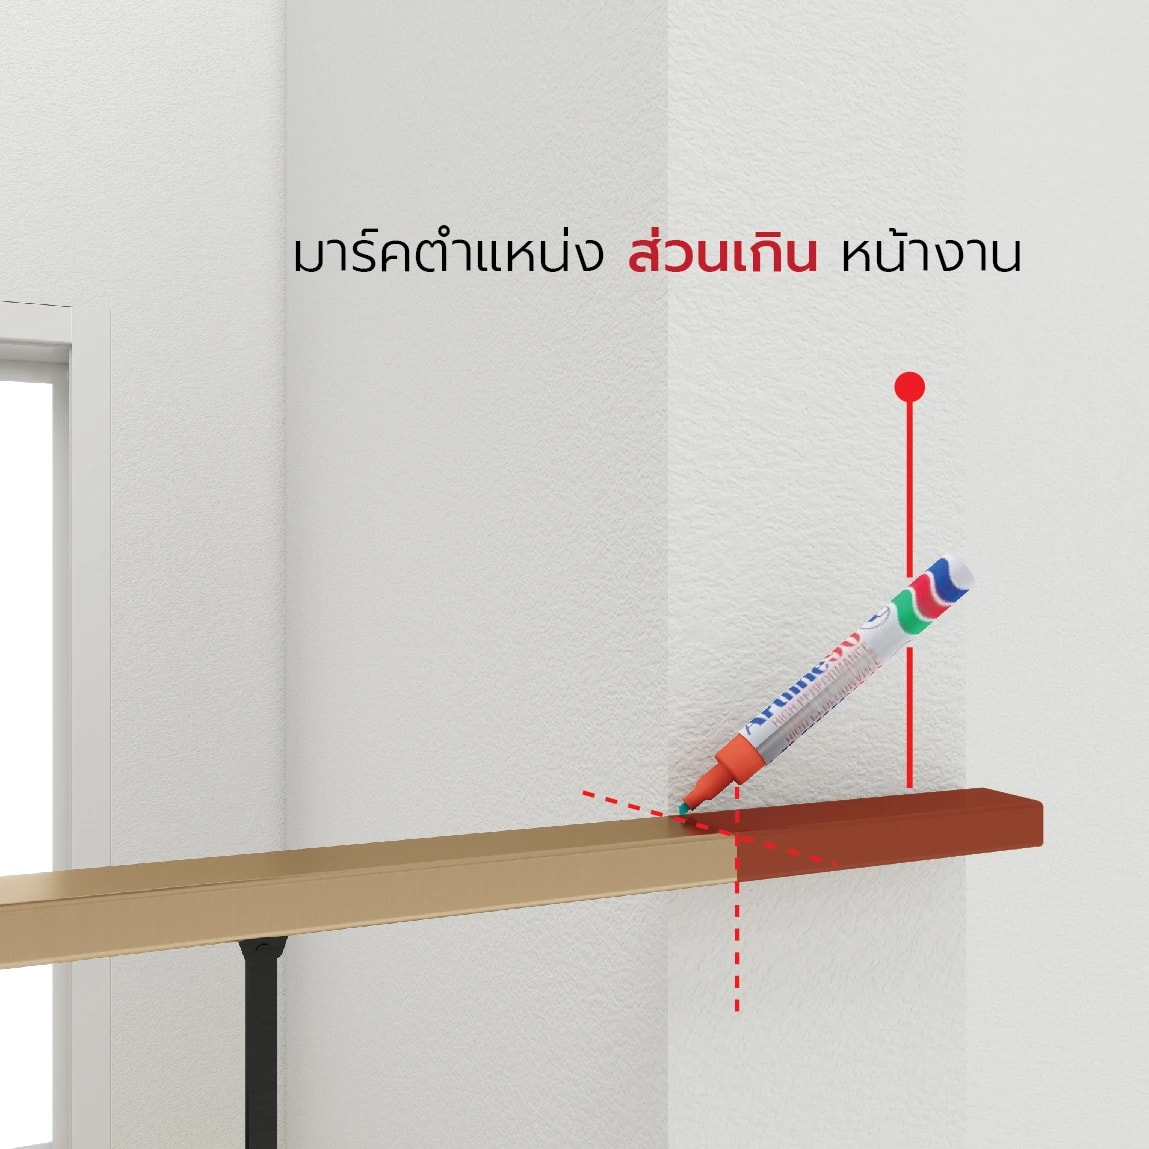
Top and bottom rails fitted with 2 balusters, held against the actual site; arrows point to the rail ends that exceed the siteMark the excess length at the end of the rail with a penWhere to hold the connector when cutting the rail: flush with the rail, and flush with the excess length marked on site
Your site

01/ 06Measure

Fit about 2 balusters onto the rail to measure the balcony railing against the actual site
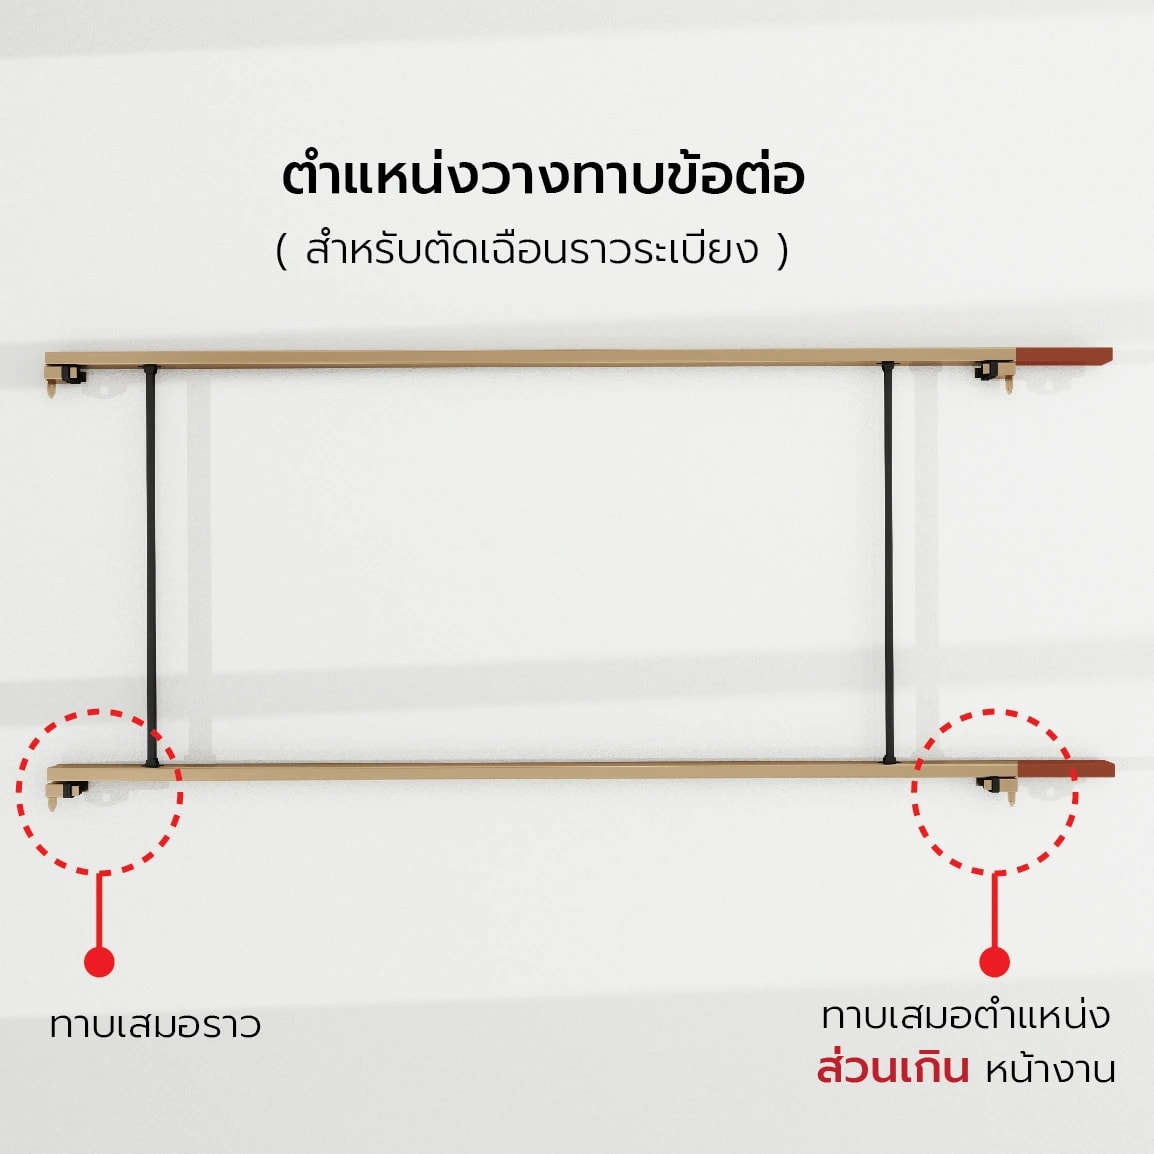
Top and bottom rails fitted with 2 balusters, held against the actual site; arrows point to the rail ends that exceed the siteMark the excess length at the end of the rail with a penWhere to hold the connector when cutting the rail: flush with the rail, and flush with the excess length marked on site

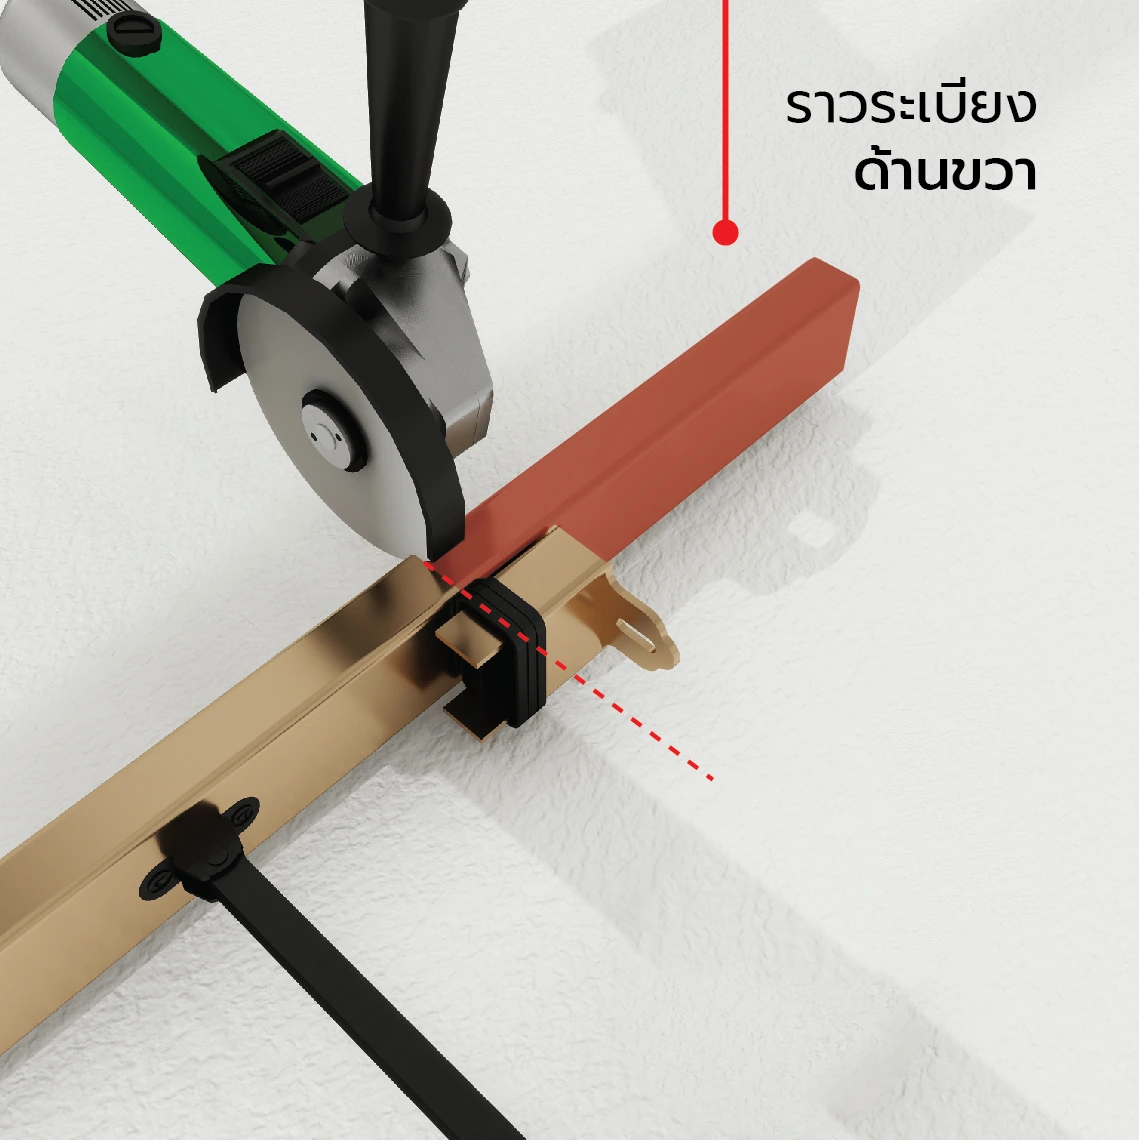
02/ 06Cut

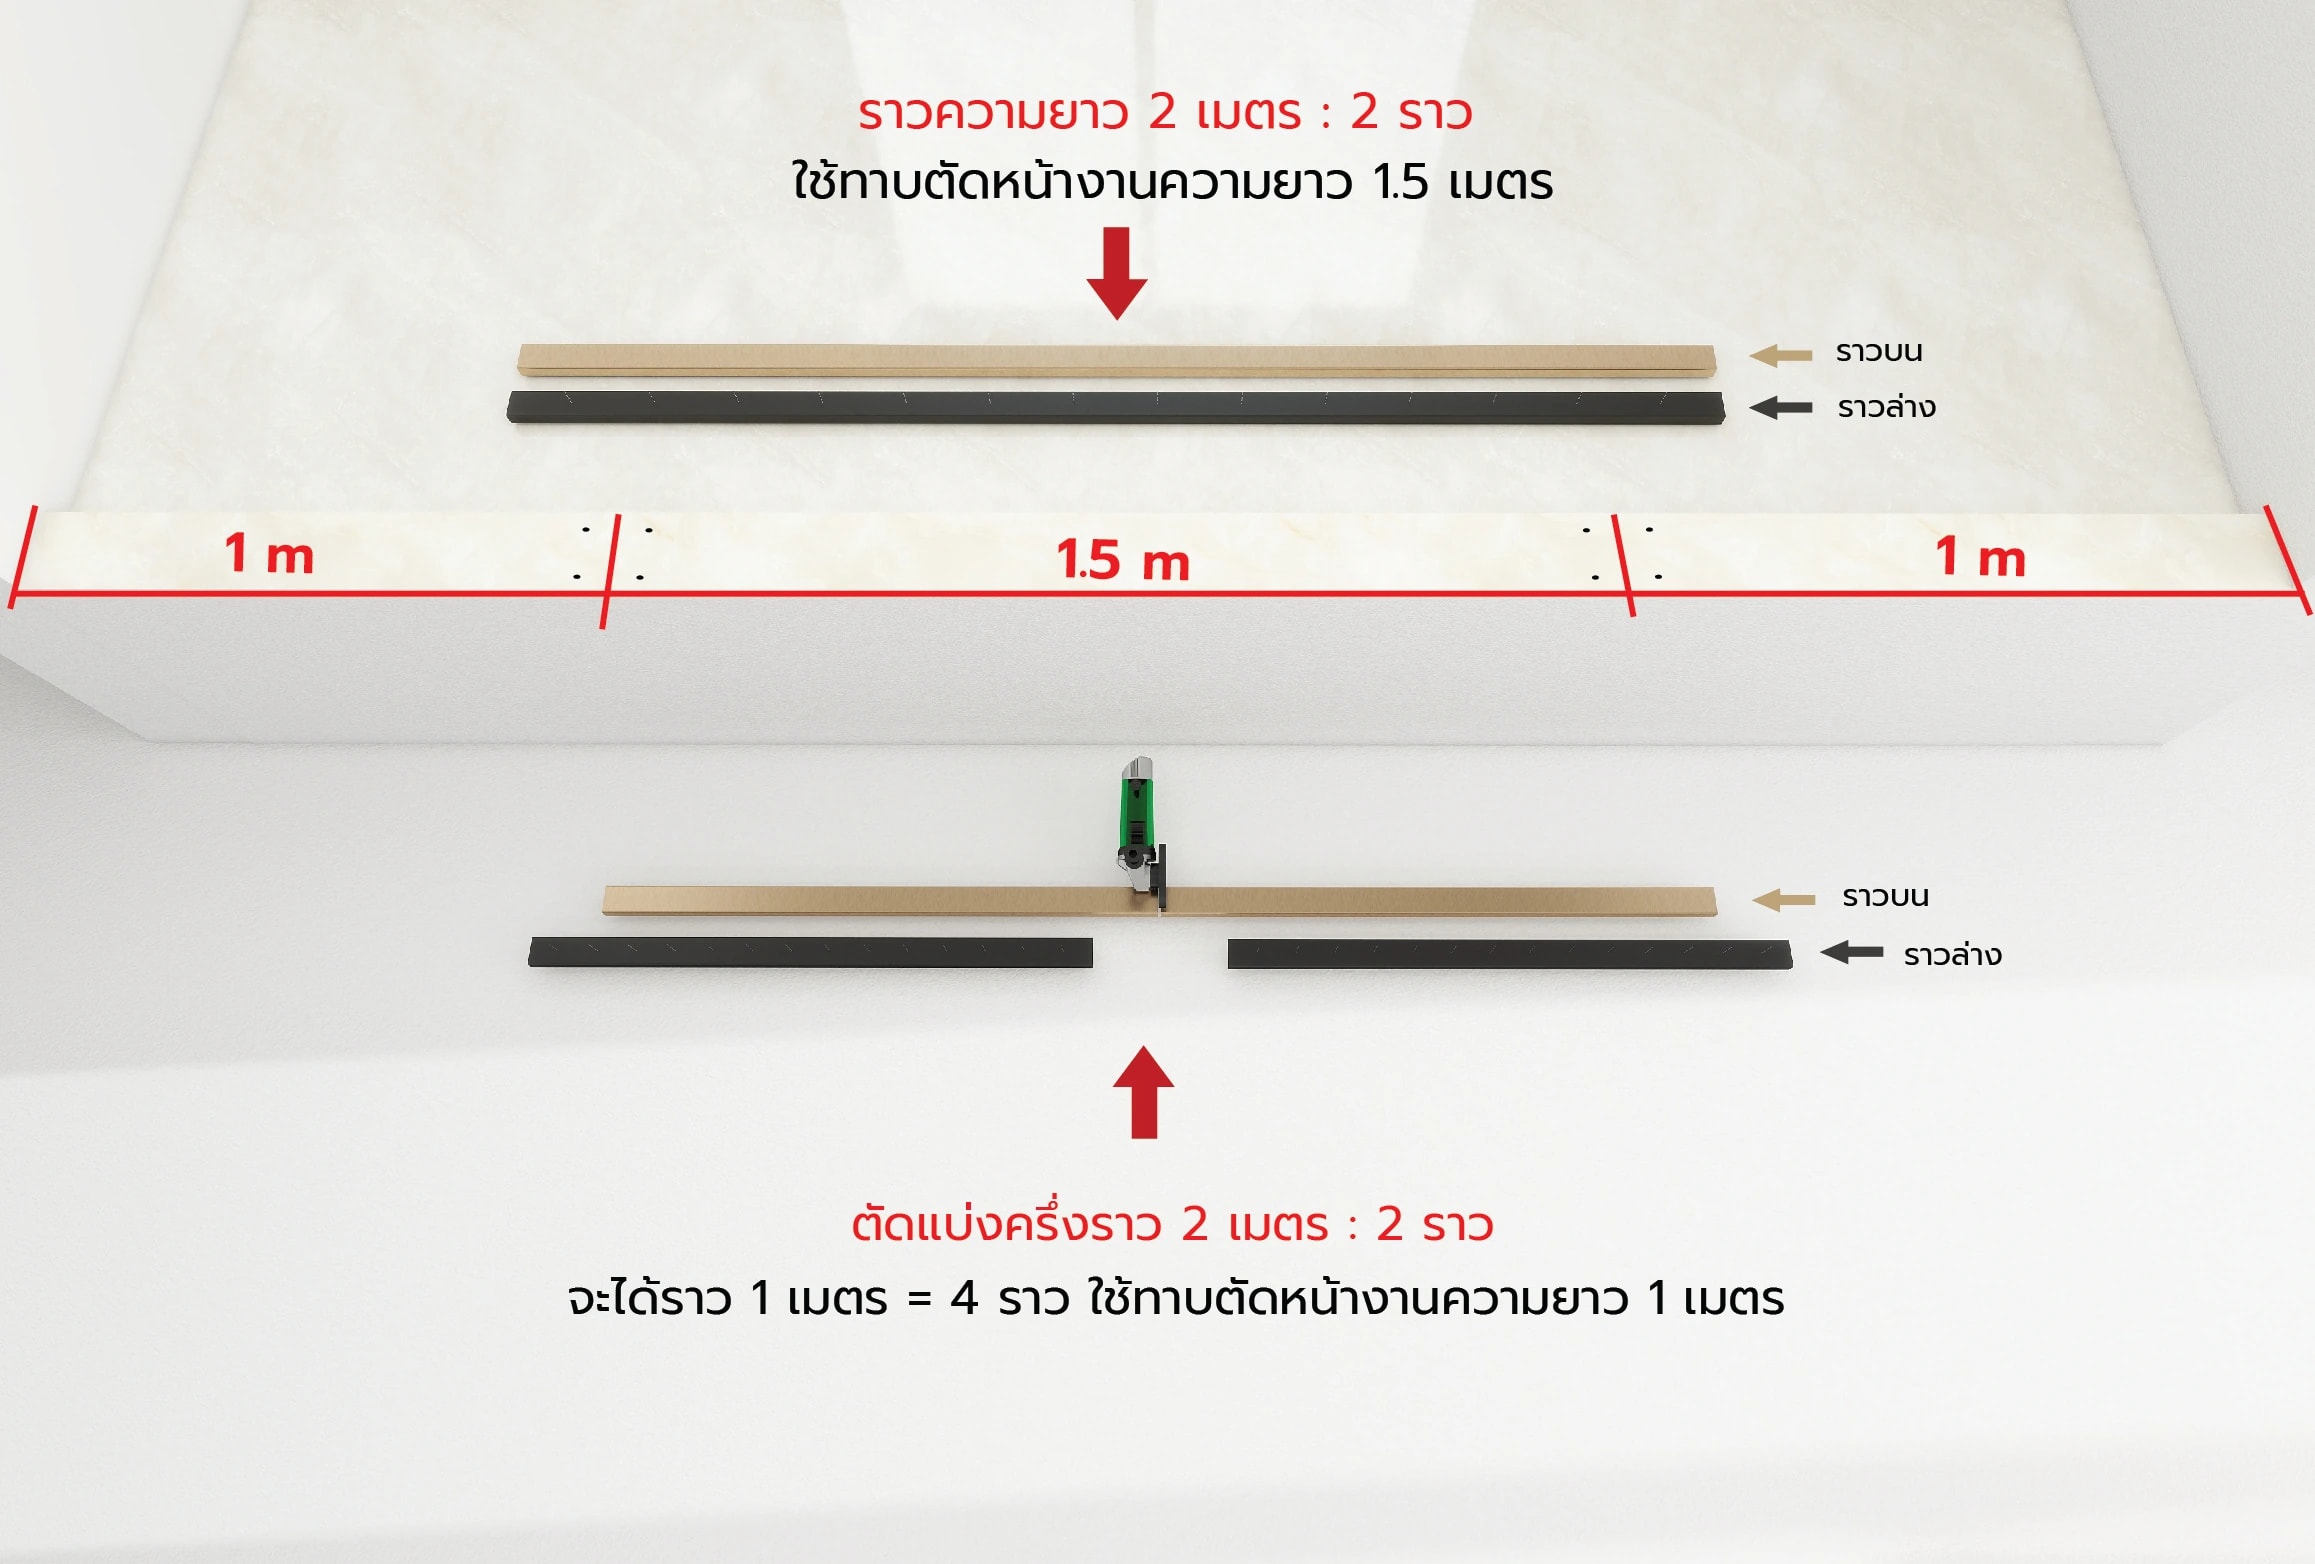
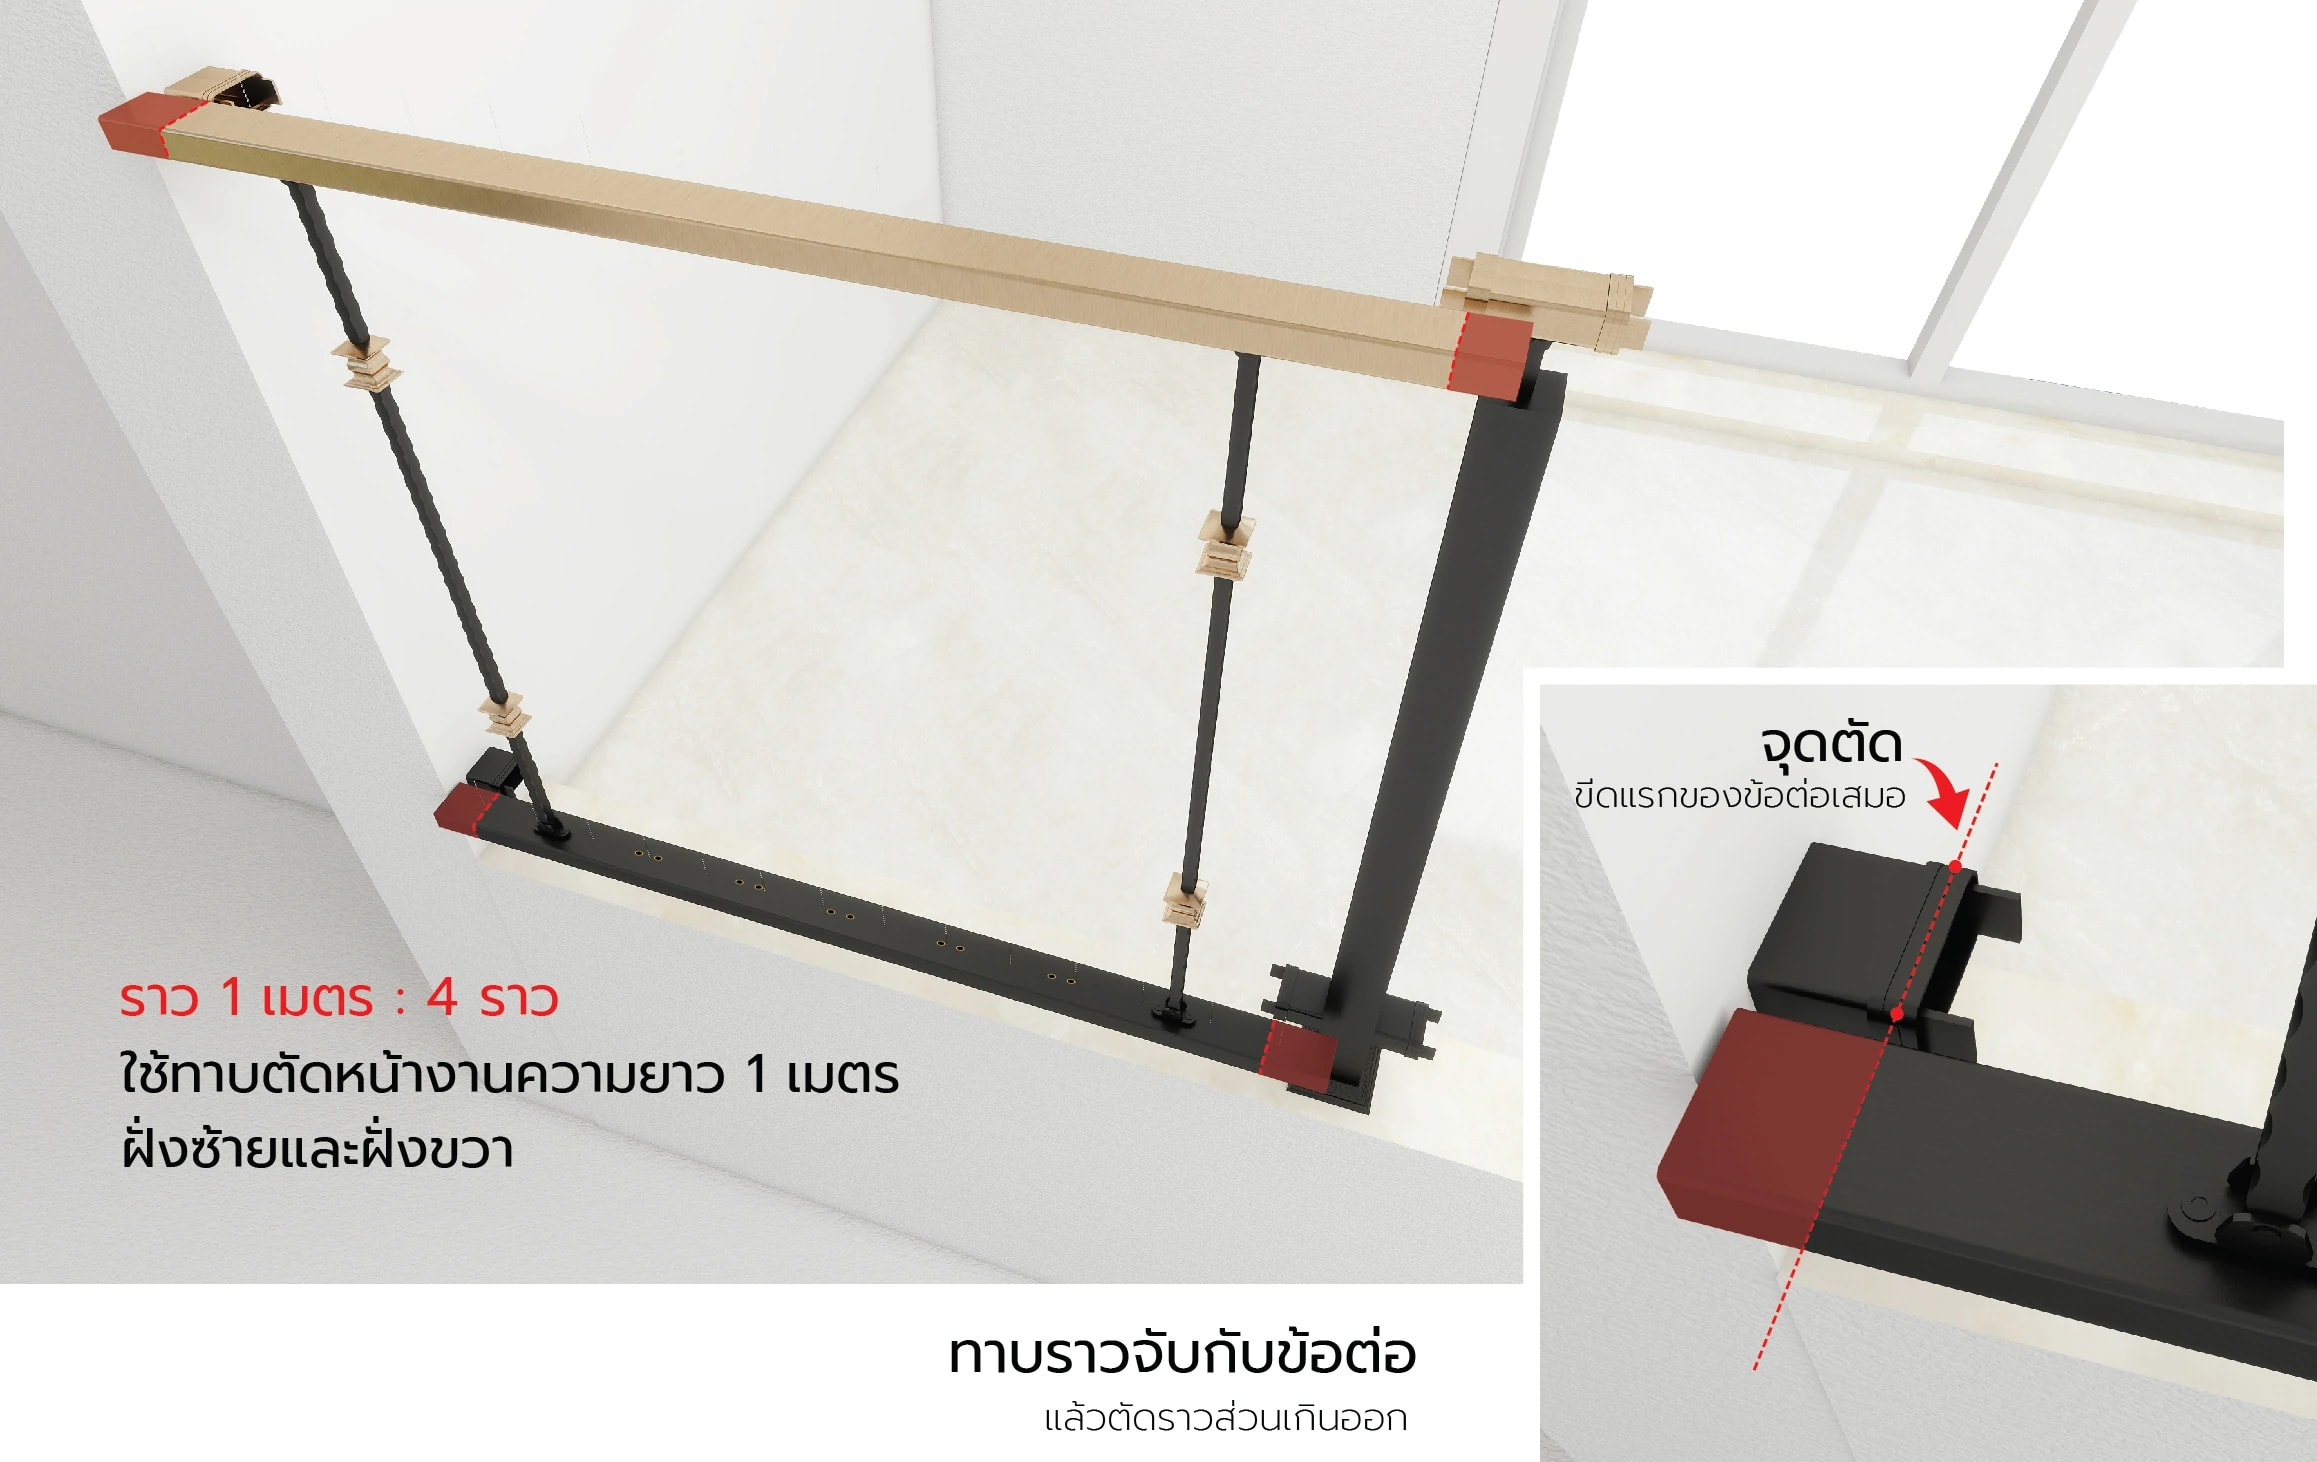
Mark the cut points on the balcony rail and cut along the marked lines
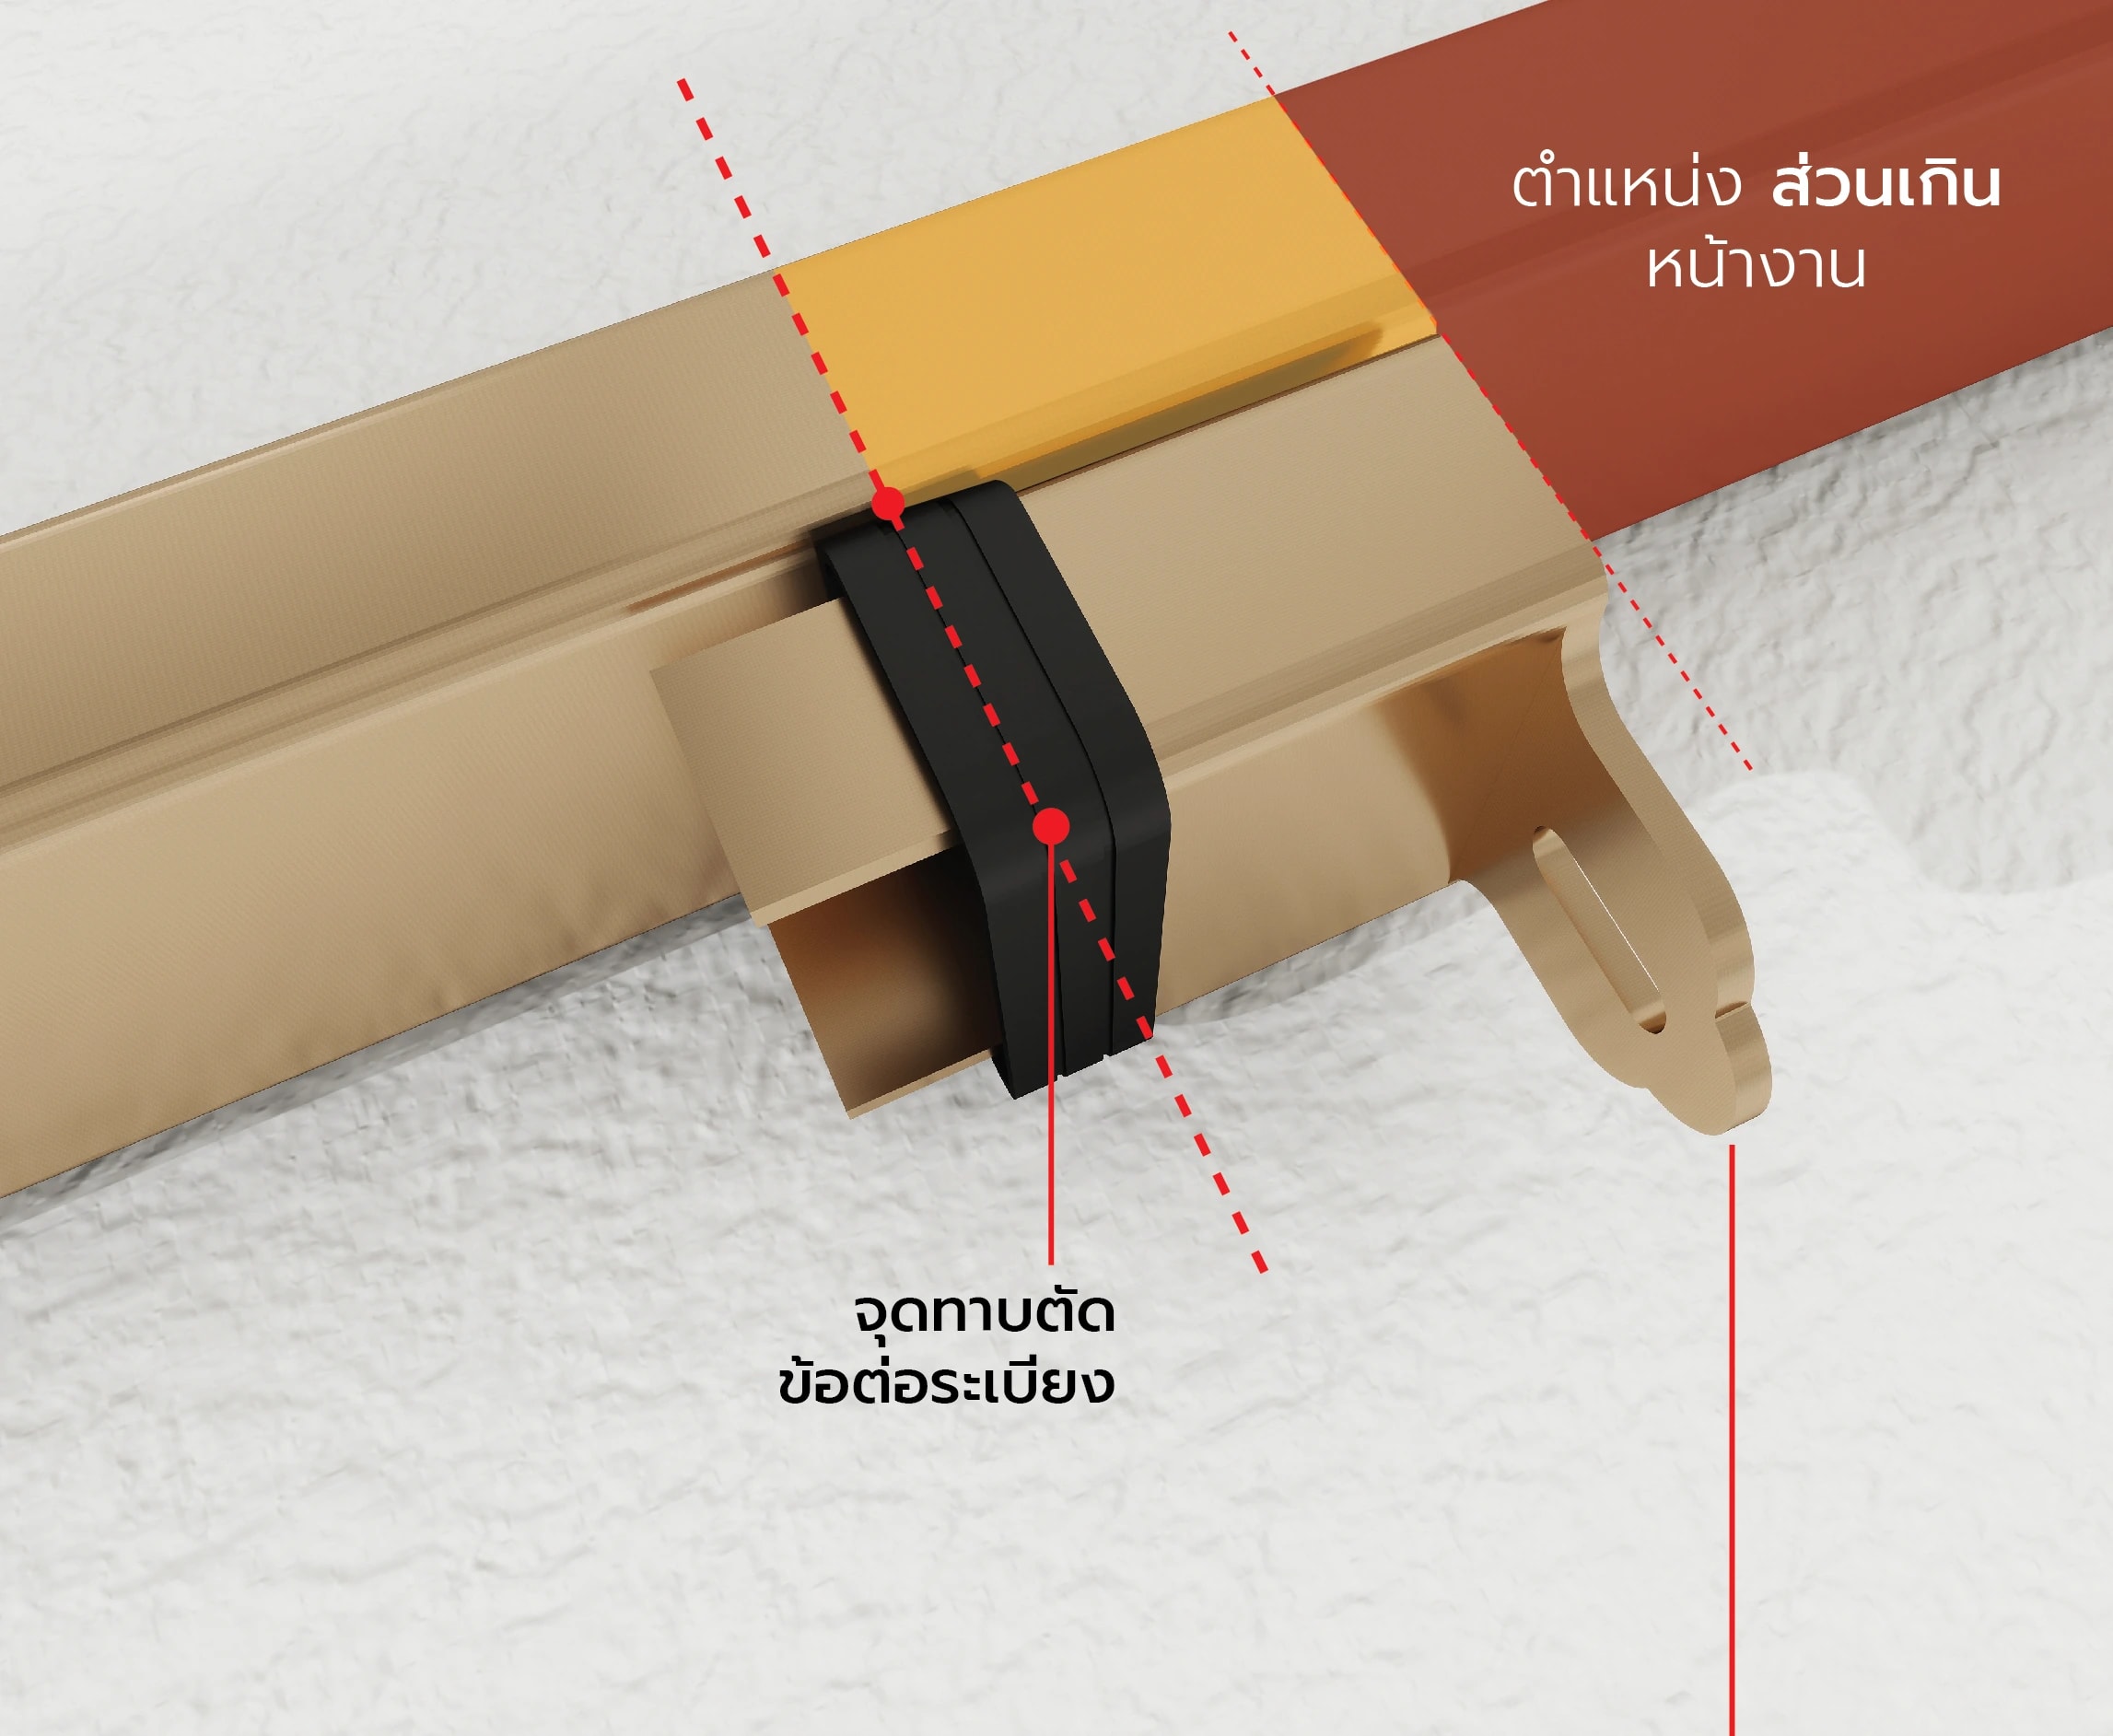
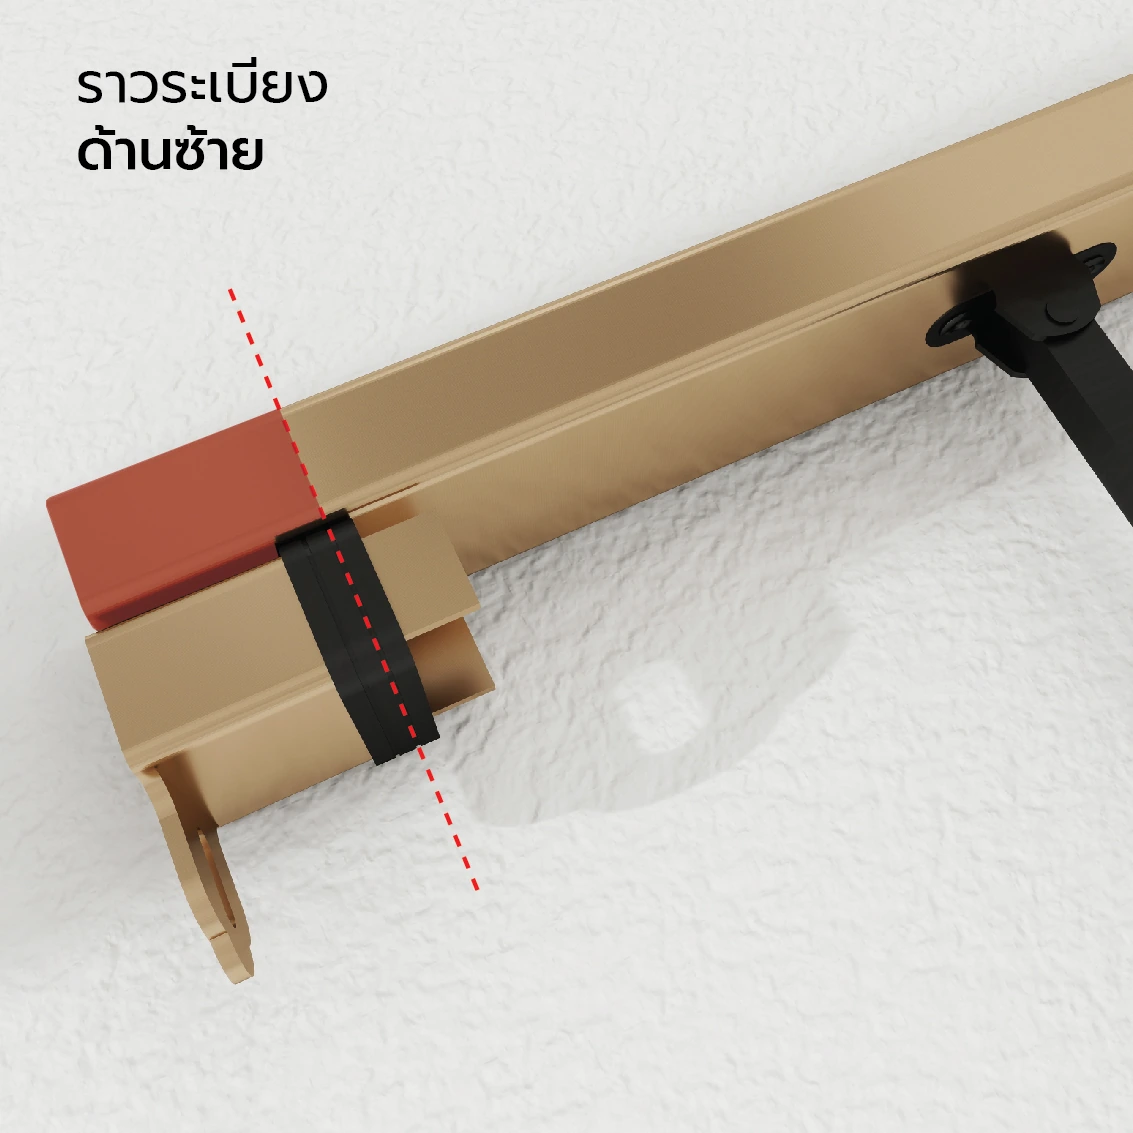
Measure-and-cut point at the balcony connector, where the excess length is on siteLeft balcony rail held against the connector with the cut point markedRight-side balcony railing cut along the marked line with a cutter

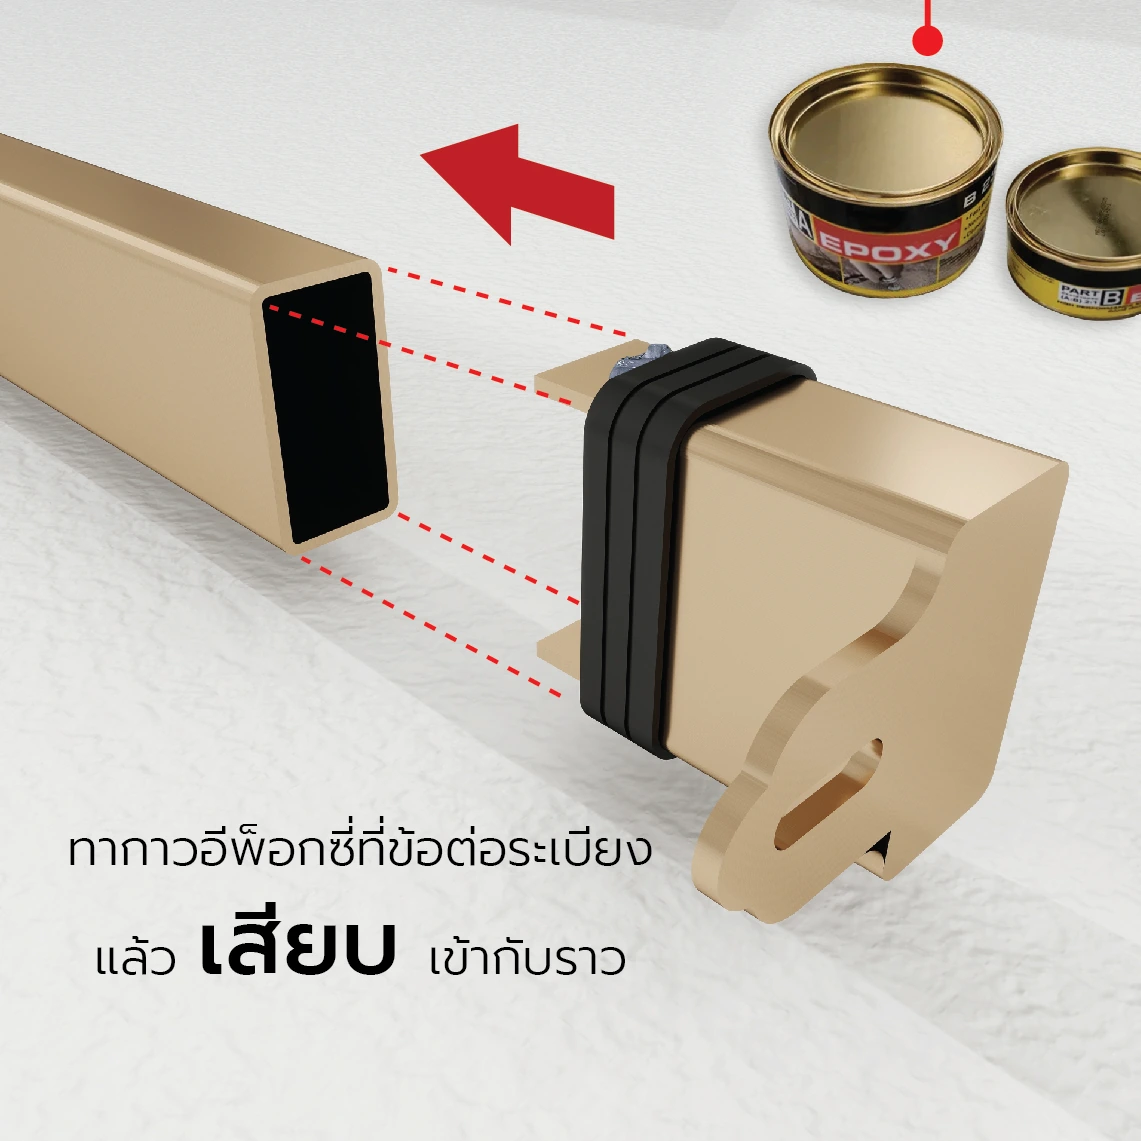
03/ 06Insert

Assemble the balcony connectors on all 4 sides with epoxy adhesive
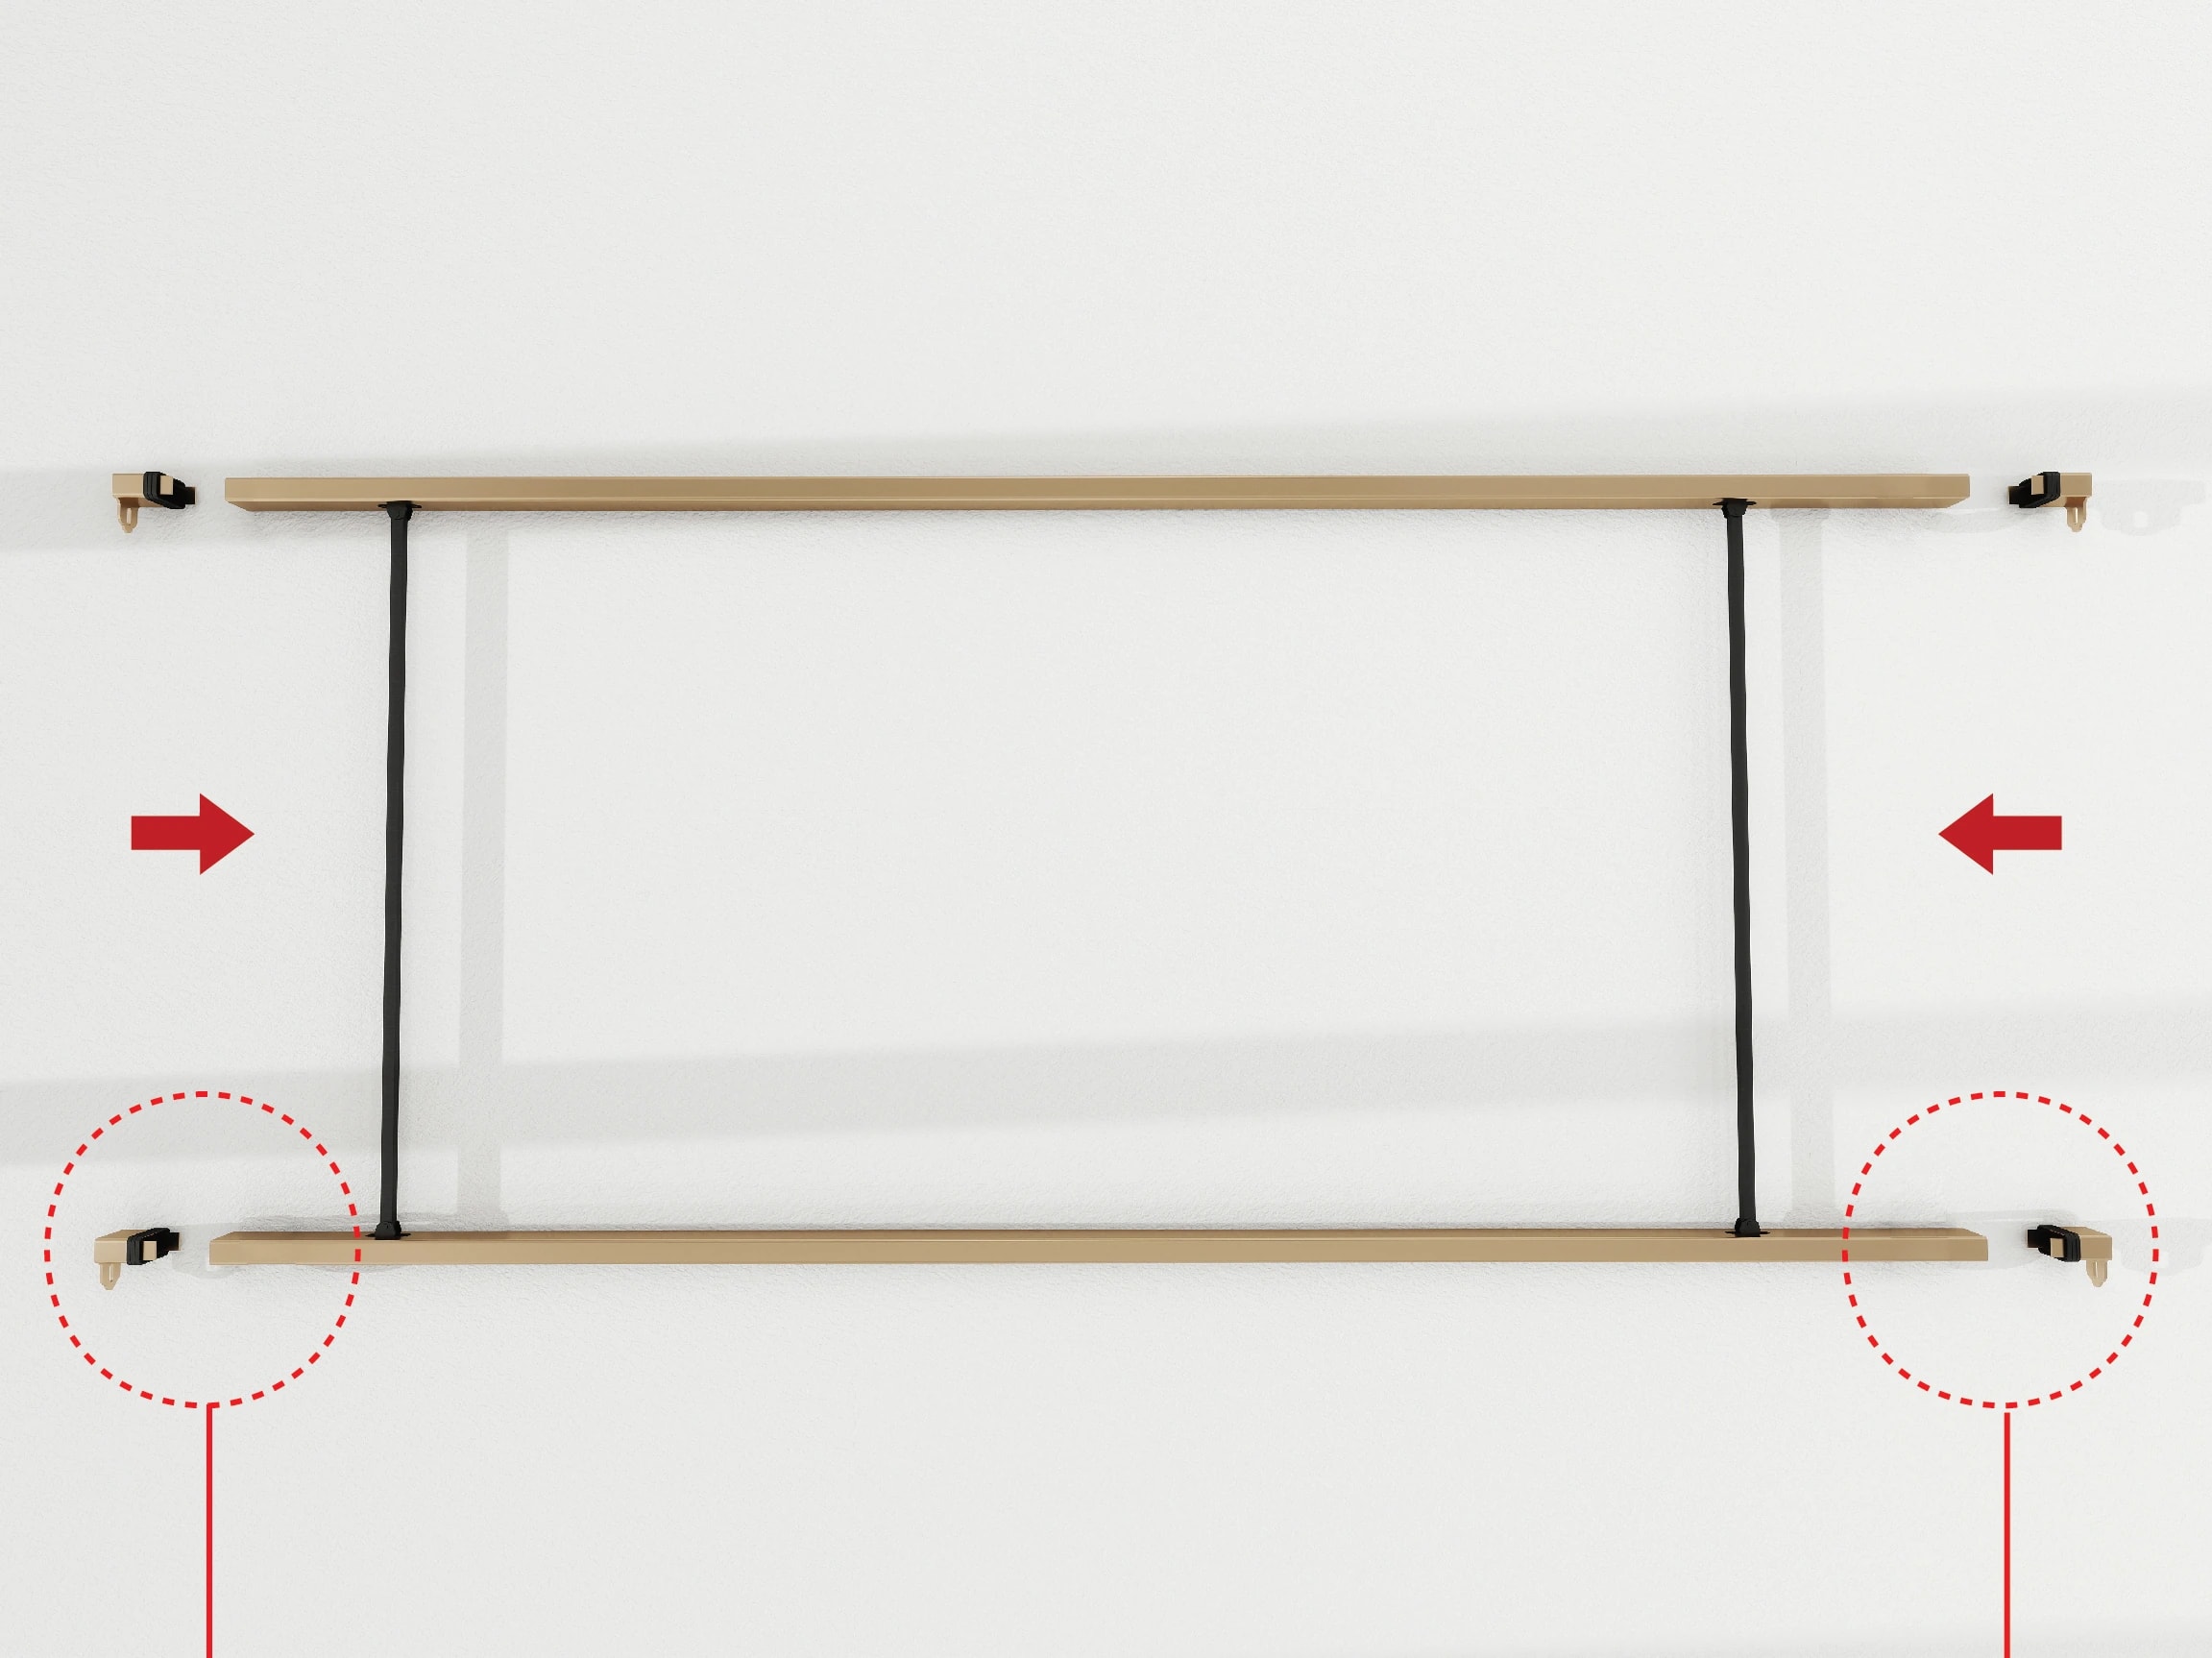
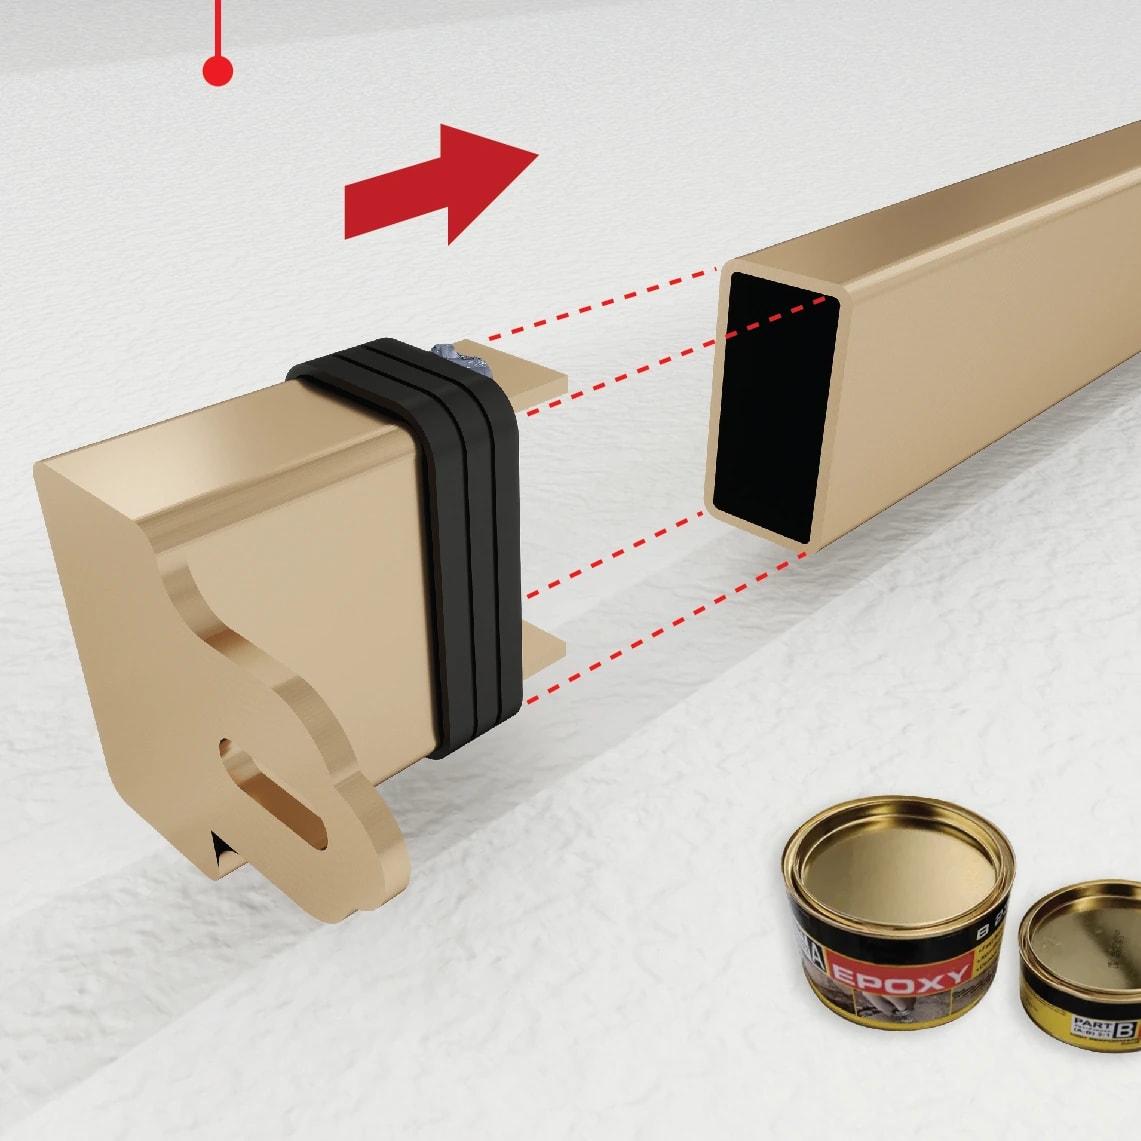
Fit connectors to the ends of the top and bottom rails on all 4 sidesInsert the connector into the left end of the railApply epoxy adhesive to the balcony connector, then insert it into the rail

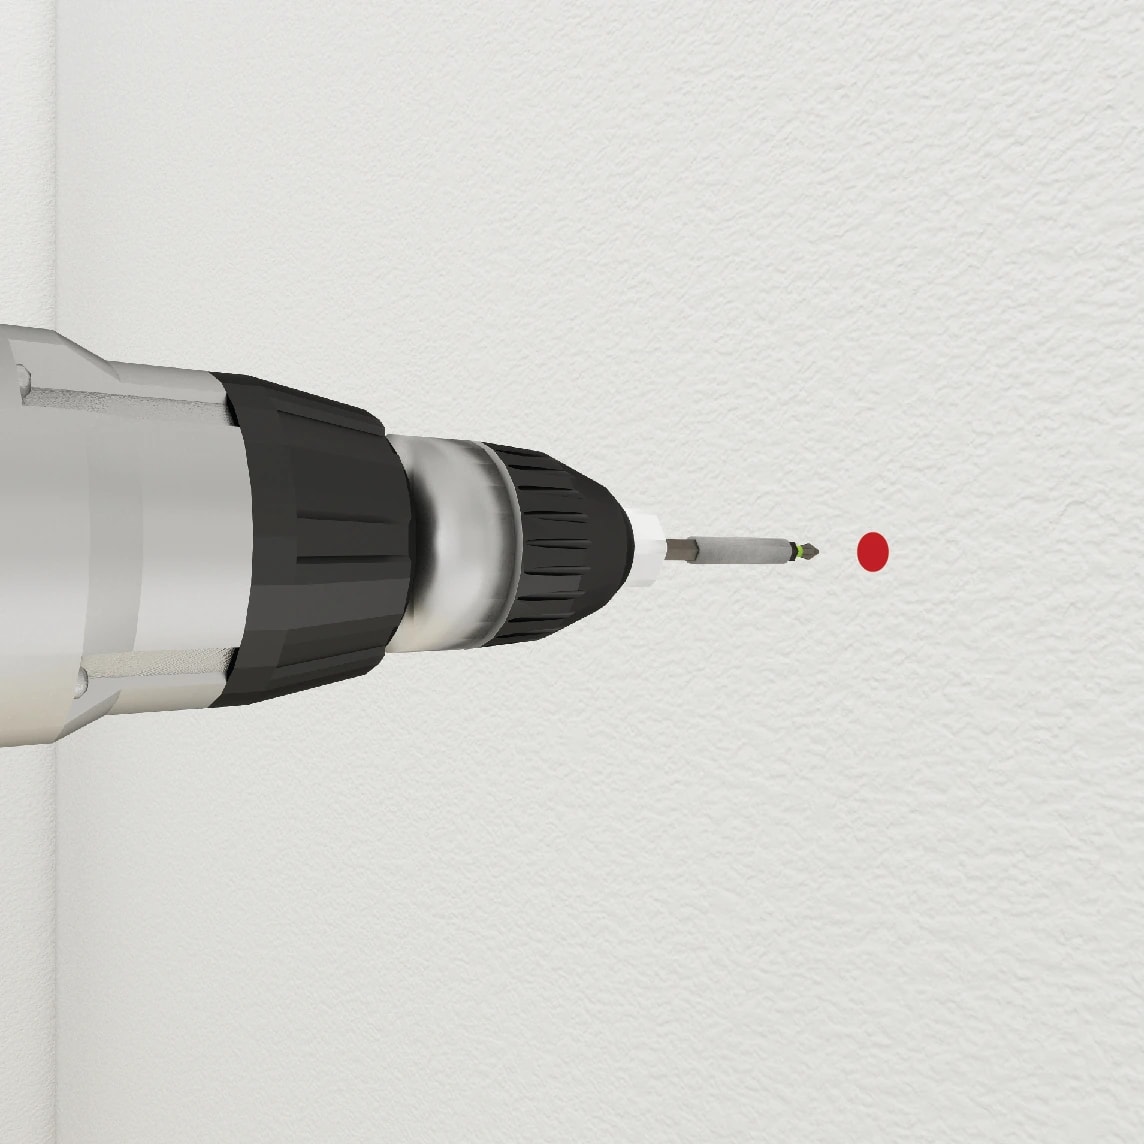
04/ 06Bolt

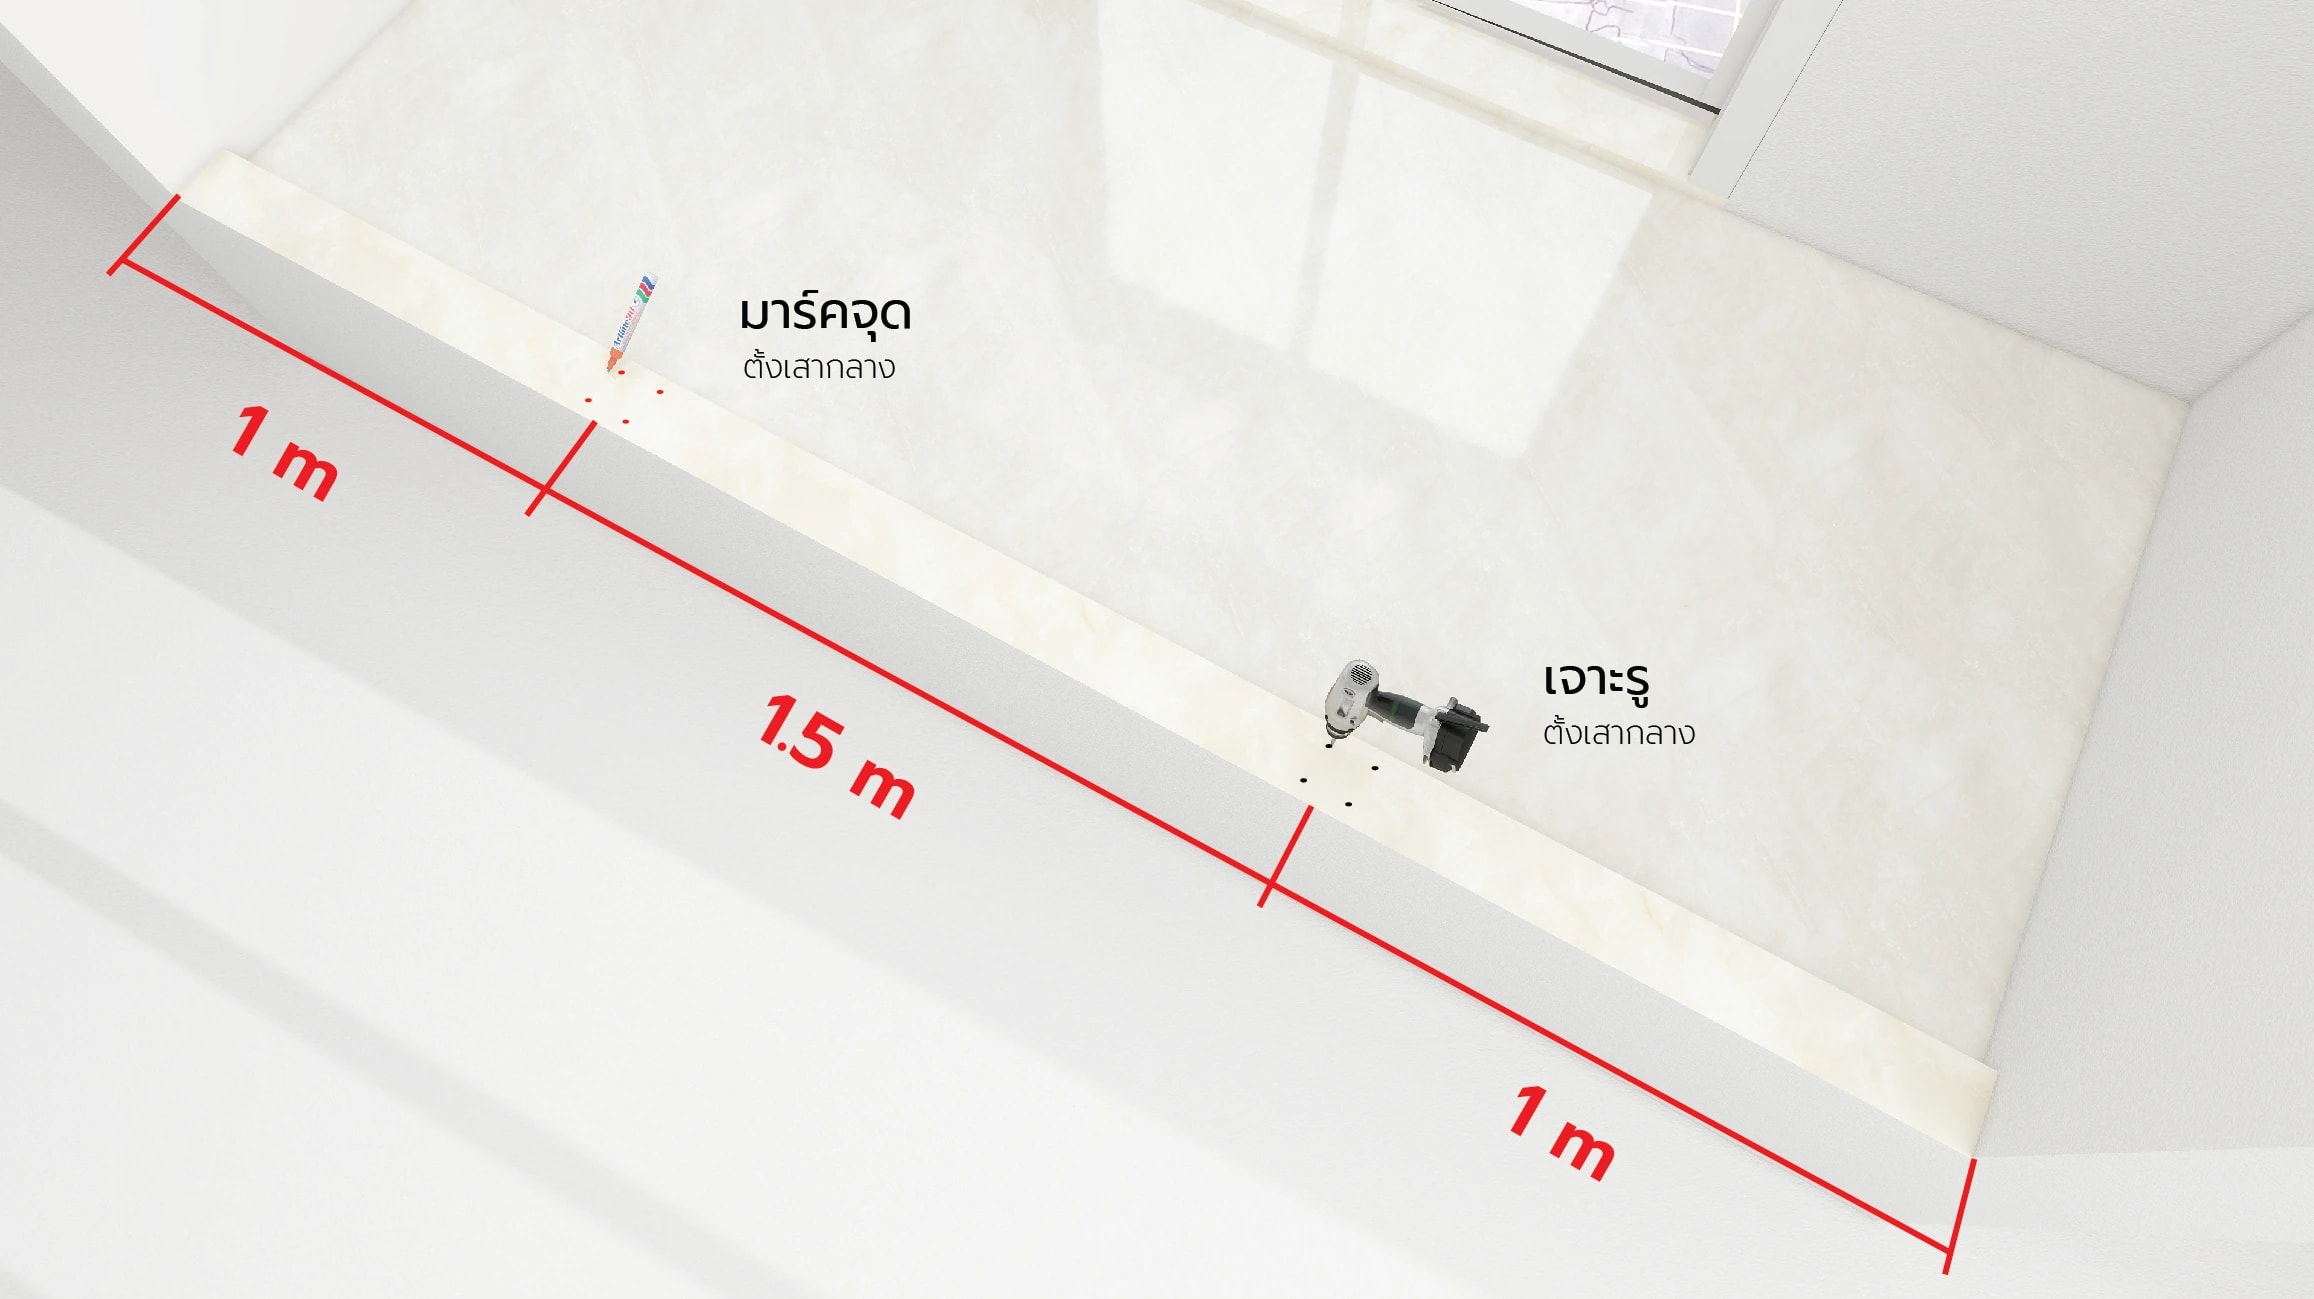
Position the balcony railing panel to mark the drilling points before installation
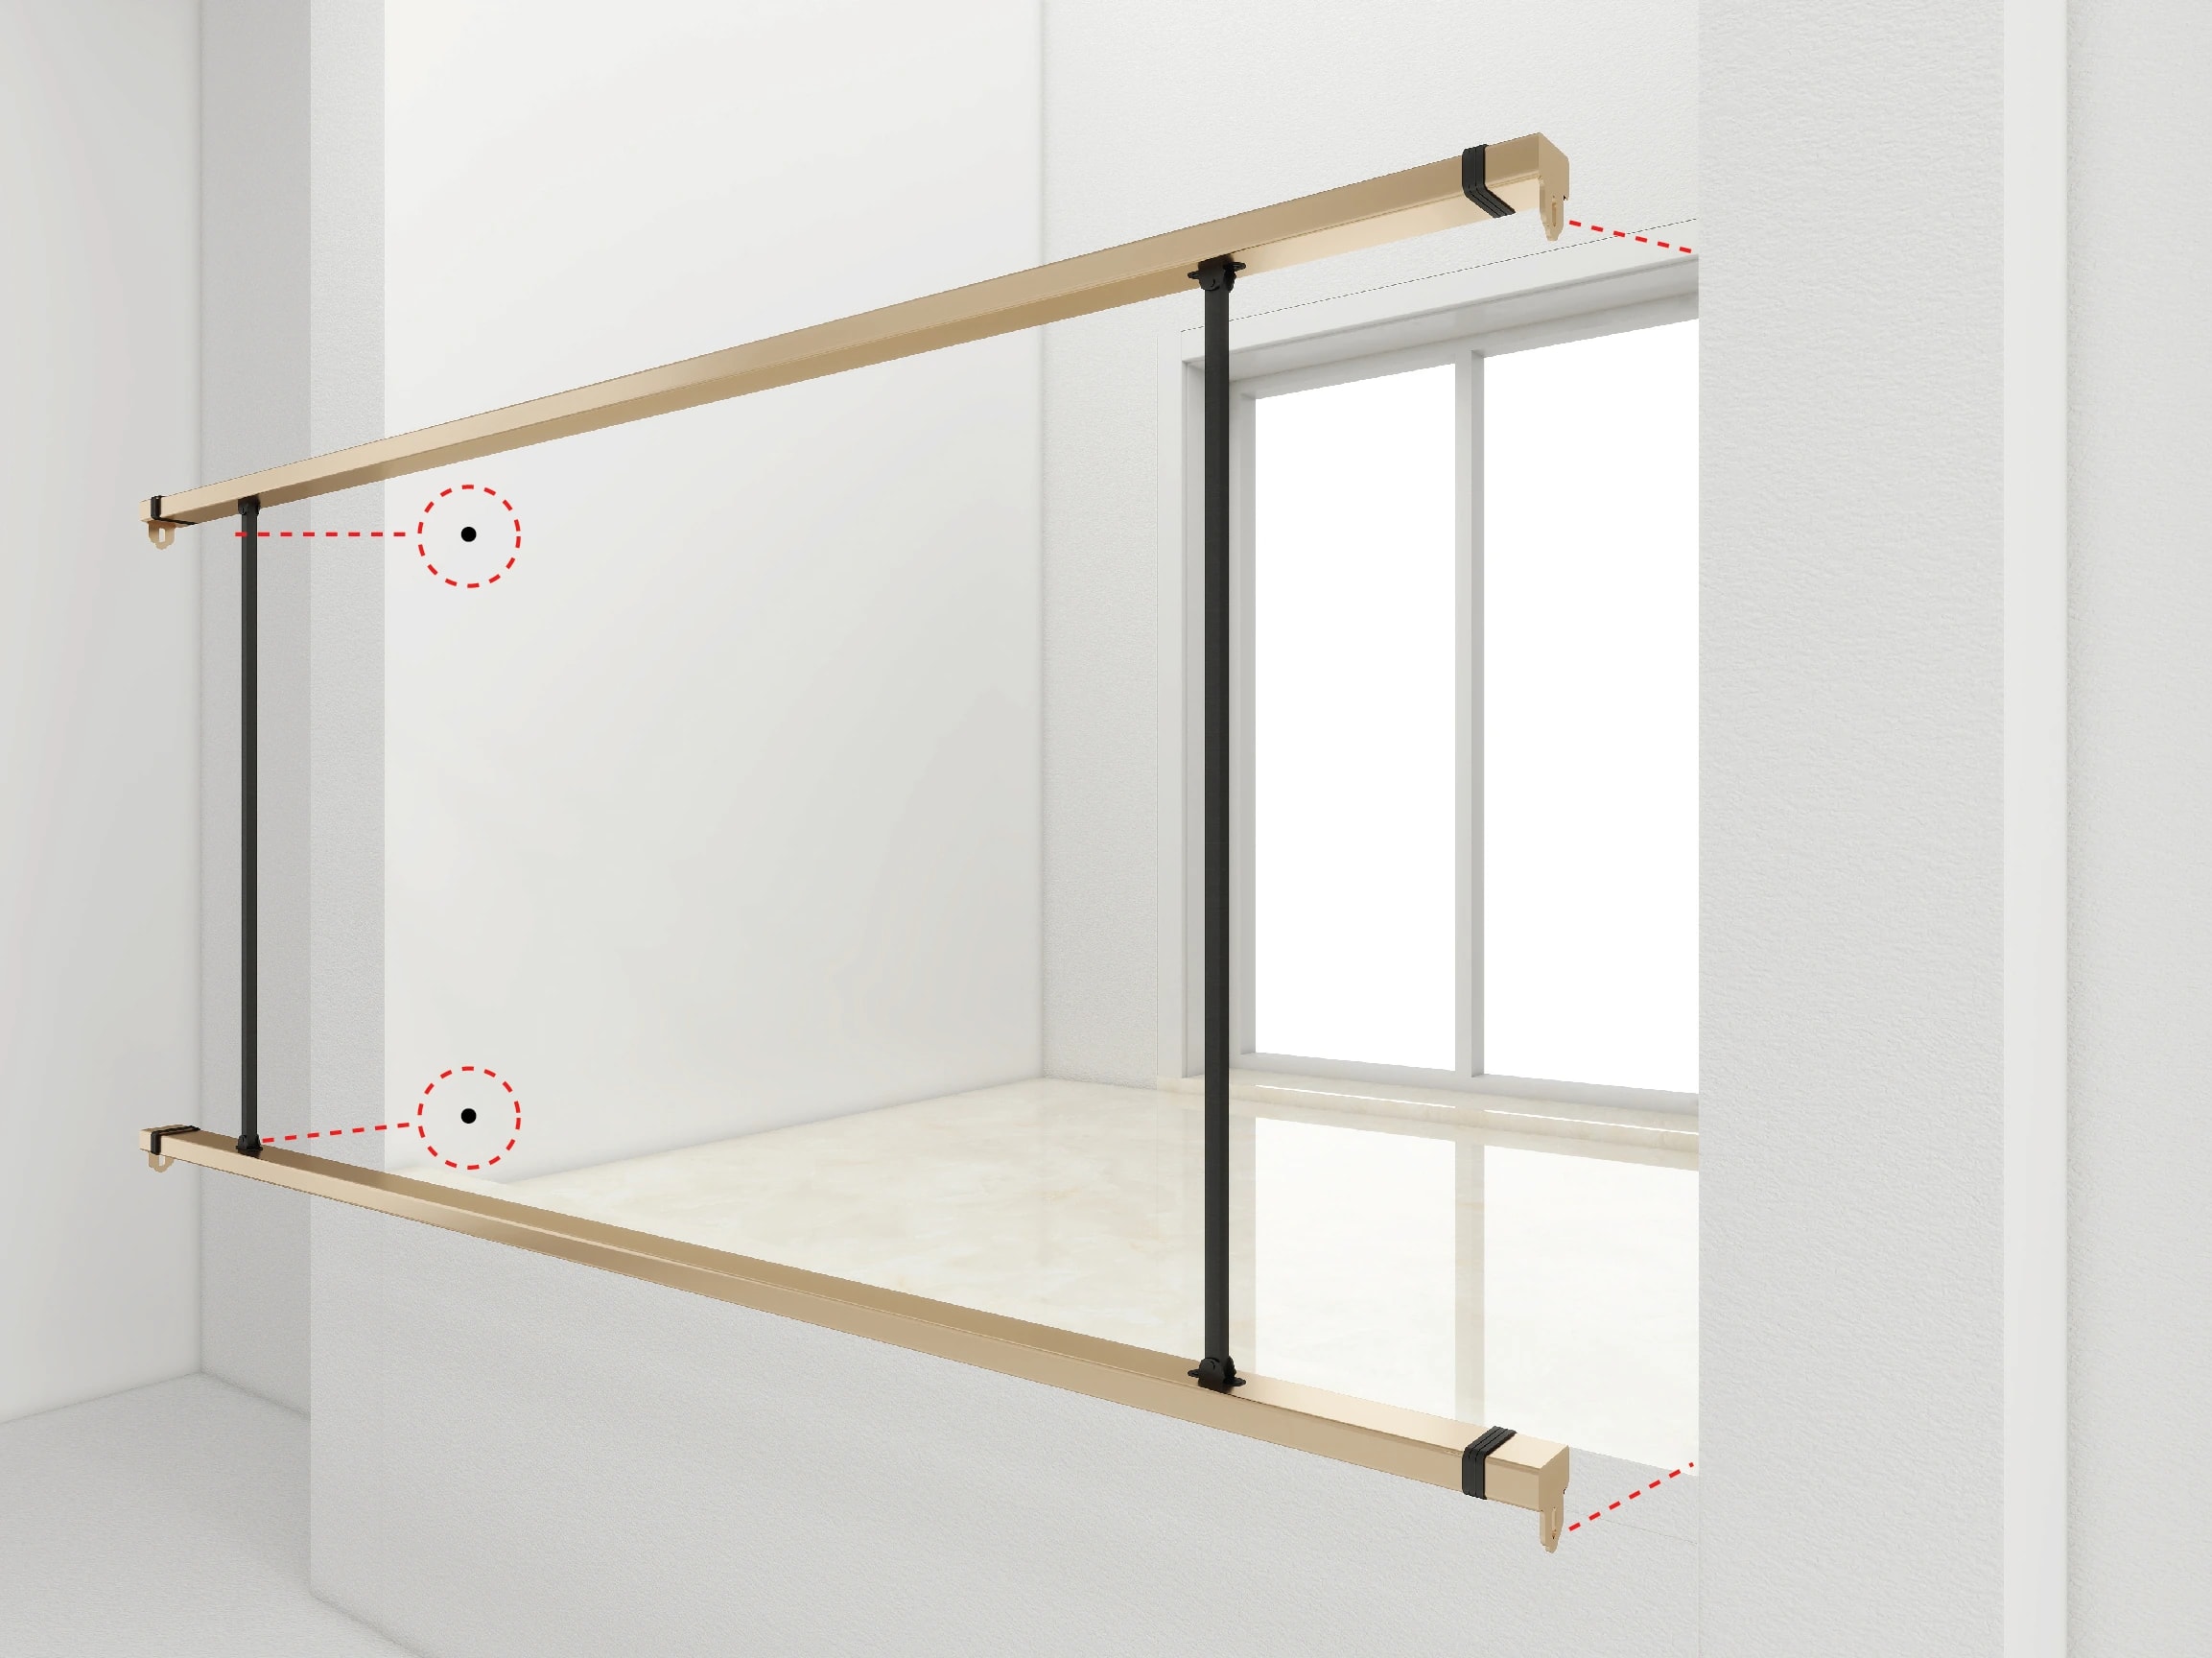
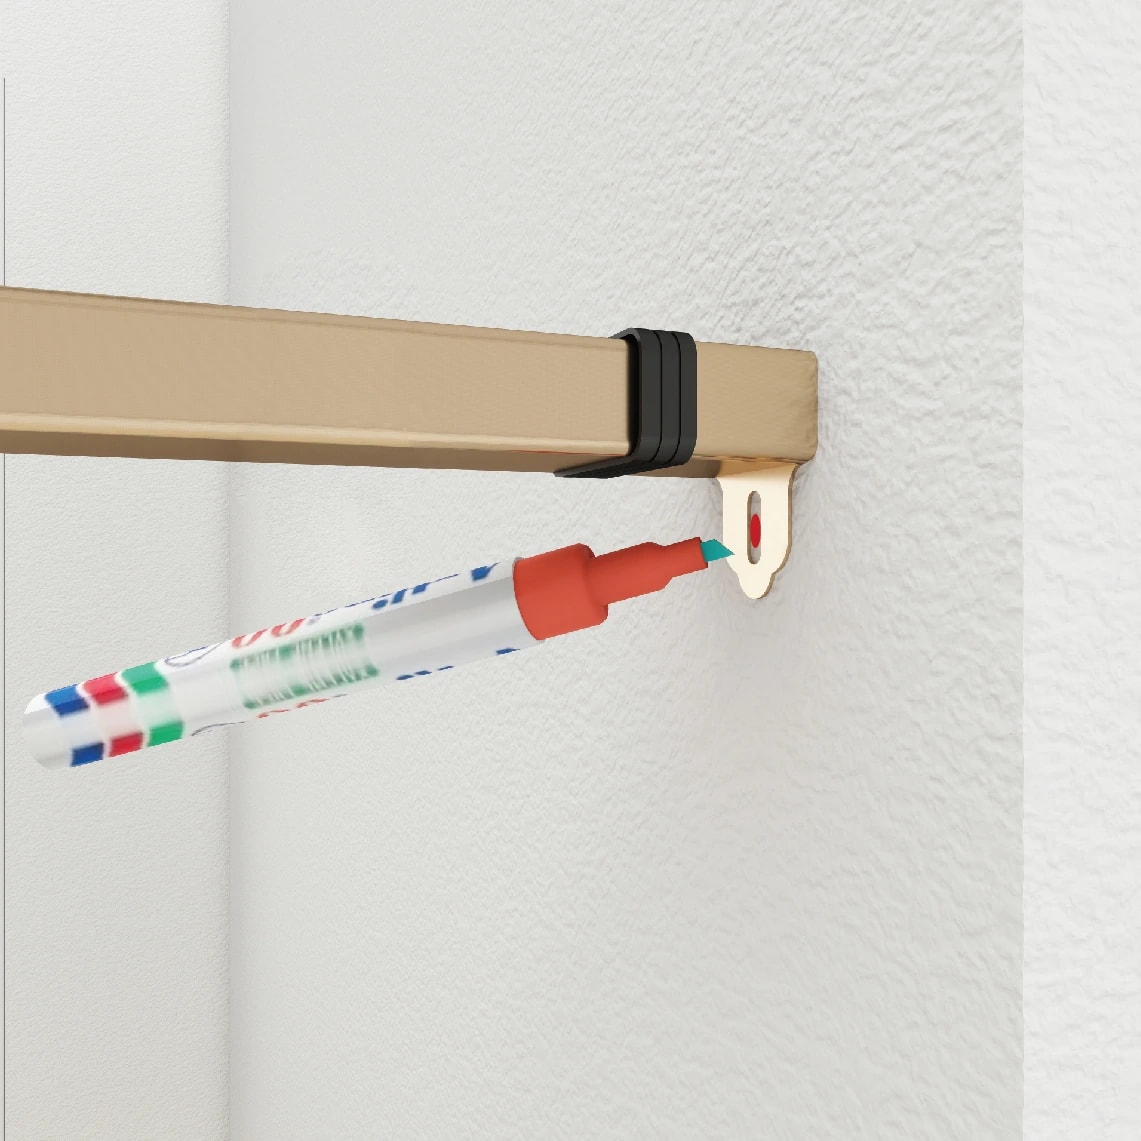
Lift the balcony railing panel into position between the wallsMark the wall drilling points at the connectorsDrill holes in the wall at the marked points

05/ 06Bolt

Fix the balcony panel to the wall with plastic anchors on all 4 sides
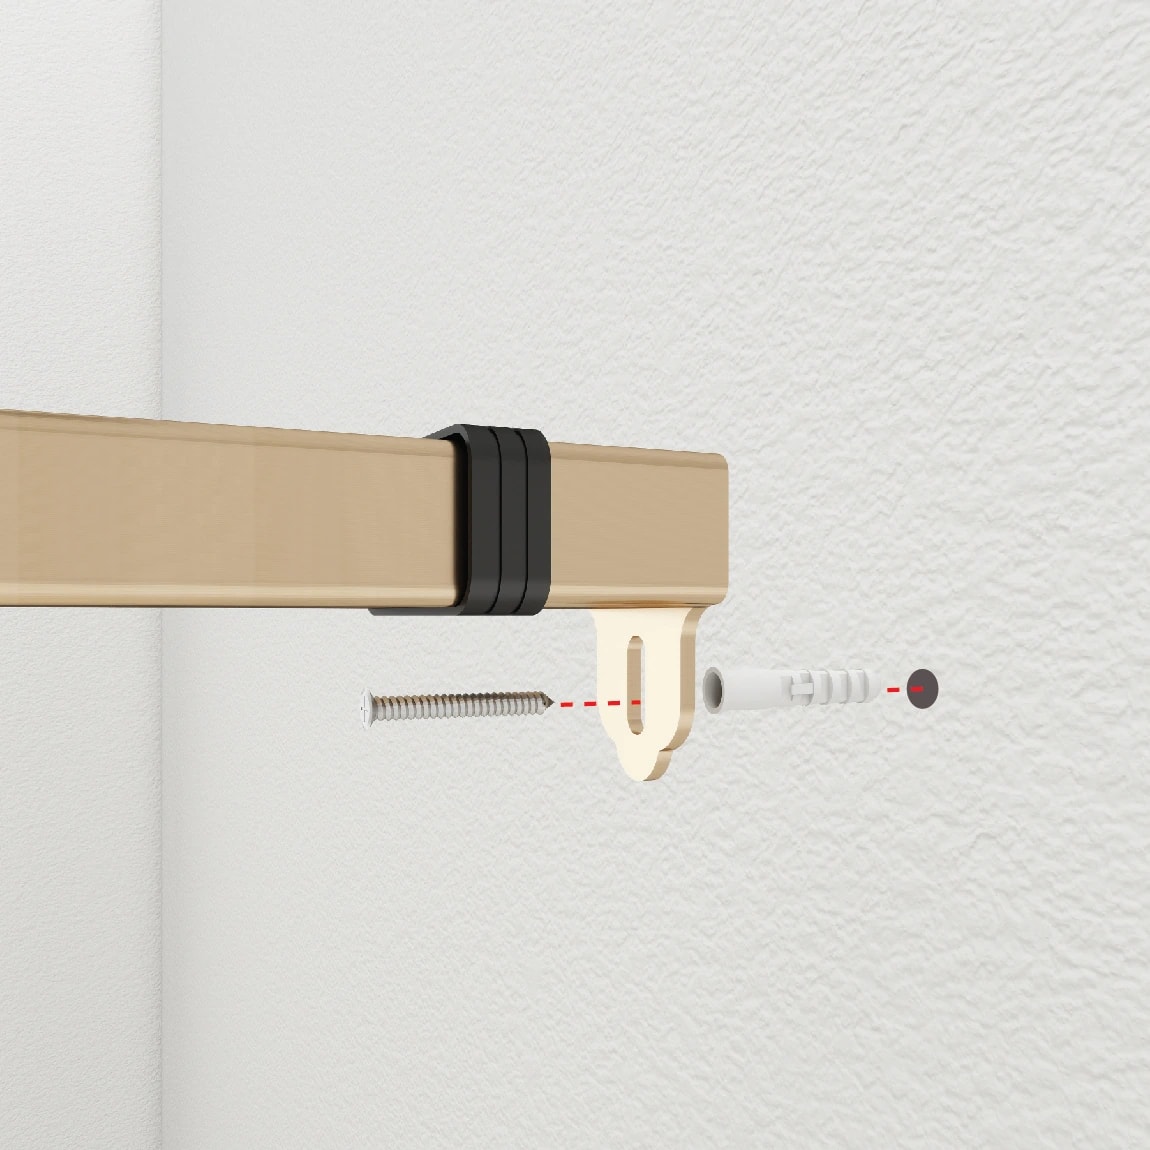
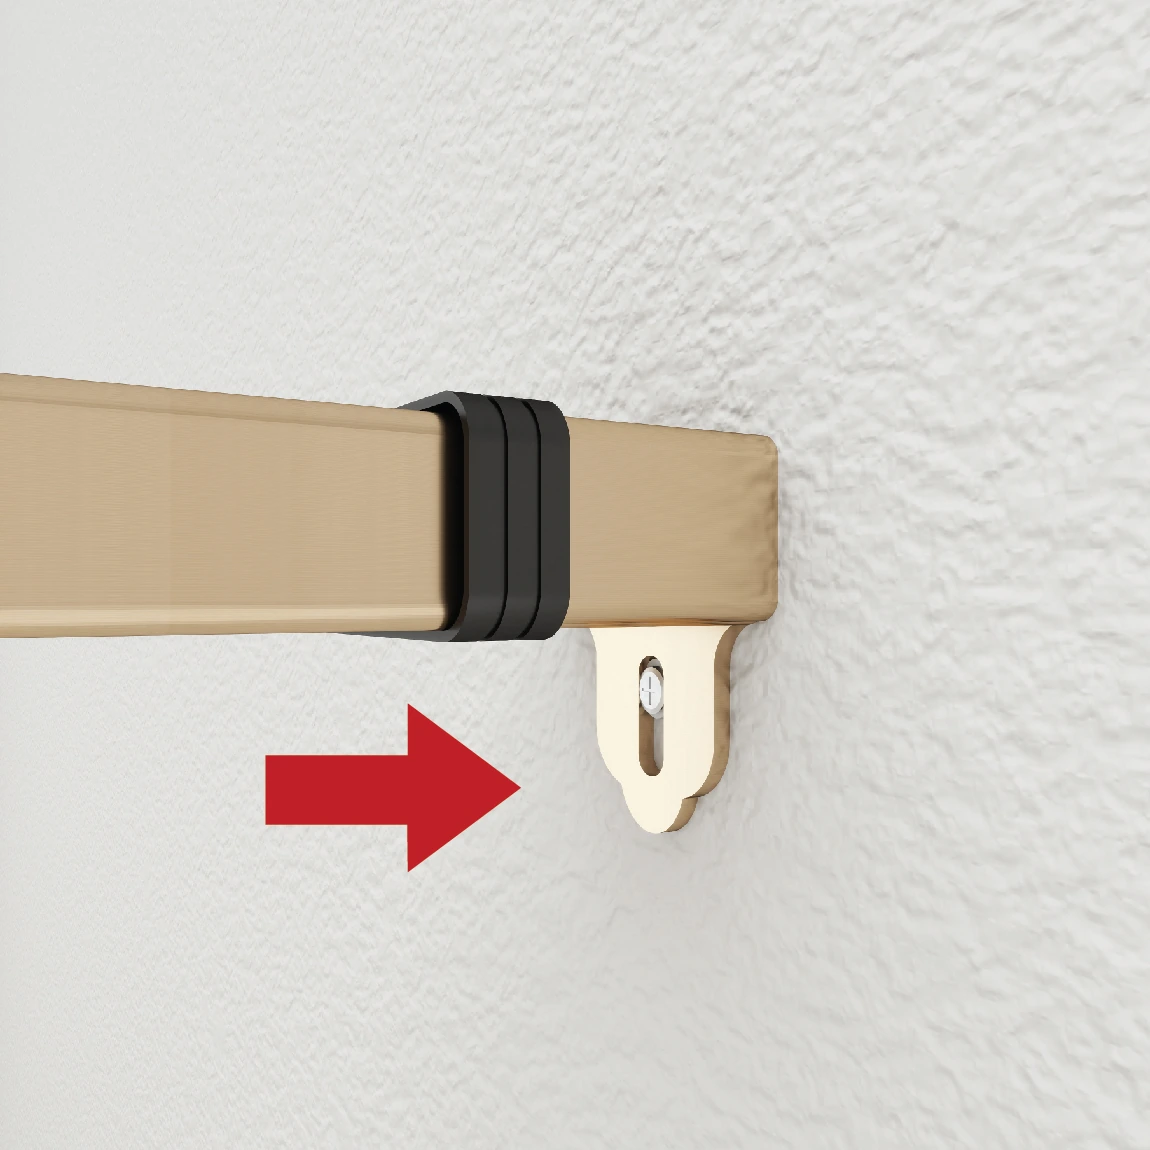
Insert plastic anchors and screws at the connectorsFix the connectors to the wallBalcony railing panel fixed to the wall on all 4 sides

06/ 06Bolt

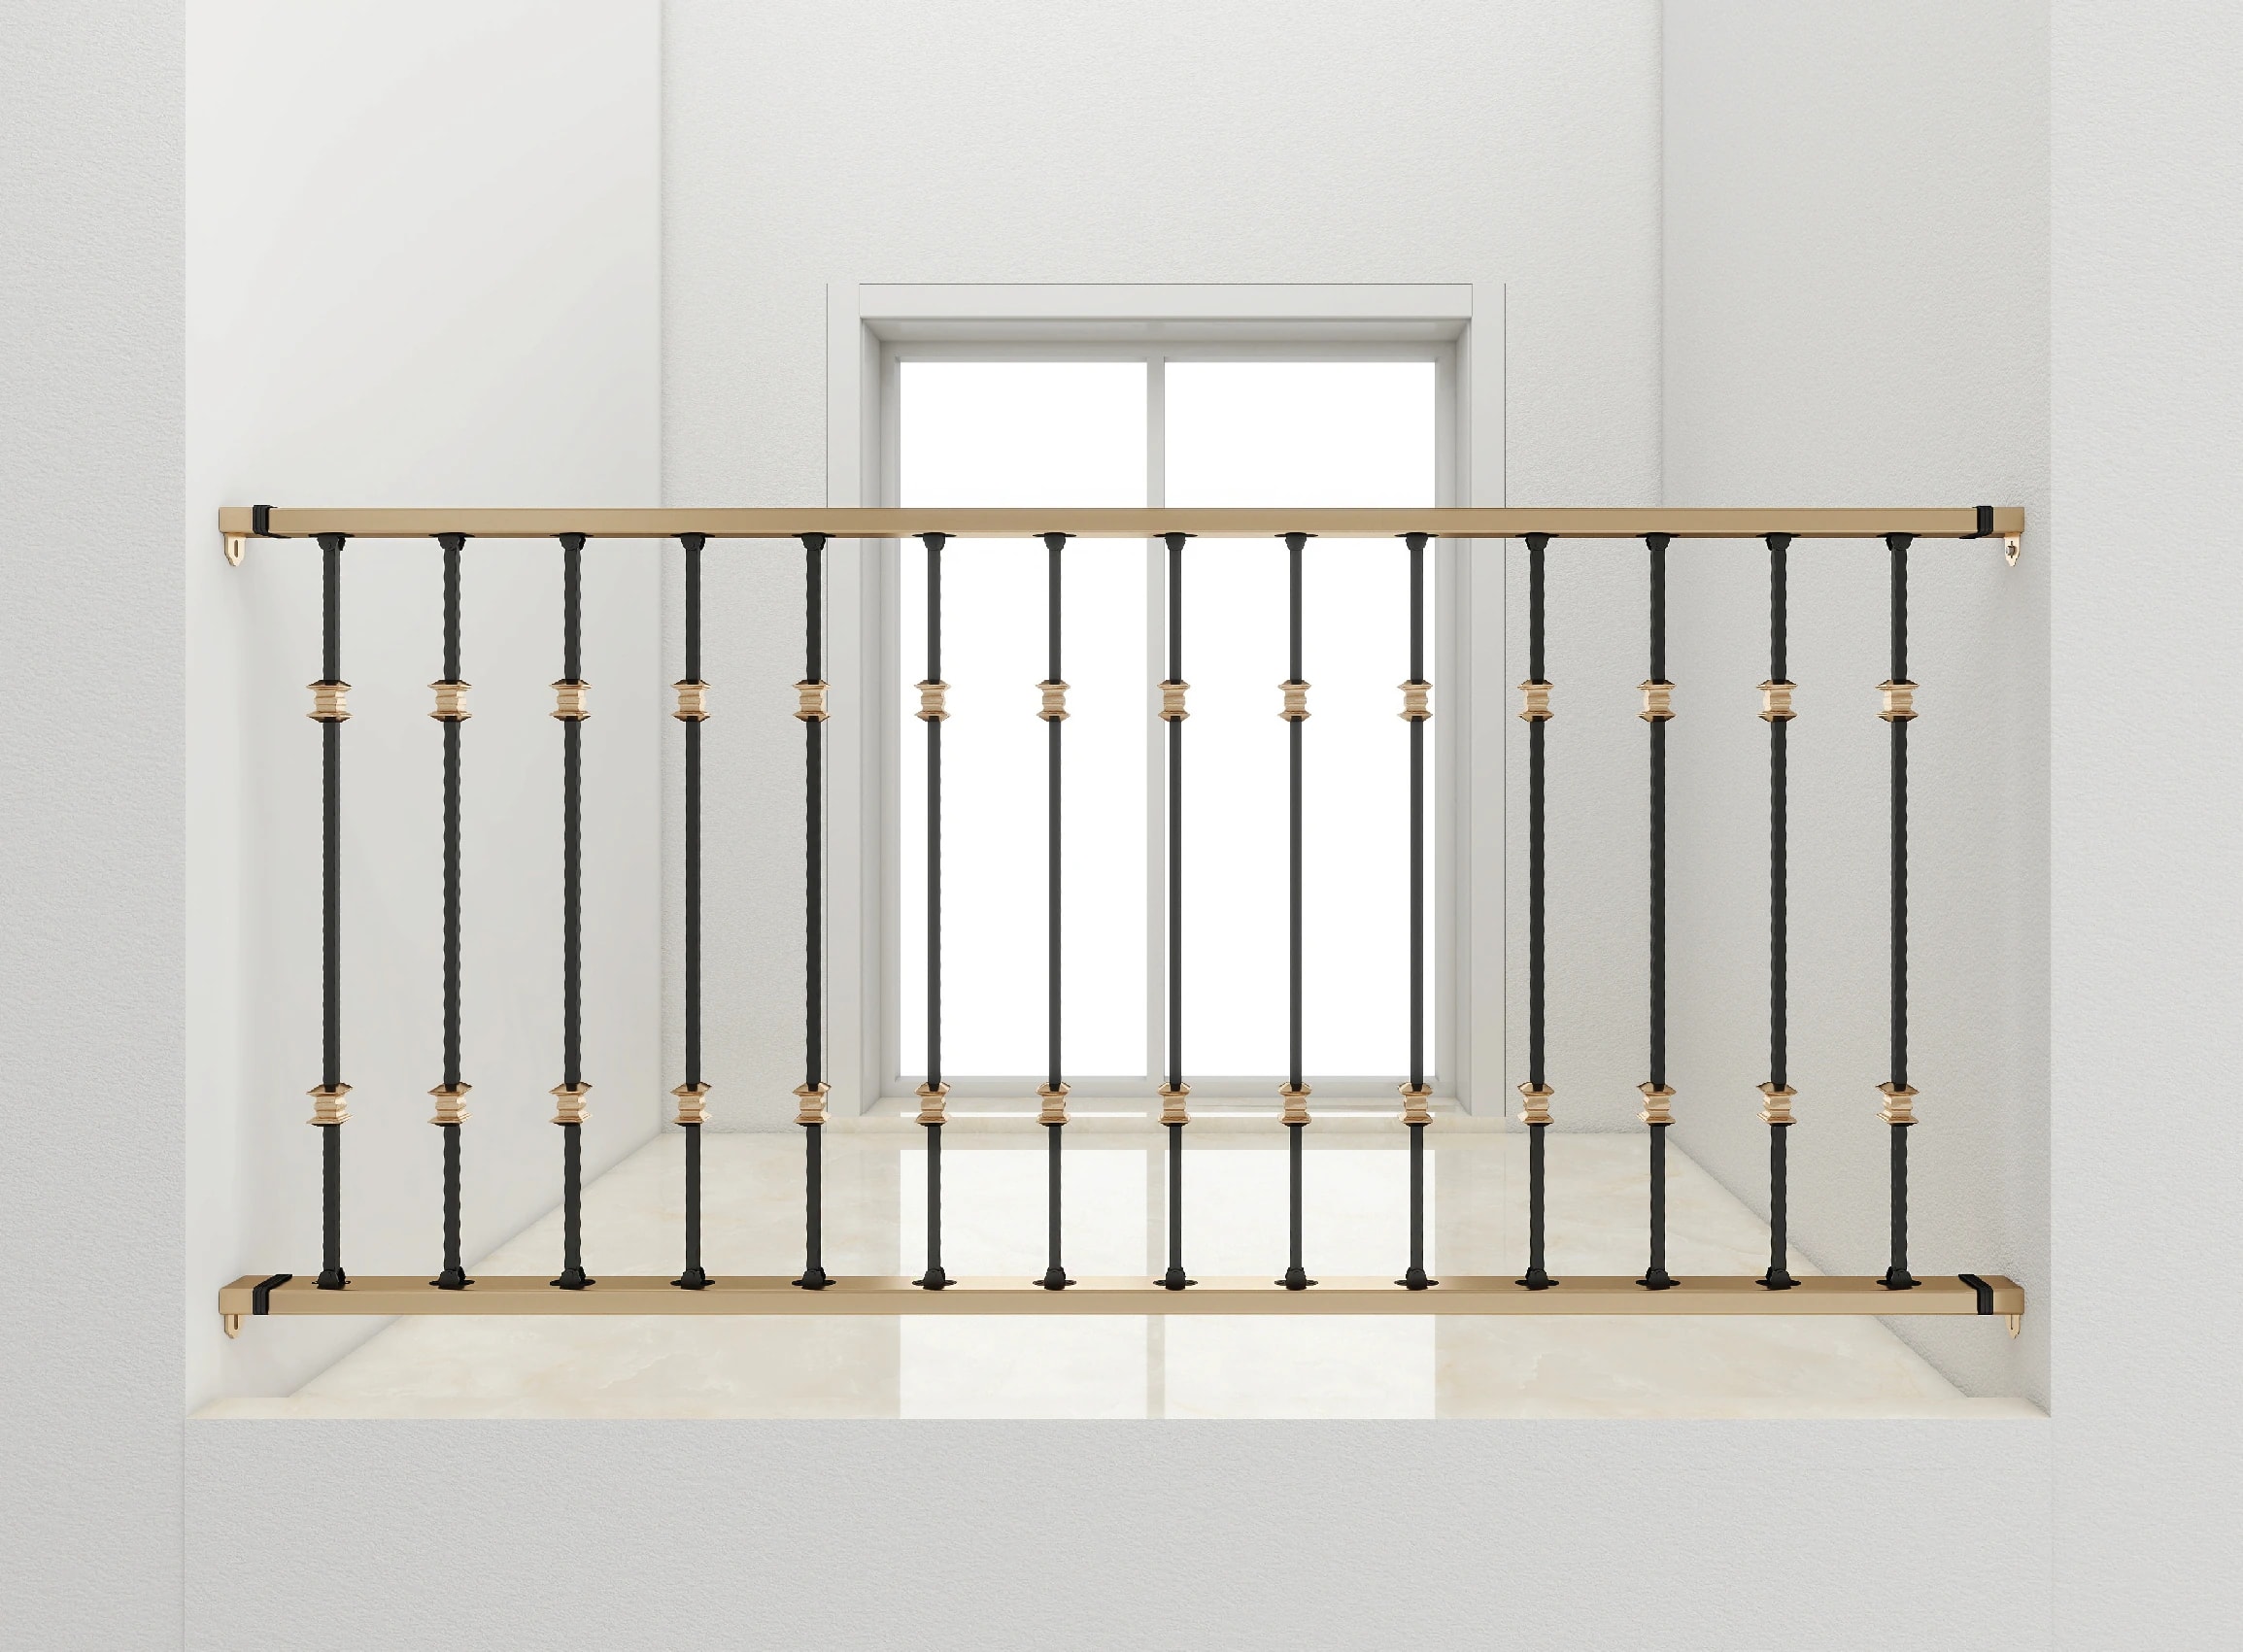
Balcony rails come pre-drilled, so decorative balusters can be installed right away just by bolting them on
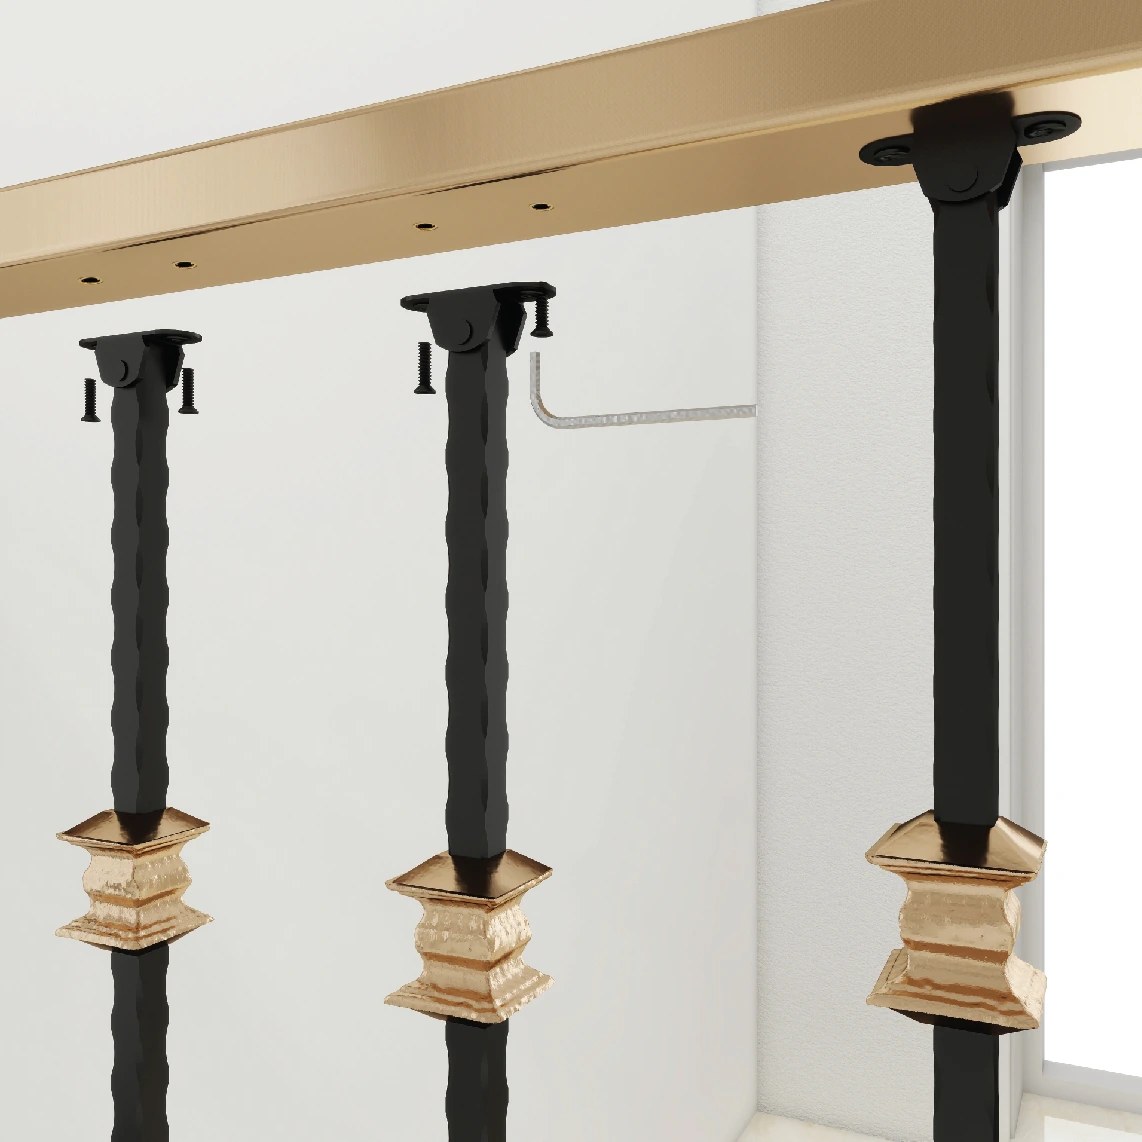
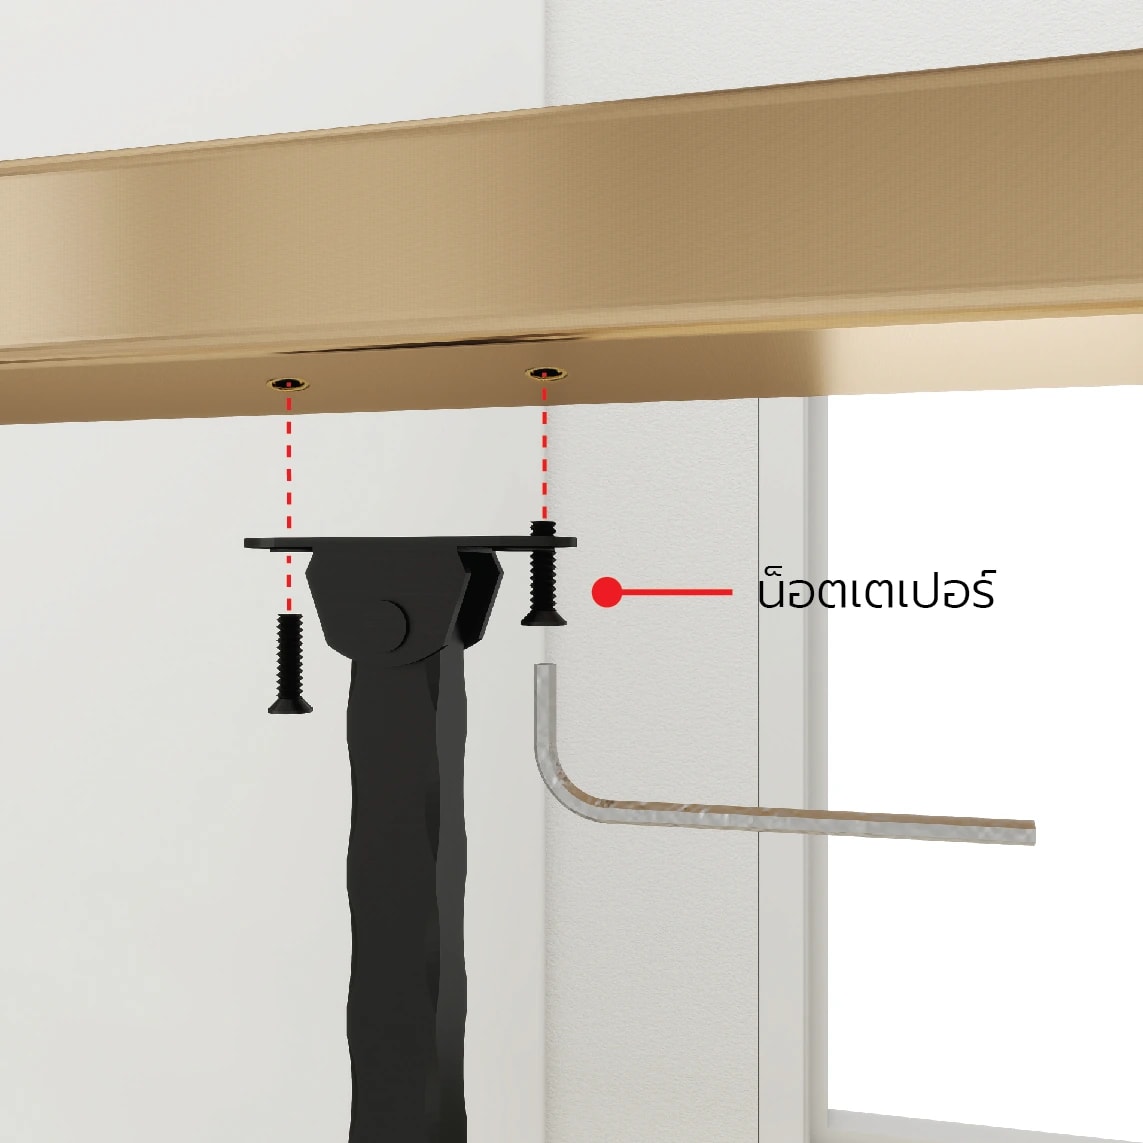
Insert the decorative balusters into the pre-drilled holes in the railTighten the taper bolts with a hex key to secure the decorative balustersBalcony railing fully installed with decorative balusters

Installation animation

Watch the real assemblyfrom the very first post

Choose the part you want to watch with the buttons below

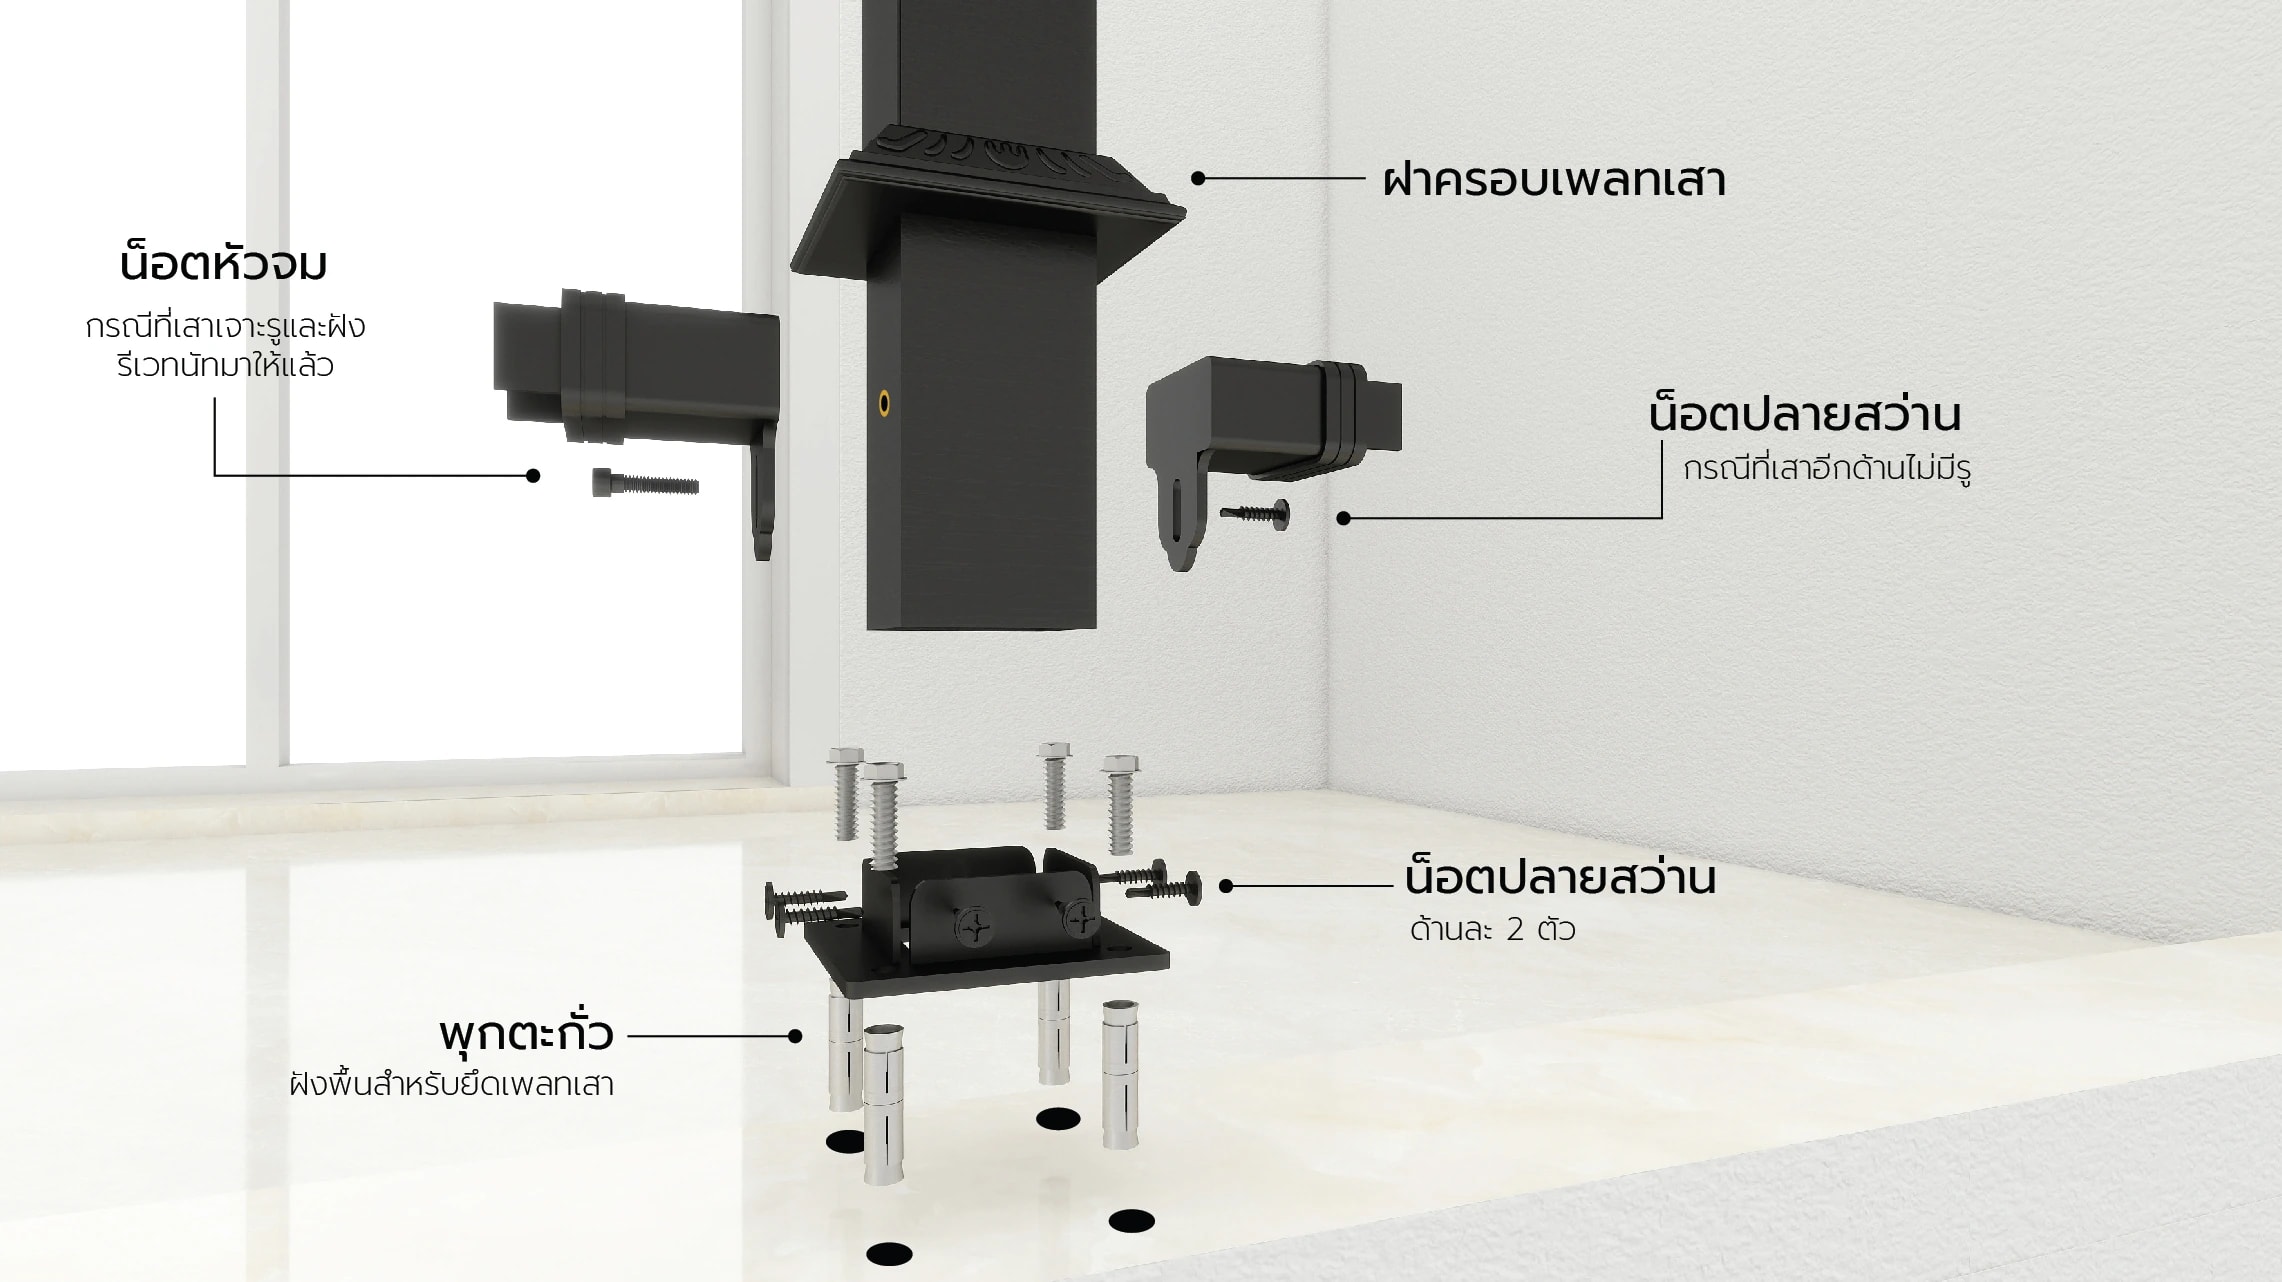
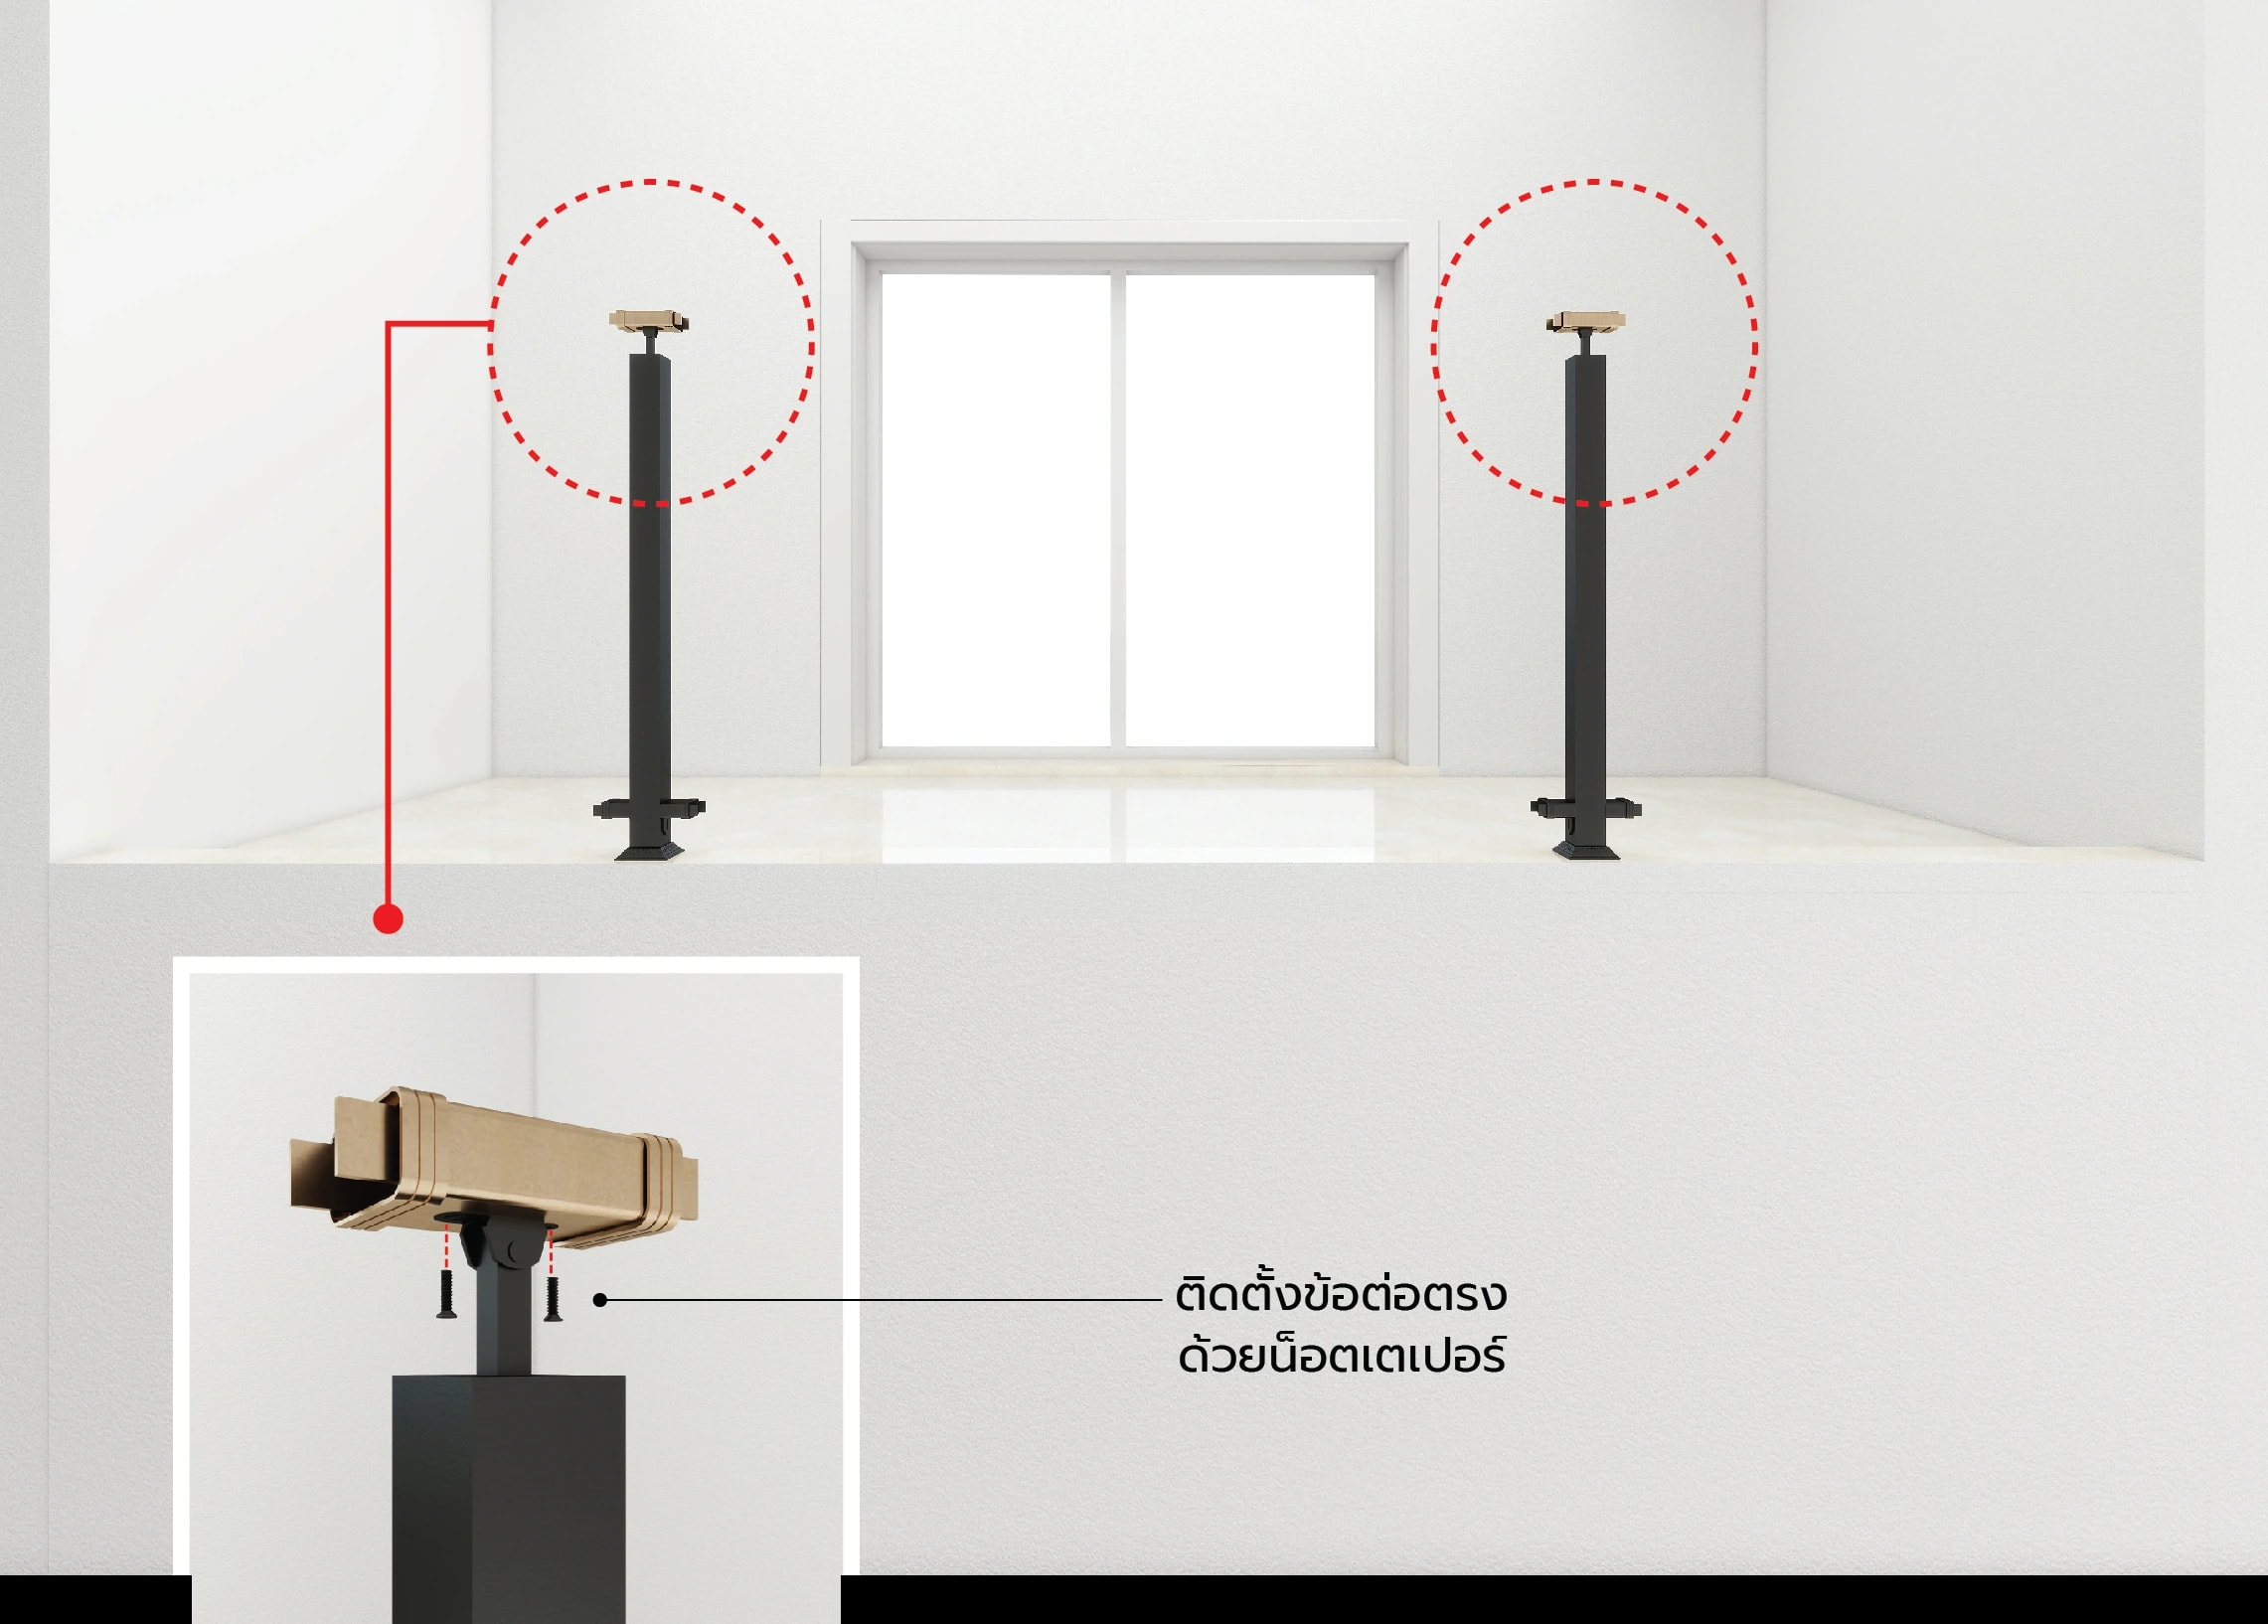
Set posts

All partsExploded view

Open up every partto see how it fits together

Pick a spot to explore and the parts there will separate so you can see each one

Loading parts

Pick a spot to explore — the parts there will separate so you can see each one

Real InstallationsInstalled

Real installationsin customers' homes

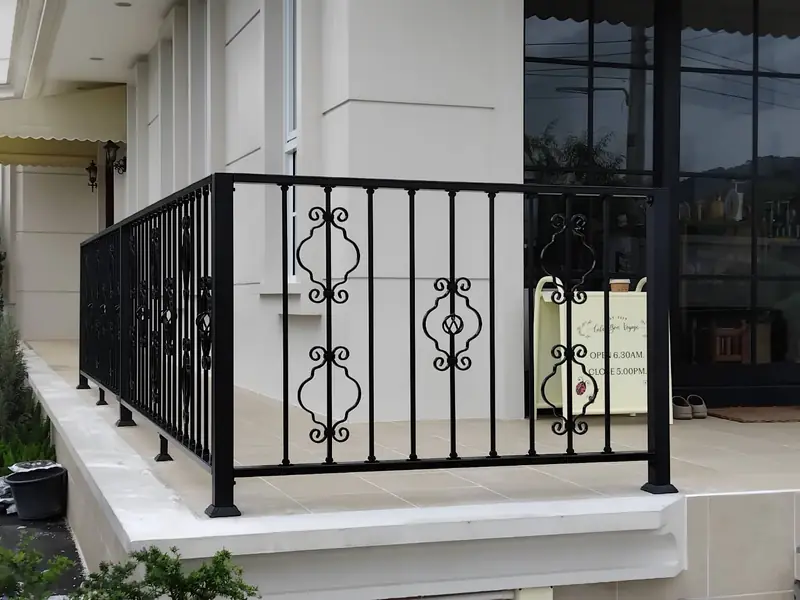
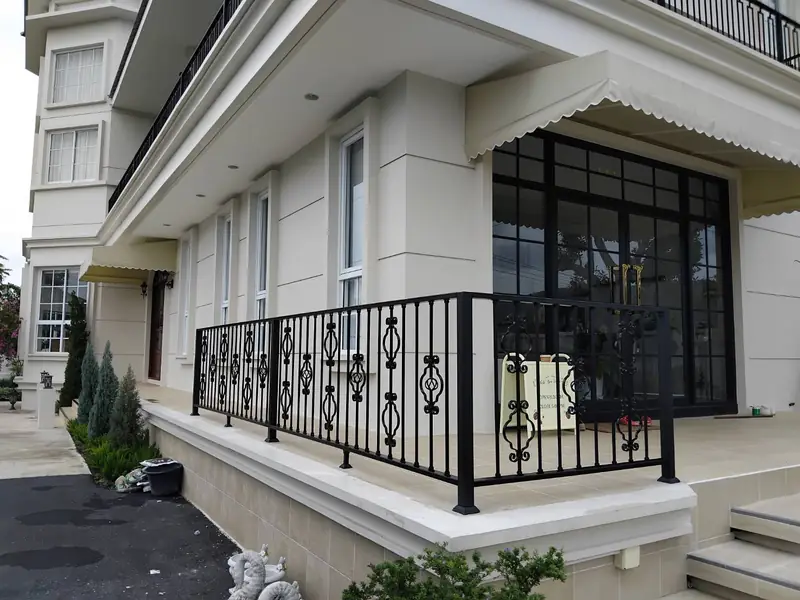
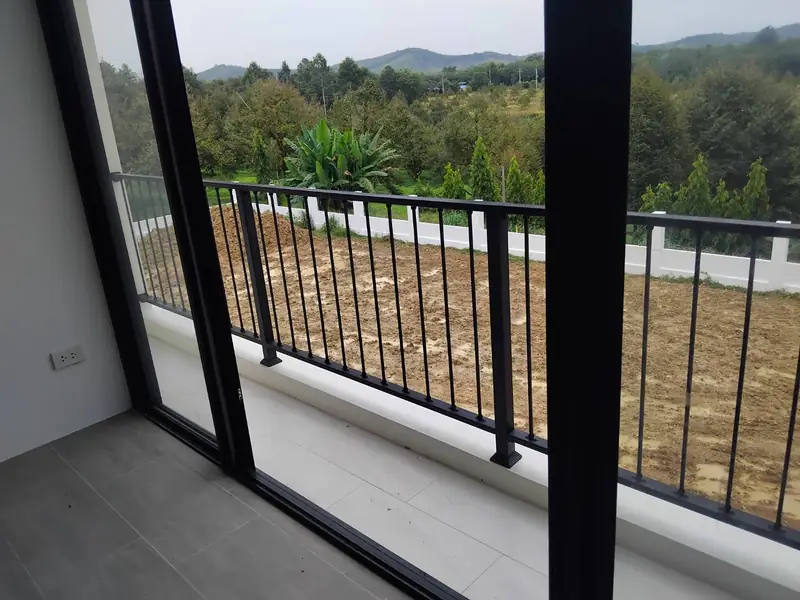
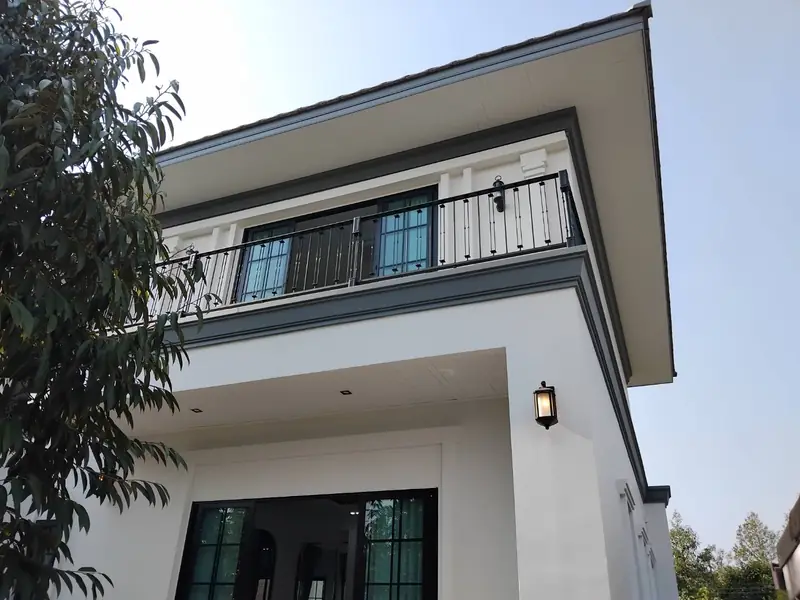
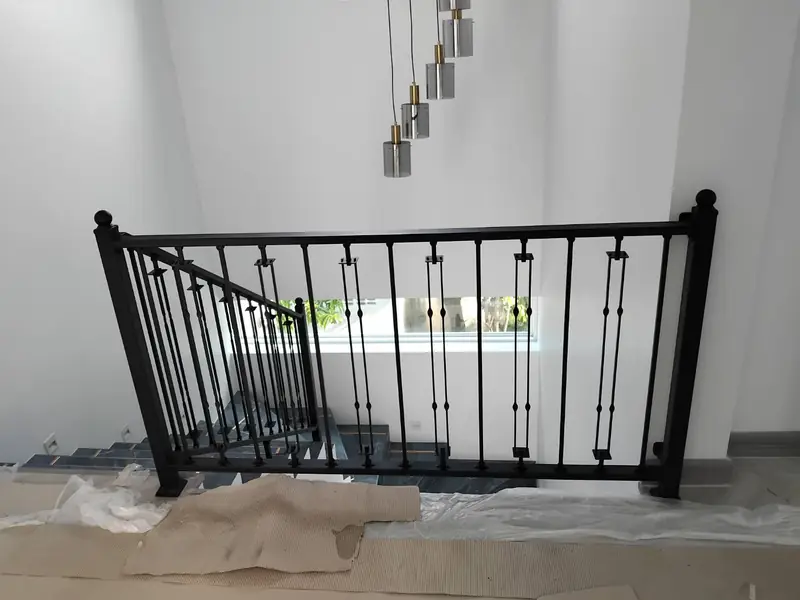
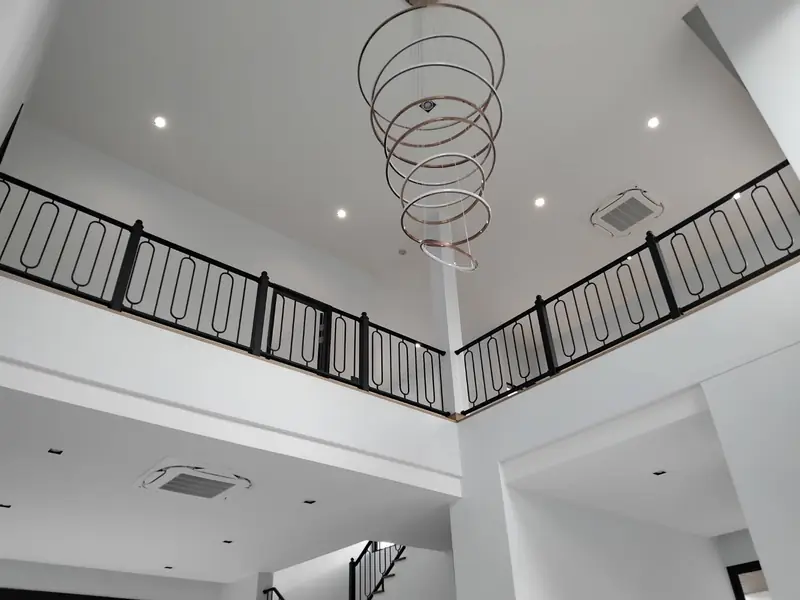
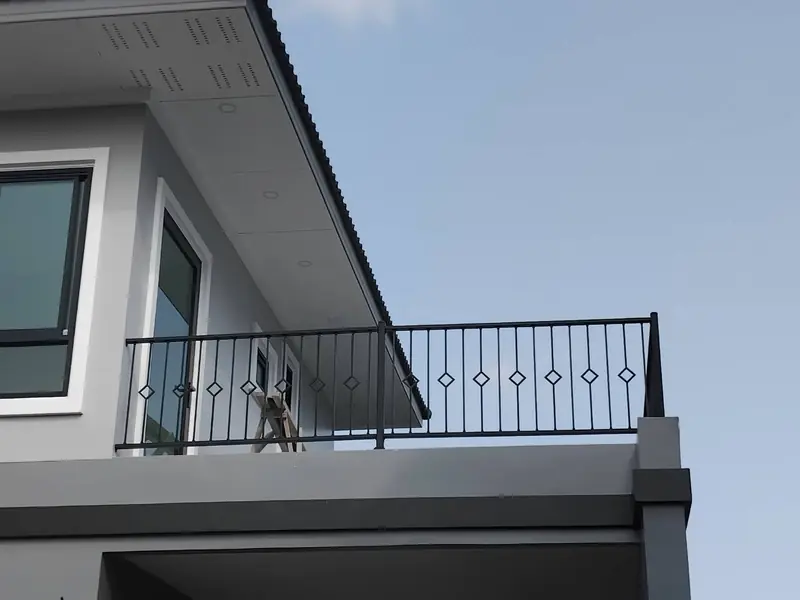
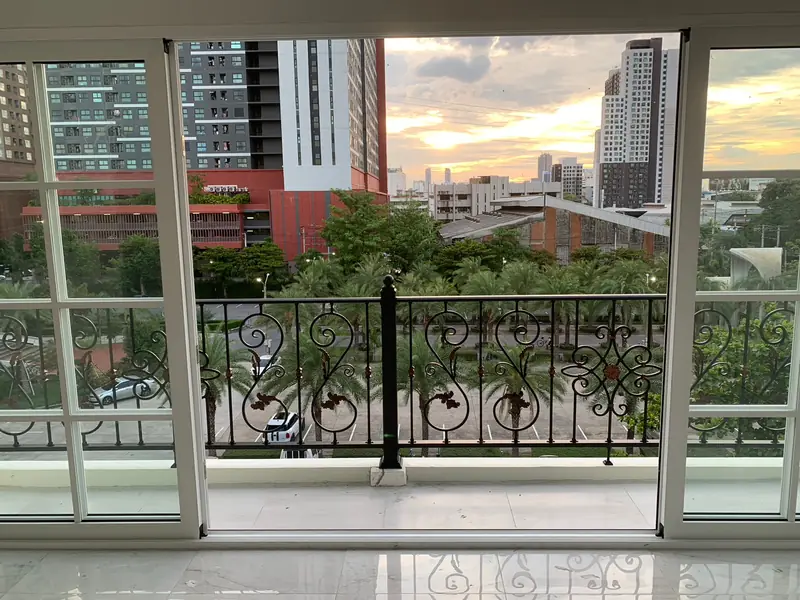
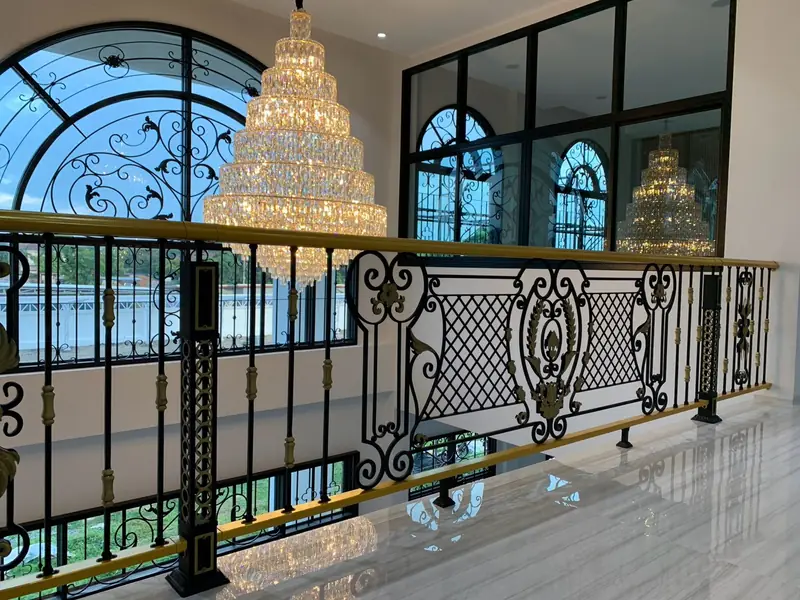
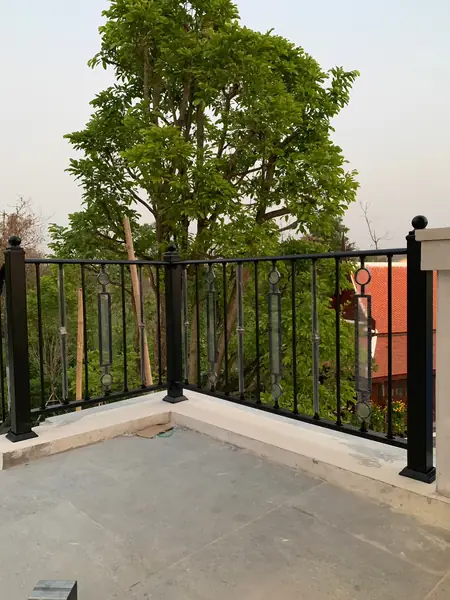
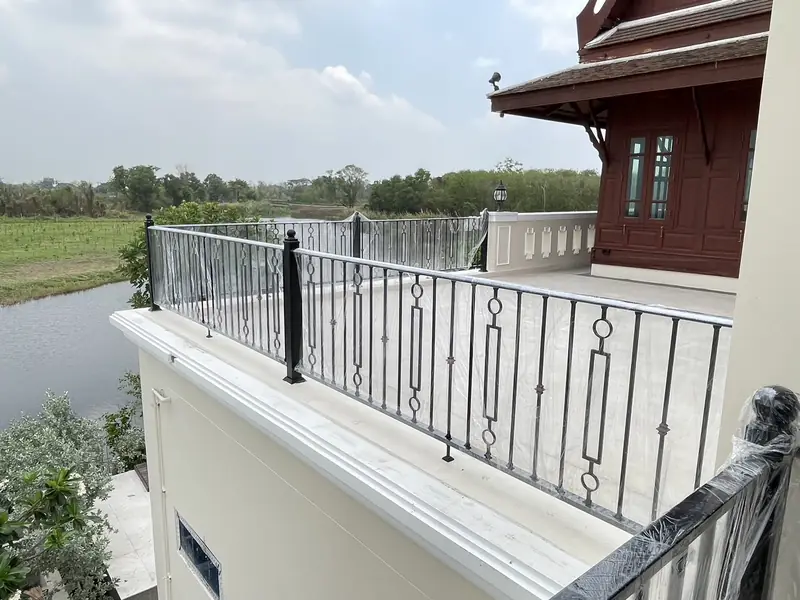
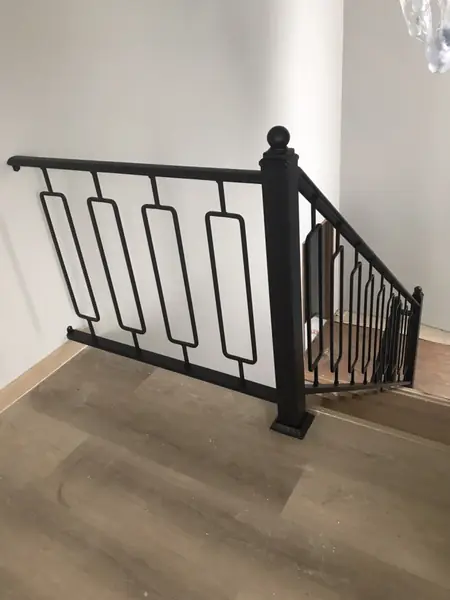
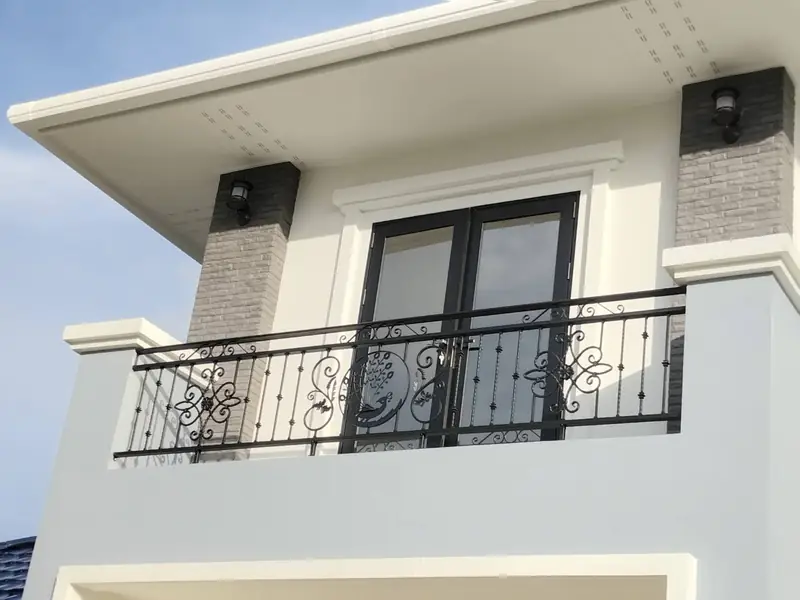
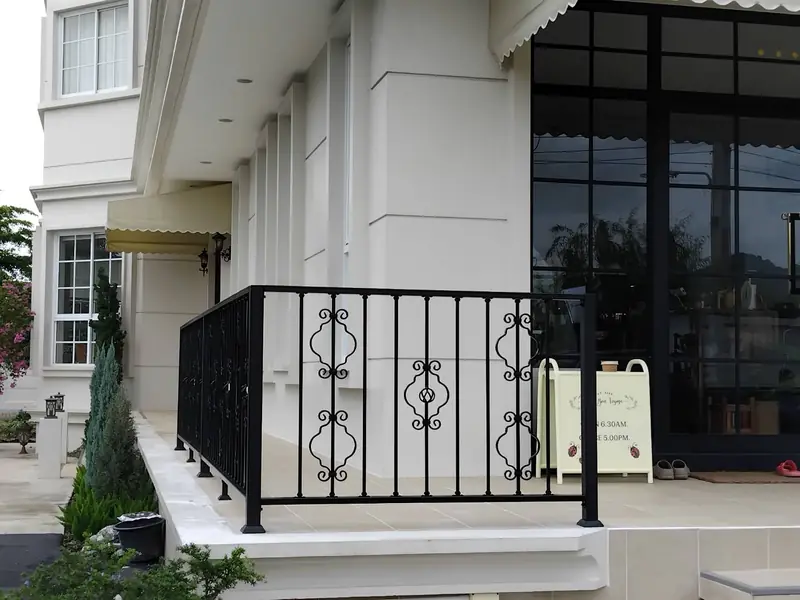
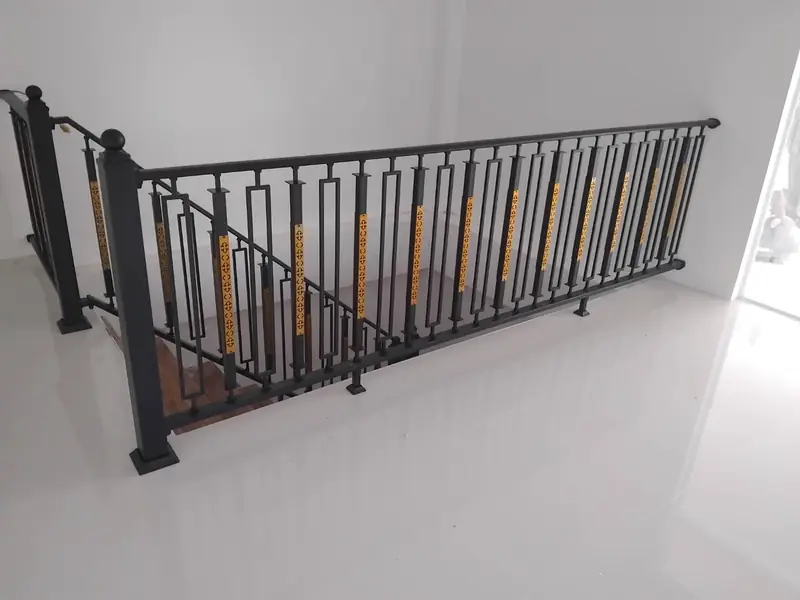
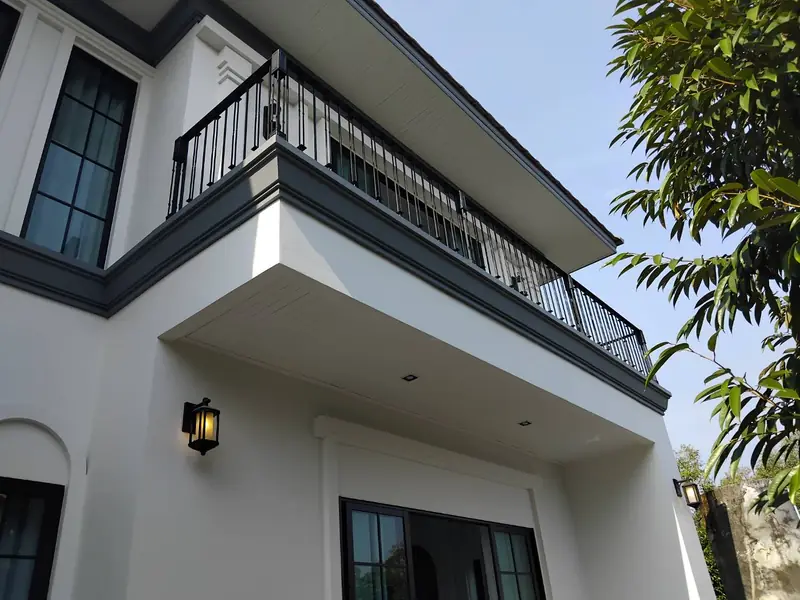
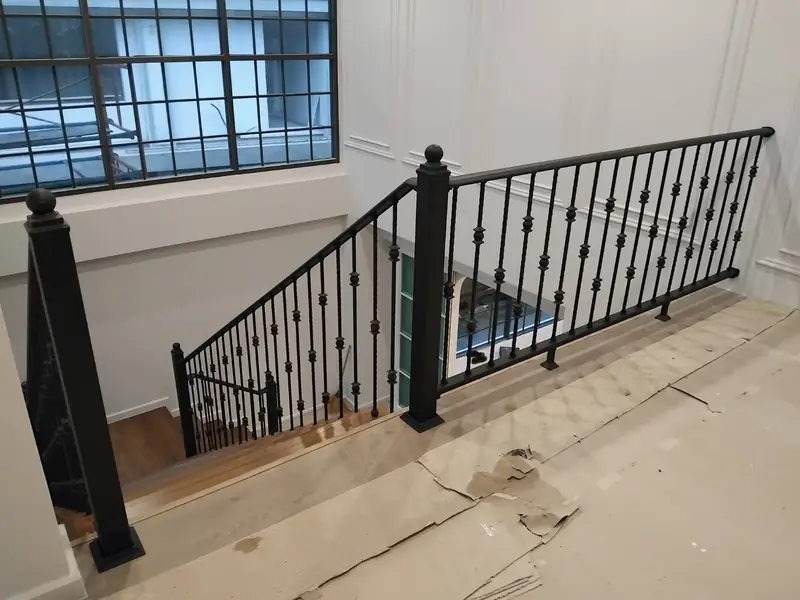
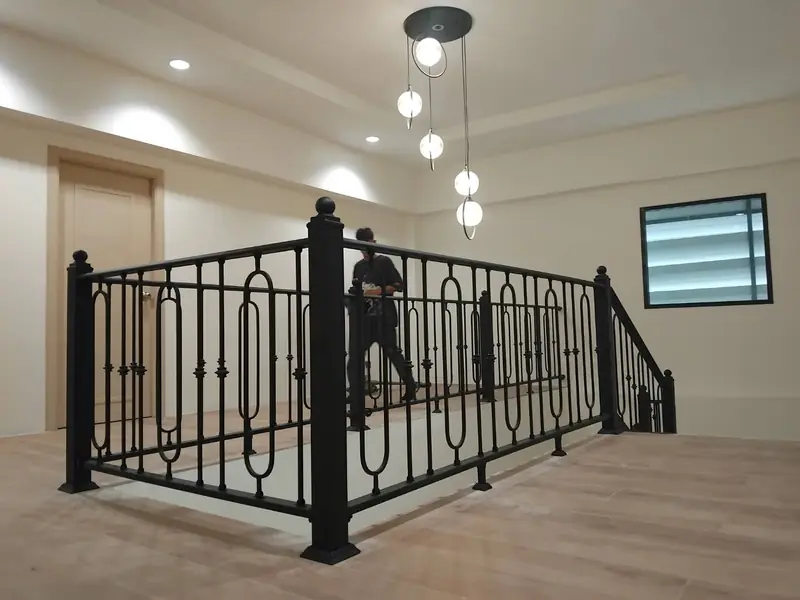
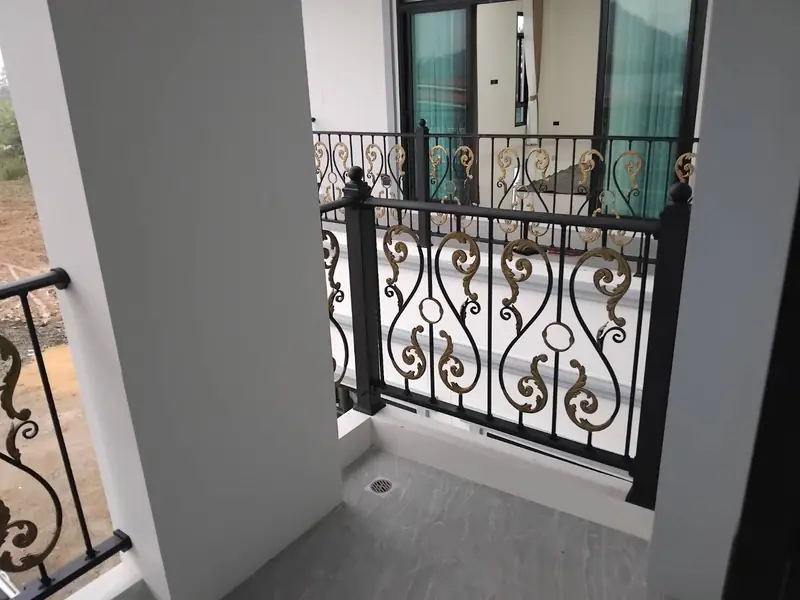
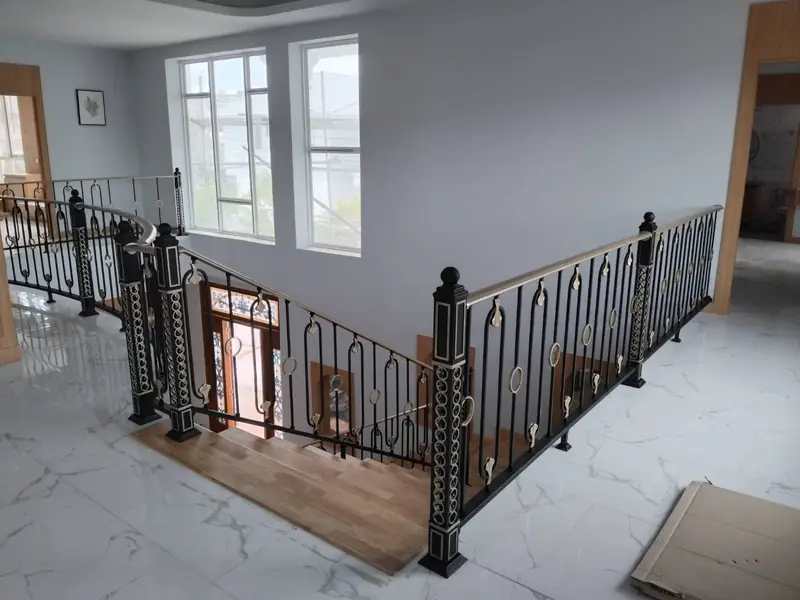
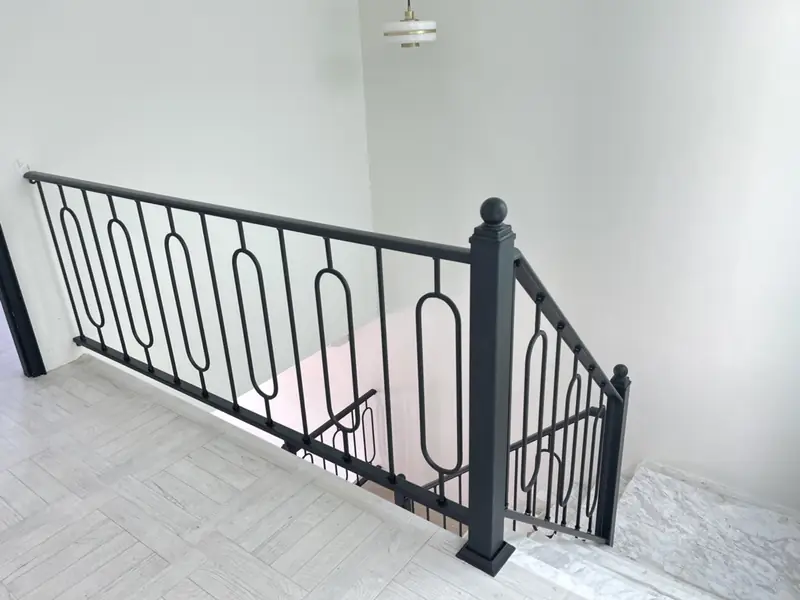
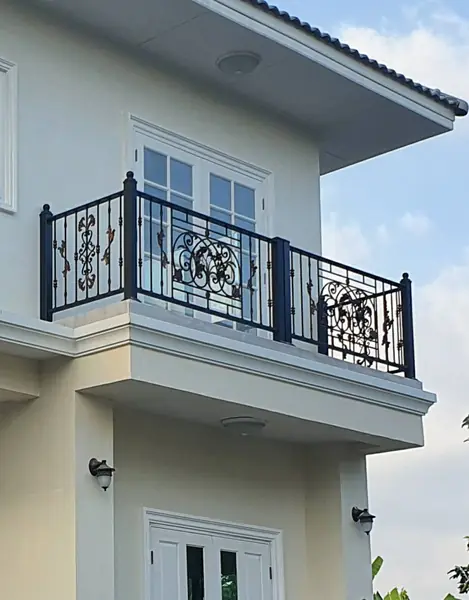
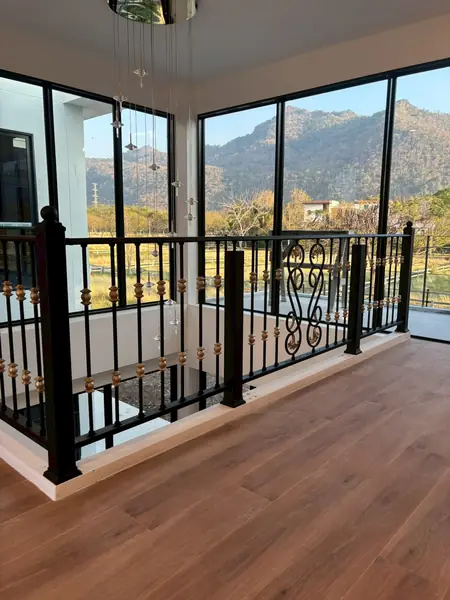
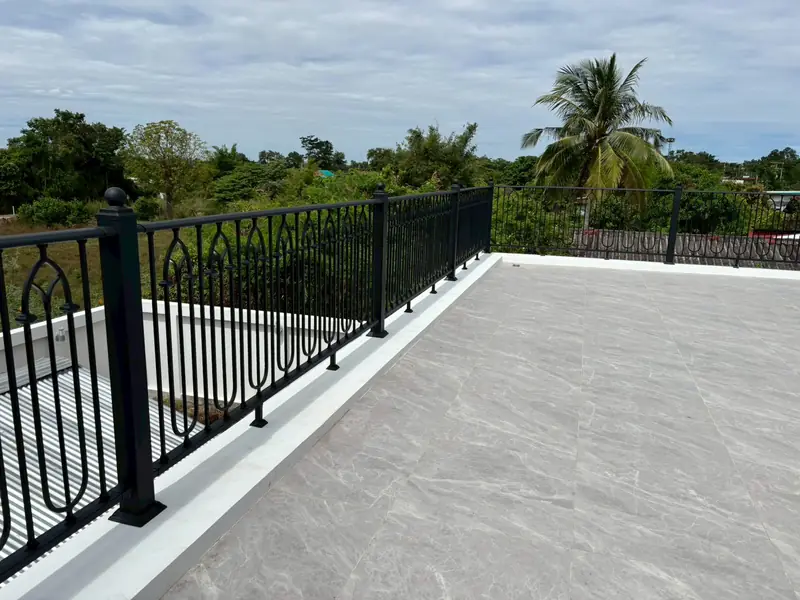
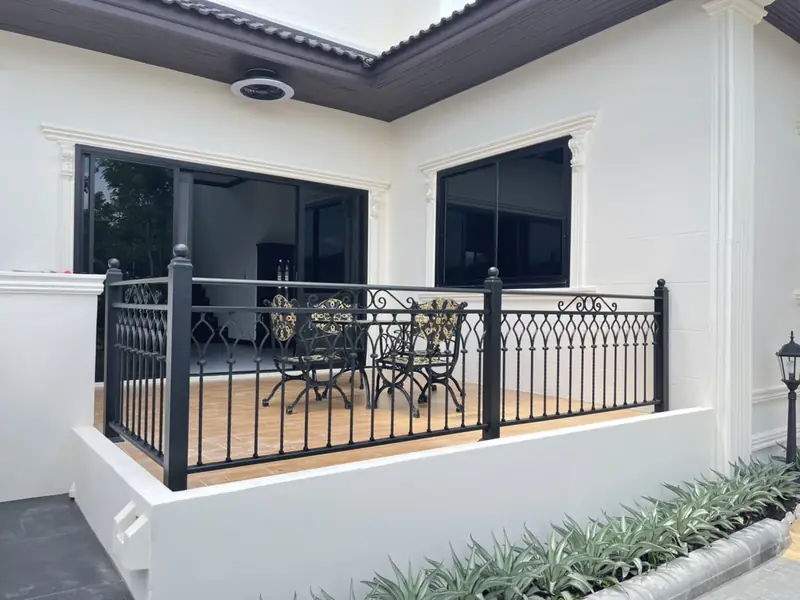
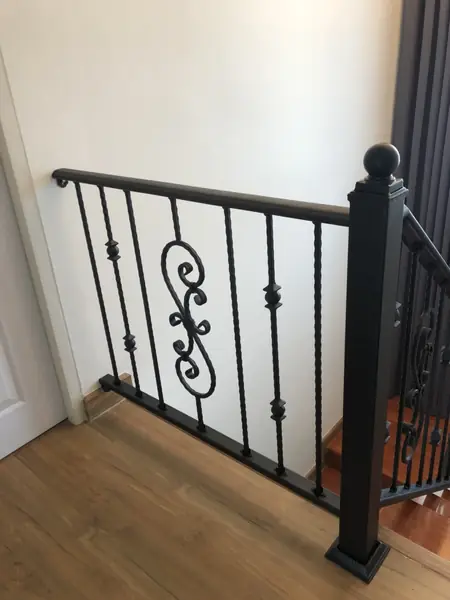
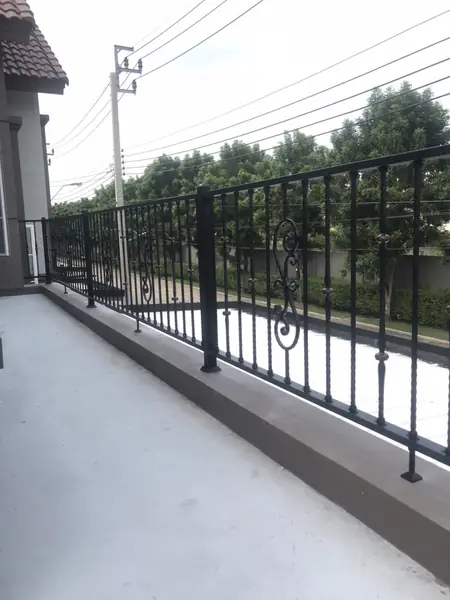
Photos from real sites, both balcony and stair railings
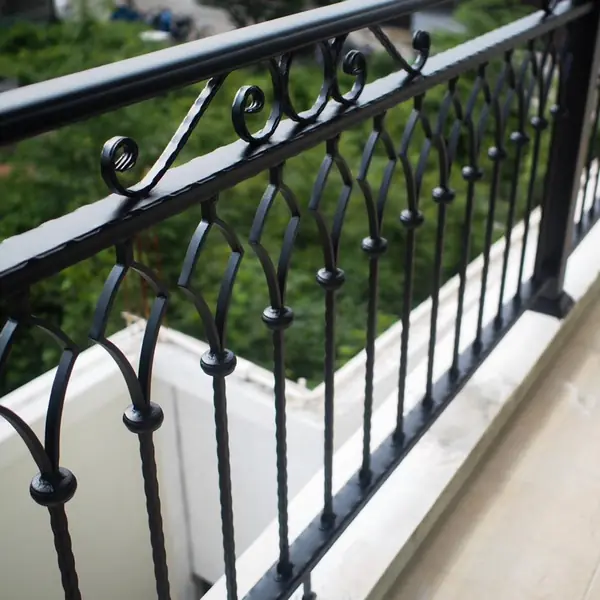
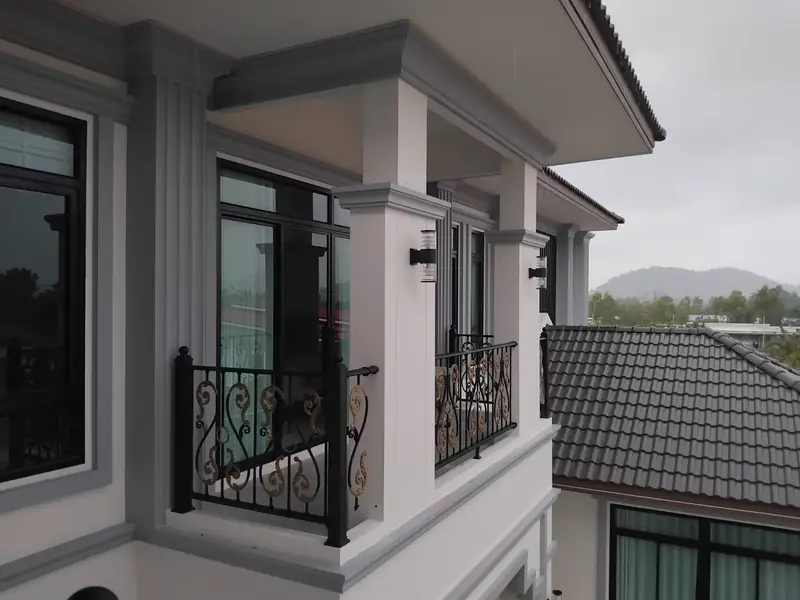
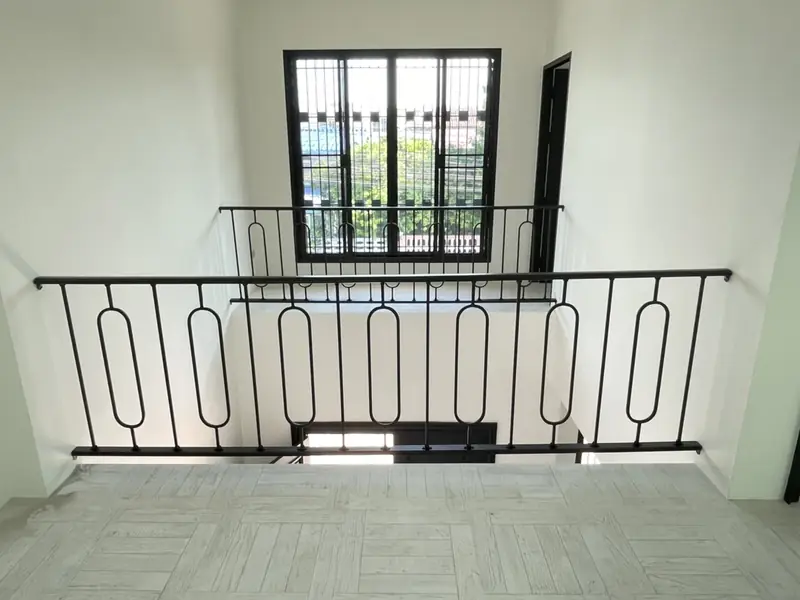
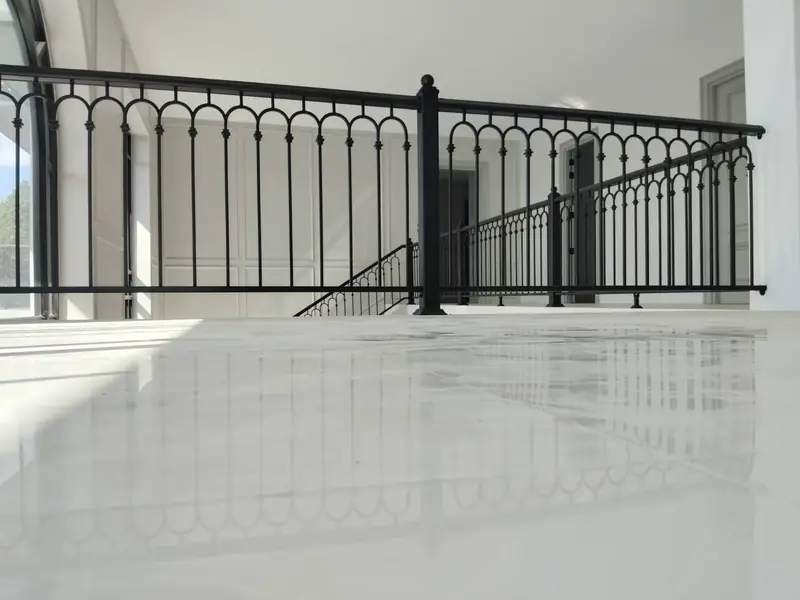
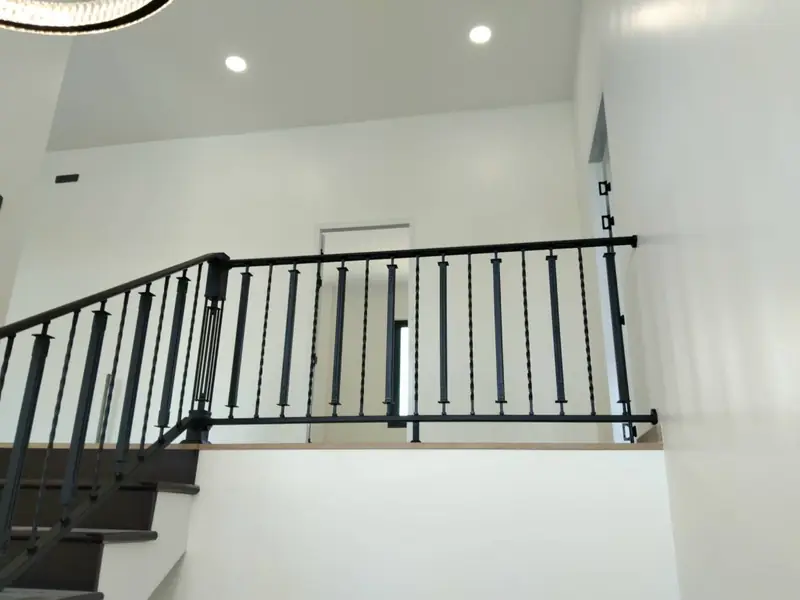
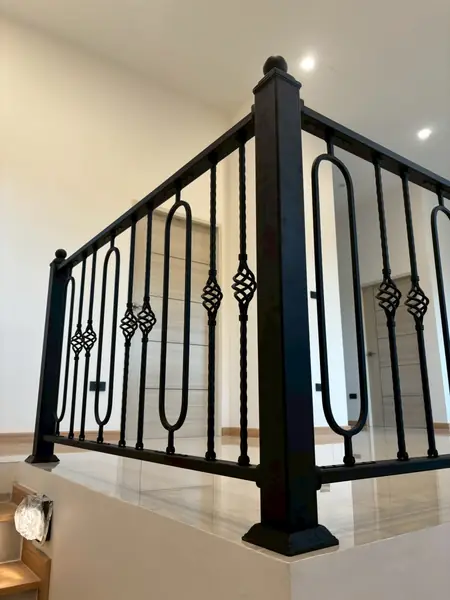
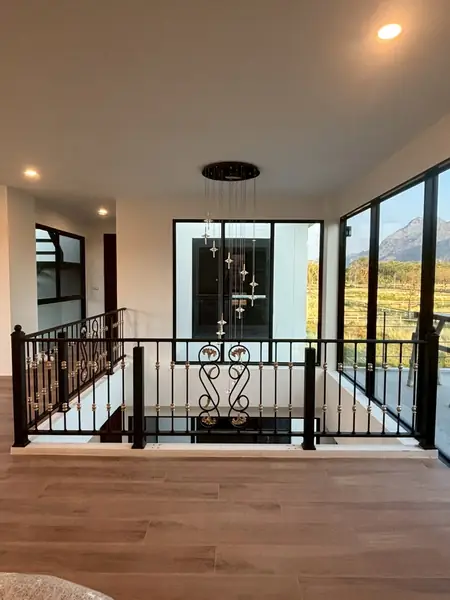
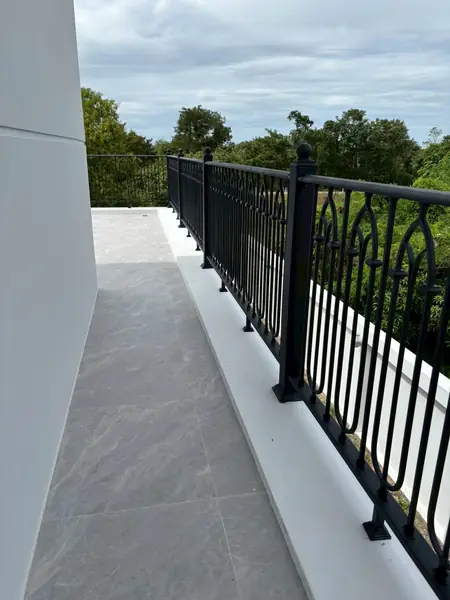
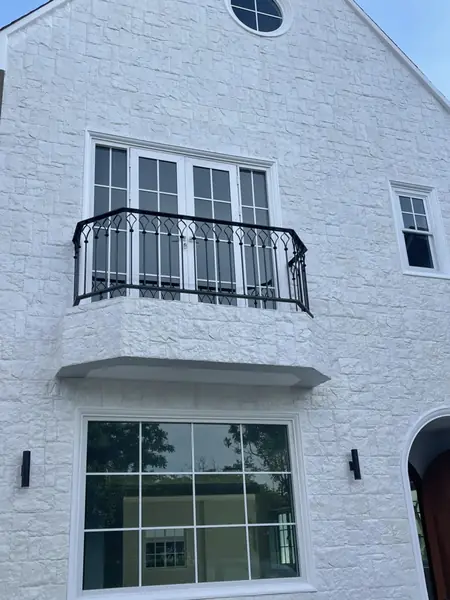
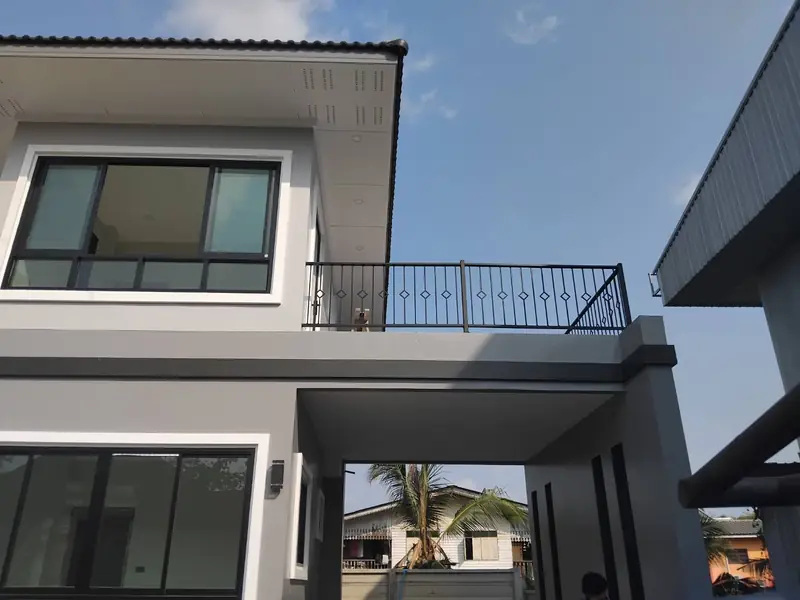
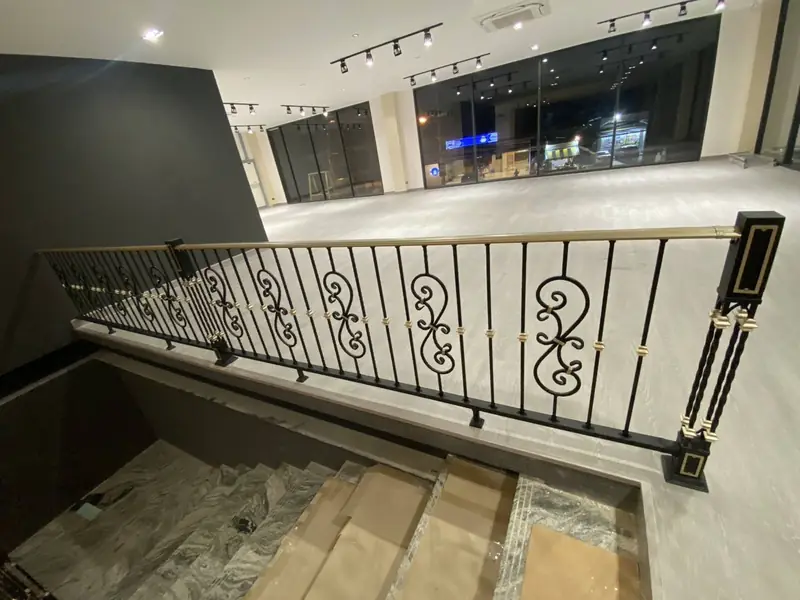
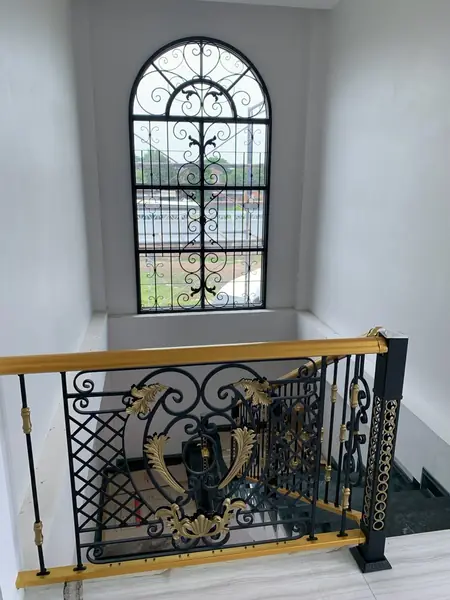
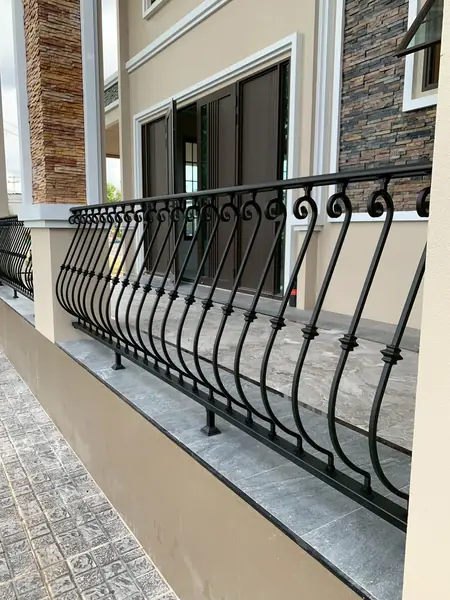
Real installations of SP Empire ready-made wrought ironReal installations of SP Empire ready-made wrought ironReal installations of SP Empire ready-made wrought ironReal installations of SP Empire ready-made wrought ironReal installations of SP Empire ready-made wrought ironReal installations of SP Empire ready-made wrought ironReal installations of SP Empire ready-made wrought ironReal installations of SP Empire ready-made wrought ironReal installations of SP Empire ready-made wrought ironReal installations of SP Empire ready-made wrought ironReal installations of SP Empire ready-made wrought ironReal installations of SP Empire ready-made wrought ironReal installations of SP Empire ready-made wrought ironReal installations of SP Empire ready-made wrought ironReal installations of SP Empire ready-made wrought ironReal installations of SP Empire ready-made wrought ironReal installations of SP Empire ready-made wrought ironReal installations of SP Empire ready-made wrought ironReal installations of SP Empire ready-made wrought ironReal installations of SP Empire ready-made wrought ironReal installations of SP Empire ready-made wrought ironReal installations of SP Empire ready-made wrought ironReal installations of SP Empire ready-made wrought ironReal installations of SP Empire ready-made wrought ironReal installations of SP Empire ready-made wrought iron
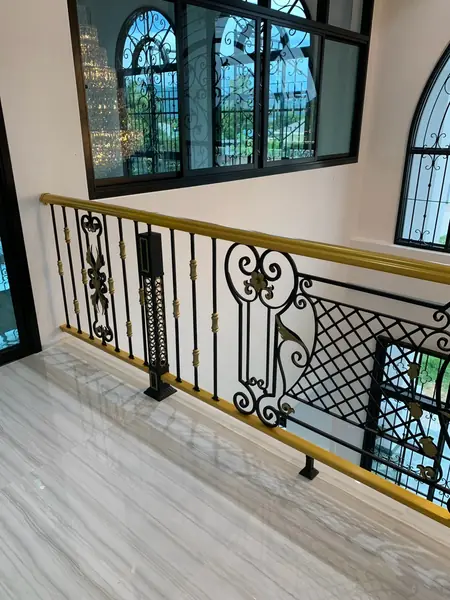
Real installations of SP Empire ready-made wrought ironReal installations of SP Empire ready-made wrought ironReal installations of SP Empire ready-made wrought ironReal installations of SP Empire ready-made wrought ironReal installations of SP Empire ready-made wrought ironReal installations of SP Empire ready-made wrought ironReal installations of SP Empire ready-made wrought ironReal installations of SP Empire ready-made wrought ironReal installations of SP Empire ready-made wrought ironReal installations of SP Empire ready-made wrought ironReal installations of SP Empire ready-made wrought ironReal installations of SP Empire ready-made wrought ironReal installations of SP Empire ready-made wrought ironReal installations of SP Empire ready-made wrought ironReal installations of SP Empire ready-made wrought ironReal installations of SP Empire ready-made wrought ironReal installations of SP Empire ready-made wrought ironReal installations of SP Empire ready-made wrought ironReal installations of SP Empire ready-made wrought ironReal installations of SP Empire ready-made wrought ironReal installations of SP Empire ready-made wrought ironReal installations of SP Empire ready-made wrought ironReal installations of SP Empire ready-made wrought ironReal installations of SP Empire ready-made wrought iron

Other productsMore products

Explore morefrom SP Empire

View all products

How to orderHow to order

Easy to orderdone in 5 steps

and still get quality wrought iron that's beautiful, just as you wanted, and ready to make your home stand out with confidence

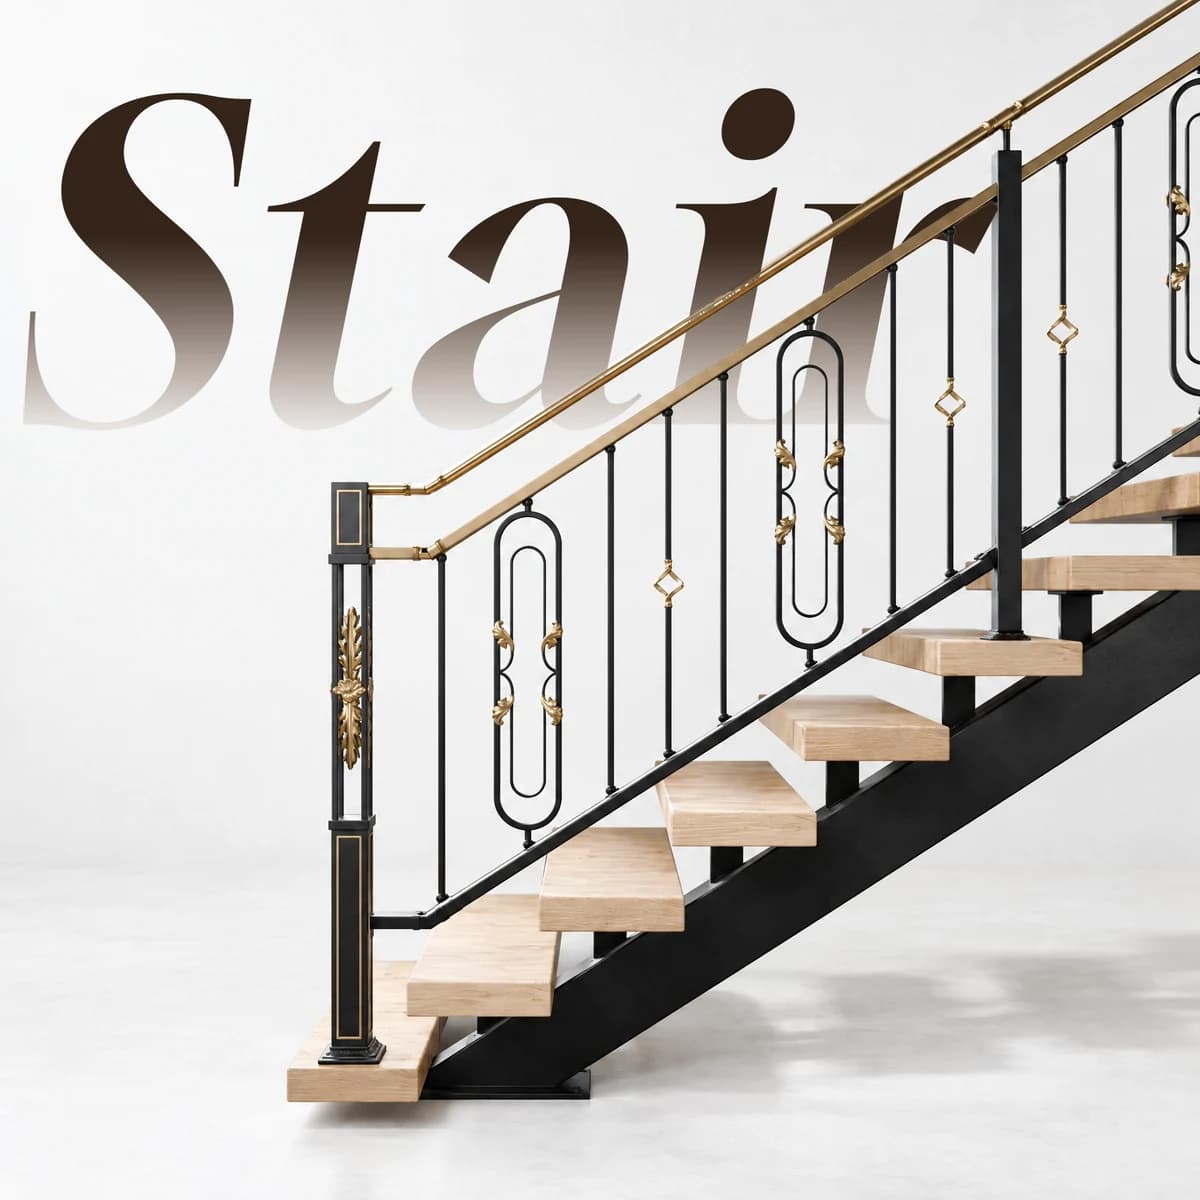
5 easy steps to order Knockdown wrought iron
  1. Choose the design and style you likeChoose a design you love. Whatever style you like, just send a picture to our admin
  2. Send photos and site measurementsSend photos of the area you want done along with the site measurements, and we'll prepare a design and quotation within 5 minutes
  3. Choose steel specs and customize the designChoose the steel spec, color and details to tailor the design to your home and budget, for the best look and value
  4. Choose a payment methodOnce the design and price are confirmed, choose how to pay: bank transfer / QR Code / credit card / SPaylater / installments. Convenient, secure, with instant payment confirmation
  5. Choose an installation methodBuy it and install it yourself with ease, no welding needed, with a manual + video tutorials. If you'd prefer an installation team, we can recommend a complete service.